1Michel
Well-known member
OK sooo as Denpo explained to me, I should have a dedicated post for the rebuild of my car.
I've been scatering things all over bit by bit so why not put everytthing in the same place.
Later, I'll be editing it and adding things as I go along.
So here's whe the front clip was taken out.
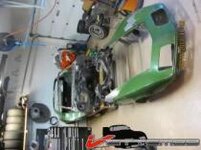
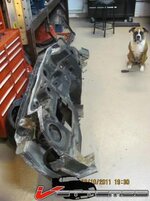
all under the watchfull eye of my little friend Brandy who has no idea what's going on but has the bad habit of steeling my screwdrivers and make me run after her. LOL
She's about to grab the one in front of her.
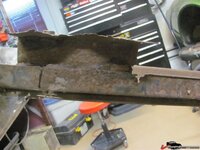
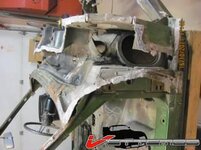
Theres rust but I think the birdcage is in much better condition than I expected.
I tough I would find worse than that.
Real happy about that. Solid car.
Now I'm a little puzzled about this one.
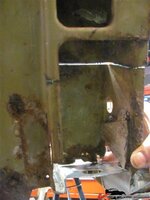
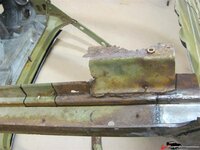
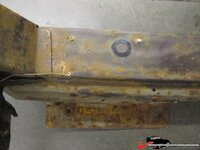
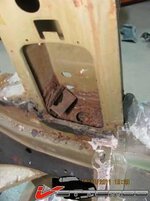
Theres a hole in the lower rear part of the birdcage.
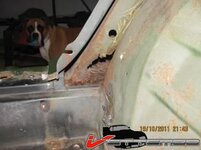
view from inside the wheell well
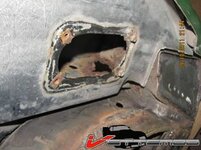
I think I'll need to take out this cover and the rocker cover to get to it and weld a new piece.
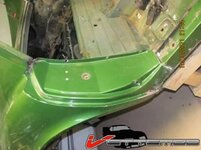
Or maybe just make a cut into it and reglass it after the weld is done.
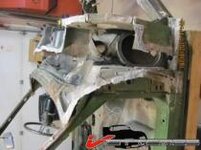
then it the firewall's turn to be separated
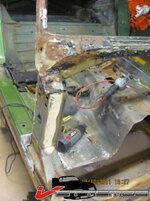
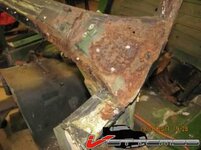
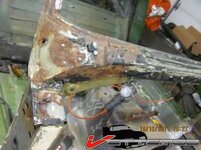
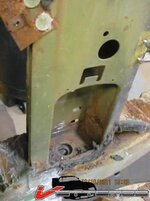
We then took out the birdcage out of the car.
it was a mystery to my niece, she couldnt figure out what we were talking about when we talked about the birdcage,
she had to come and look for it.
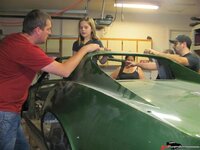
The day before, Ihad started to separate the fiberglass and the few rivets that were holding the cage in place.
then we got serious and started to lift her out of there
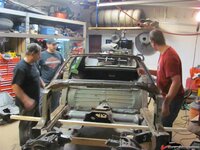
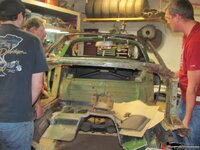
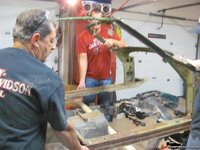
Of course Phil, had to finally sit in a Corvette he could fit in, the guy is 6,8
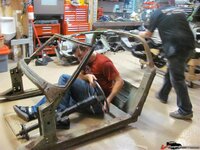
Hey where did the brakes go??
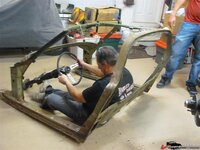
Then it was time to start to fix the cancerous rust out of the birdcage
After seeing the rust damages, I think I took the right decision.
First I had to redo the chanel near body mount No3
It didnt look too good
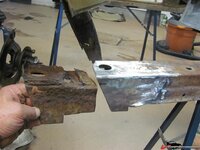
looks a bit better now.
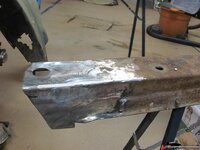
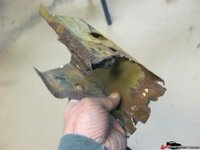
then I went after the lower part of the door jam, this was worse than I tought
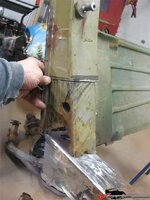
But first since the pillar is going to rest on that part, I had to fix behind the seat area.
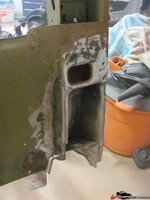
Next was cutting out behind the seat area where the door jam meets the back of the cage
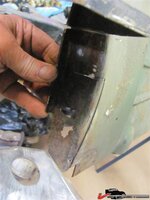
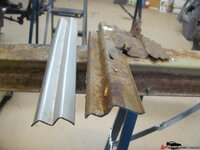
this was going to be tricky since theres a curve lip in the part.
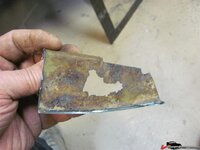
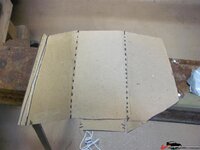
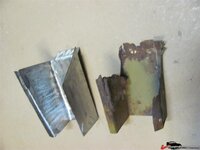
so once the part was out, made a carboard template
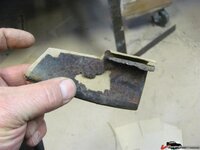
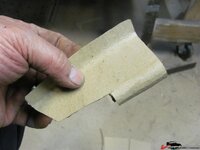
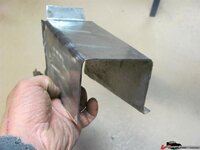
then cut and started to form it
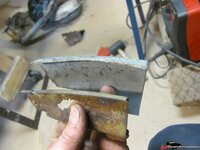
Getting there
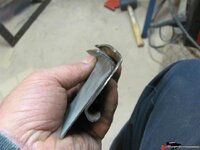
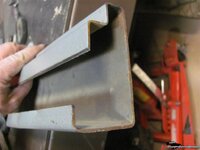
Had to form the round lip behind
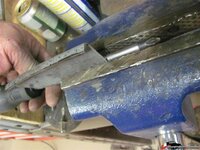
check the fit from behind
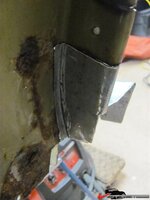
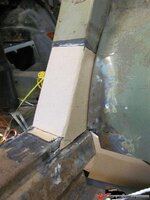
Check fit from the front
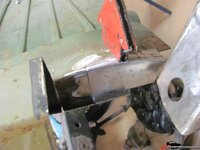
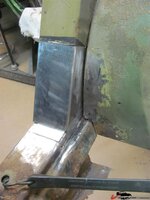
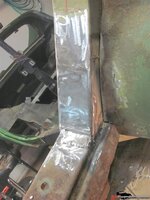
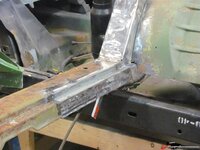
then tack the part
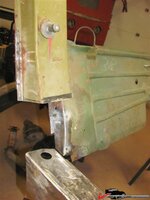
tacked view from behind
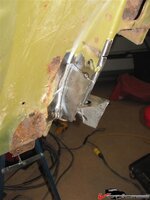
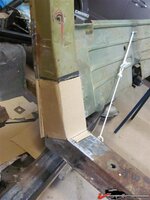
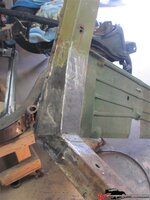
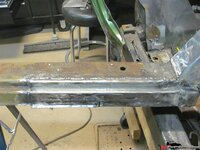
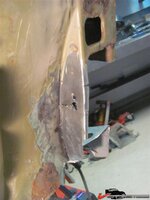
As you can see , I ran into a bit of a problem, maybe I shouldve cut a bit higher so I decided that I would double part for more solidity.
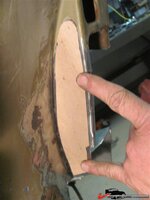
Made a carboard template
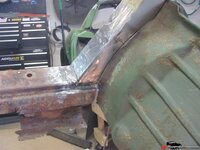
then cut the part
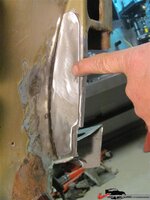
I tacked it but ran out of wiring for my welder.
sooo Ill post post later.
I've been scatering things all over bit by bit so why not put everytthing in the same place.
Later, I'll be editing it and adding things as I go along.
So here's whe the front clip was taken out.


all under the watchfull eye of my little friend Brandy who has no idea what's going on but has the bad habit of steeling my screwdrivers and make me run after her. LOL
She's about to grab the one in front of her.

Theres rust but I think the birdcage is in much better condition than I expected.
I tough I would find worse than that.
Real happy about that. Solid car.
Now I'm a little puzzled about this one.
Theres a hole in the lower rear part of the birdcage.

view from inside the wheell well

I think I'll need to take out this cover and the rocker cover to get to it and weld a new piece.

Or maybe just make a cut into it and reglass it after the weld is done.

then it the firewall's turn to be separated


We then took out the birdcage out of the car.
it was a mystery to my niece, she couldnt figure out what we were talking about when we talked about the birdcage,
she had to come and look for it.

The day before, Ihad started to separate the fiberglass and the few rivets that were holding the cage in place.
then we got serious and started to lift her out of there


Of course Phil, had to finally sit in a Corvette he could fit in, the guy is 6,8

Hey where did the brakes go??

Then it was time to start to fix the cancerous rust out of the birdcage
After seeing the rust damages, I think I took the right decision.
First I had to redo the chanel near body mount No3
It didnt look too good

looks a bit better now.

then I went after the lower part of the door jam, this was worse than I tought

But first since the pillar is going to rest on that part, I had to fix behind the seat area.
Next was cutting out behind the seat area where the door jam meets the back of the cage

this was going to be tricky since theres a curve lip in the part.

so once the part was out, made a carboard template


then cut and started to form it

Getting there

Had to form the round lip behind

check the fit from behind

Check fit from the front

then tack the part

tacked view from behind

As you can see , I ran into a bit of a problem, maybe I shouldve cut a bit higher so I decided that I would double part for more solidity.

Made a carboard template

then cut the part

I tacked it but ran out of wiring for my welder.
sooo Ill post post later.
Last edited:

