You are using an out of date browser. It may not display this or other websites correctly.
You should upgrade or use an alternative browser.
You should upgrade or use an alternative browser.
Plastic Fantastic 2
- Thread starter SuperBuickGuy
- Start date
SuperBuickGuy
Well-known member
vette427sbc
Well-known member
Looks great on all 4's! :drink:
SuperBuickGuy
Well-known member
SuperBuickGuy
Well-known member
SRountree
Well-known member
Looks good!
SuperBuickGuy
Well-known member
SuperBuickGuy
Well-known member
SuperBuickGuy
Well-known member
As you all probably know, I do lots of projects - and because I'm totally ADD I do multiple at a time. Right now I'm doing a 1964 Buick wagon (and I just finished a fuel system on a 70 Toyota FJ40)....
but this I think might be interesting here and I would love to hear opinions - even if it's for depth of knowledge in one place for someone doing something similar.
With that set up, I have a 2004 6.0 LS from a Denali, it's not the high hp one, but its 325 hp was adequate. The Denali was just one, continuous electrical nightmare so it's gone and the motor is here. I was going to just swap cams, I should have left well enough alone but here I am at deciding whether or not to go all in.
The motor had 200k and was starting to show low oil pressure.
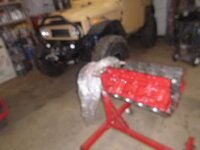
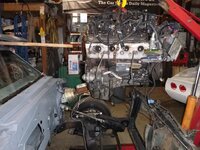
here's its test fit
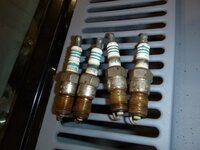
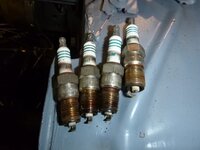
plugs looked fine
started collecting the basics, the oil pan is wayyyy too deep, so it's replaced
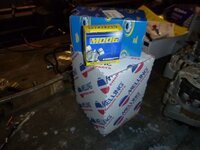
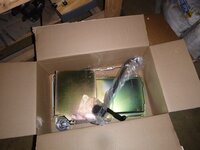
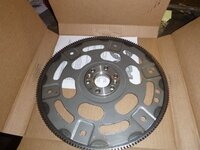
flywheel because it was 4L65e now 4L80e
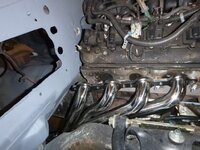
headers
intake because the truck intake won't fit (and I may, in the end not use it)
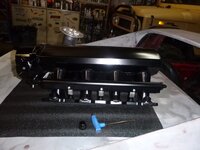
I hate egr on these things... that coating is egr related
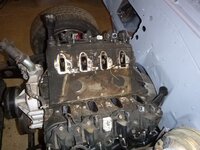
test fit without the pan
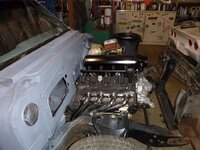
I got lucky that this actually fits (it's close to the steering box)
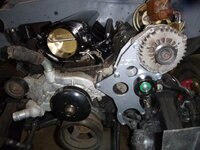
Sig Erson cam
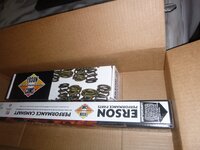
now just swap the pan... just
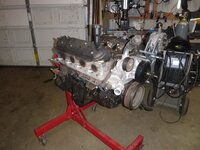
I bought springs because it's a 200k motor, but this is where it started going sideways (and it was clean inside)
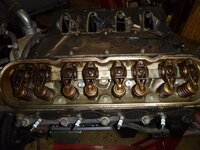
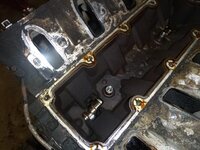
the cam looks like it was literally chattering in the bore....
not just that but every rocker is worn
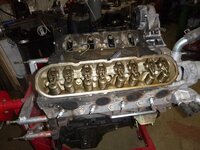
of course, the chain was loose - however I was going to replace the oil pump anyway
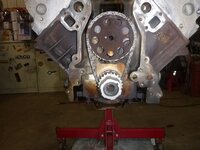
between the chattering, the loose rockers, and the strange wear on the cam - my 'line' not pulling the heads was about to get crossed
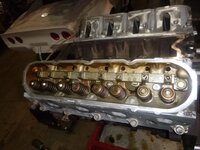
I had to pull the cam anyway (for the new cam) but I didn't expect literal steps on the cam and it was time to look further
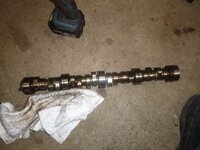
interestingly, the inside of this motor looks good (regular oil changes)
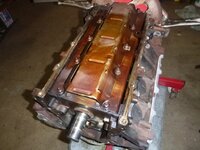
however, if you look close, you'll see where the push rods where hitting the heads
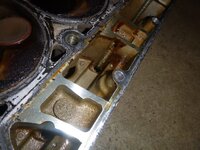
then I pulled the lifters.... very worn
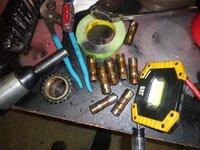
however, the rod and main bearings were perfect
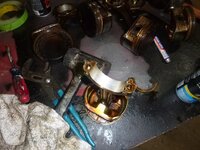
other then the build up due to EGR valve, it looks rebuildable
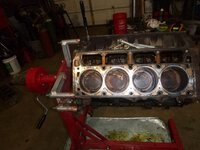
crank even looks fine
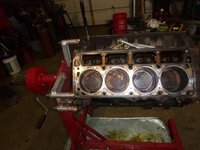
and finally the cam bearings....
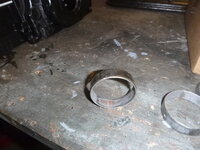
I have new heads, but the block came back with egg shaped bores (not much, mind you, but still a .0015 taper and .002 out of round).... I could throw it together, but part of me figures in for a penny I might as well finish it.... cost is roughly 2k for a new rotating assembly with a longer stroke and I could play with the compression ratio if I actually decide on substantial boost .... if I don't stroke it, it's still a balance, rod press and bore but save about 1k ..... and would still get the benefit of playing with the compression ratio...
thoughts?
but this I think might be interesting here and I would love to hear opinions - even if it's for depth of knowledge in one place for someone doing something similar.
With that set up, I have a 2004 6.0 LS from a Denali, it's not the high hp one, but its 325 hp was adequate. The Denali was just one, continuous electrical nightmare so it's gone and the motor is here. I was going to just swap cams, I should have left well enough alone but here I am at deciding whether or not to go all in.
The motor had 200k and was starting to show low oil pressure.
here's its test fit

plugs looked fine


started collecting the basics, the oil pan is wayyyy too deep, so it's replaced


flywheel because it was 4L65e now 4L80e

headers

intake because the truck intake won't fit (and I may, in the end not use it)

I hate egr on these things... that coating is egr related

test fit without the pan

I got lucky that this actually fits (it's close to the steering box)

Sig Erson cam

now just swap the pan... just

I bought springs because it's a 200k motor, but this is where it started going sideways (and it was clean inside)

the cam looks like it was literally chattering in the bore....

not just that but every rocker is worn

of course, the chain was loose - however I was going to replace the oil pump anyway

between the chattering, the loose rockers, and the strange wear on the cam - my 'line' not pulling the heads was about to get crossed

I had to pull the cam anyway (for the new cam) but I didn't expect literal steps on the cam and it was time to look further

interestingly, the inside of this motor looks good (regular oil changes)

however, if you look close, you'll see where the push rods where hitting the heads

then I pulled the lifters.... very worn

however, the rod and main bearings were perfect

other then the build up due to EGR valve, it looks rebuildable

crank even looks fine

and finally the cam bearings....

I have new heads, but the block came back with egg shaped bores (not much, mind you, but still a .0015 taper and .002 out of round).... I could throw it together, but part of me figures in for a penny I might as well finish it.... cost is roughly 2k for a new rotating assembly with a longer stroke and I could play with the compression ratio if I actually decide on substantial boost .... if I don't stroke it, it's still a balance, rod press and bore but save about 1k ..... and would still get the benefit of playing with the compression ratio...
thoughts?
You are a busy guy!
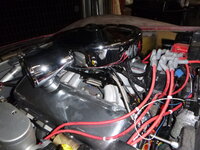
Nice. Really like that intake.
Nice. Really like that intake.
SuperBuickGuy
Well-known member
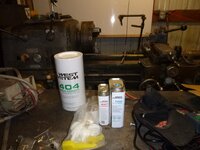
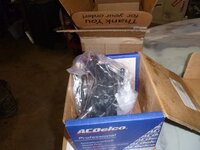
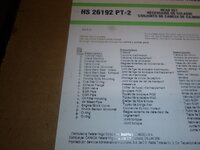
picture of head gasket kit that I think is poorly described (thought I was only getting MLS head gaskets, not a set)
hmmm.... anti-gravity device is faulty
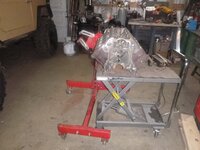
electric requires moving '40, which would mean opening the door (it's 20 degrees outside), and letting the heat out of the shop
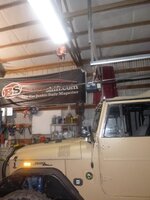
wait, I have another option
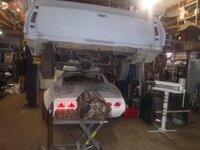
anti-gravity enabled
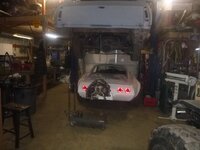
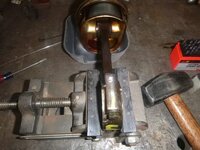
time to hit my thumb...err... mark rods
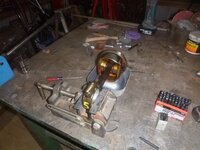
plan b, I'm still artistic with my dremel
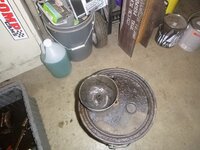
forgot about this catch basin on my washing cabinet.... filled with sludge but very little sludge in tank (win)
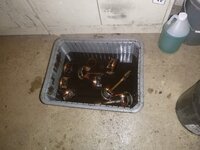
clean pistons
and honing
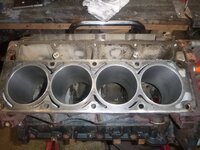
then clean oil passages
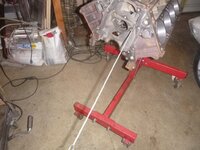
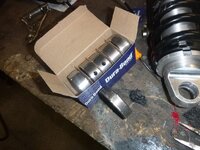
which brings me to a question... why 2 holes in the cam bearings?edited there are not two galleys....

hmmm.... anti-gravity device is faulty

electric requires moving '40, which would mean opening the door (it's 20 degrees outside), and letting the heat out of the shop

wait, I have another option

anti-gravity enabled

time to hit my thumb...err... mark rods

plan b, I'm still artistic with my dremel

forgot about this catch basin on my washing cabinet.... filled with sludge but very little sludge in tank (win)

clean pistons

and honing

then clean oil passages

which brings me to a question... why 2 holes in the cam bearings?edited there are not two galleys....
SuperBuickGuy
Well-known member
new, rebuilt heads arrived
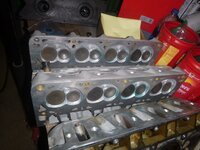
I'll leave these original size, sorry for the slow load times
two holes... why? only one oil passage

here's the weld/connection point - I am guessing but it may be part of the problem of the wear because that would divert oil from the bearing - especially if it was tight up against the oil feed hole
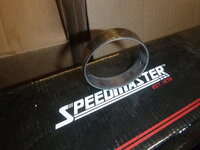
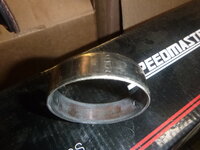
in this picture, you can even see where the oil was diverted out of the bearing
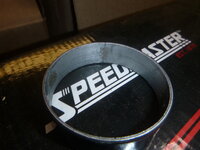
this surface has a very rough texture
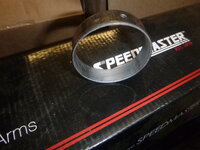
and then what about the high and low spots of the bearing? presumptively it's a round hole so why would there be pressure points (the shiny)?
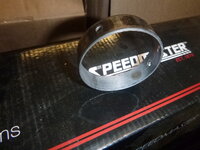
anyway, puzzling and something I've never seen before

I'll leave these original size, sorry for the slow load times
two holes... why? only one oil passage

here's the weld/connection point - I am guessing but it may be part of the problem of the wear because that would divert oil from the bearing - especially if it was tight up against the oil feed hole


in this picture, you can even see where the oil was diverted out of the bearing

this surface has a very rough texture

and then what about the high and low spots of the bearing? presumptively it's a round hole so why would there be pressure points (the shiny)?

anyway, puzzling and something I've never seen before
SuperBuickGuy
Well-known member
bobs77vet
Well-known member
looking good! i see you have been working quite diligently!
SuperBuickGuy
Well-known member
SuperBuickGuy
Well-known member
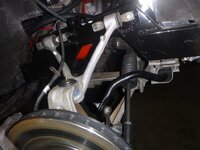
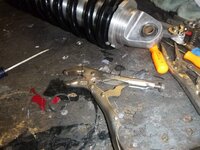
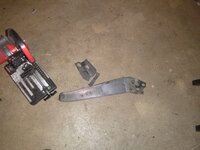
Oh were these a pain to get out
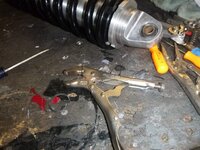
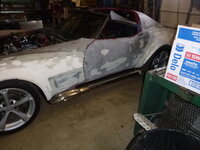
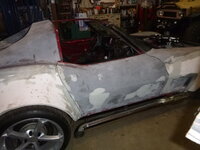
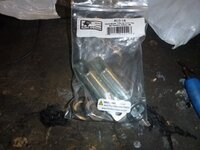
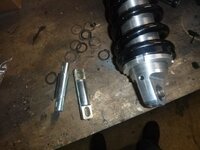
then realized I didn't have the right bushings... so I ordered and went onto the next.... bumper
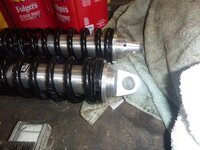
first cut a space
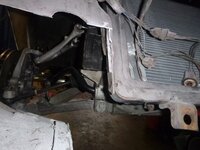
then cut and weld the old bumper brackets in place
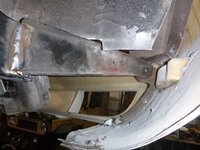
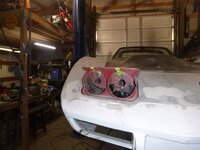
and the reason why - I'm keeping the pop up lights but making them lighter and not reliant on vacuum
first remove everything inside
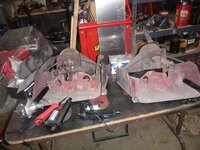
then start test fitting
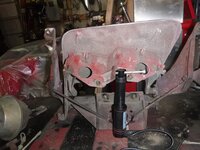
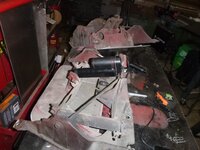
this opens perfectly that if I was using the stock lights and bezel, it'd fit
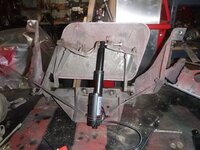
my hope is to build brackets so that someone could simply buy the linear actuators, cut a slot then put it in their car as well... and thinking very cheap, like less then $25 cheap (for the brackets - the actuators are $40 each)...edited

then realized I didn't have the right bushings... so I ordered and went onto the next.... bumper


first cut a space

then cut and weld the old bumper brackets in place


and the reason why - I'm keeping the pop up lights but making them lighter and not reliant on vacuum
first remove everything inside

then start test fitting


this opens perfectly that if I was using the stock lights and bezel, it'd fit

my hope is to build brackets so that someone could simply buy the linear actuators, cut a slot then put it in their car as well... and thinking very cheap, like less then $25 cheap (for the brackets - the actuators are $40 each)...edited
bobs77vet
Well-known member
that's a cool idea. and eliminates all low vacuum worries for sure
SuperBuickGuy
Well-known member
closed
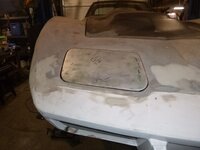
up
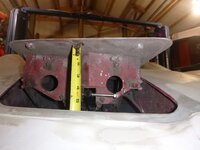
it will fit stock headlights (though I'm not using, being able to set the open and close heights easily is a big deal to me)
https://youtu.be/nDfJp5mabXs
https://youtu.be/vUXoq8Sj82k

up

it will fit stock headlights (though I'm not using, being able to set the open and close heights easily is a big deal to me)

https://youtu.be/nDfJp5mabXs
https://youtu.be/vUXoq8Sj82k
SuperBuickGuy
Well-known member
that's a cool idea. and eliminates all low vacuum worries for sure
and the motors actuators are good to 225 lbs.... and it gets weight off the nose.... and the vacuum issue is no issue, best of all - I'm pretty sure I can run these with existing wiring. The stock, GM light switch has power in the off position - at worst it's one wire to the front, but I think there's power to the closed switch (which turns the light off when it's closed.... if there is, that's what will close the light.
the actuator itself is IP67 rated - that means dust proof and can be immersed in water. I expect it to have reasonable longevity.... but most of all, be rid of the vacuum. Open time/Close time is less then 3 seconds.
and the other thing - I want to put smaller lights in the space, thus the amount the light opens is adjustable.... that video of it opening is about how far I'm going to open it and it will get some combination of LED and projector headlights.... and the other goal, most other conversions are in the 450-750 range, if you keep your stock headlights, this should be less then 200 and likely closer to 100 with the actuators.... I really hope that if it works that I can sell to a supplier who would then put it in the market.... and final edition may eliminate the need to cut the bucket...
Last edited:
SRountree
Well-known member
Pretty impressive!

