You are using an out of date browser. It may not display this or other websites correctly.
You should upgrade or use an alternative browser.
You should upgrade or use an alternative browser.
Plastic Fantastic 2
- Thread starter SuperBuickGuy
- Start date
bobs77vet
Well-known member
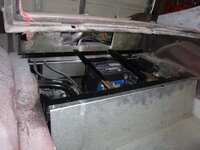
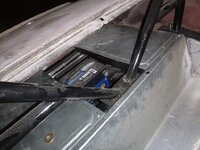
very nice, are you putting a battery cut off back there?
SuperBuickGuy
Well-known member
phantomjock
Well-known member
Lots of cool work being done there! Just a quick question - how is the timeline looking for making your "planned" event? Have they slipped the entire schedule/reset - or?
Keep on pressing - looking great!
Cheers - Jim
Keep on pressing - looking great!
Cheers - Jim
SuperBuickGuy
Well-known member
Lots of cool work being done there! Just a quick question - how is the timeline looking for making your "planned" event? Have they slipped the entire schedule/reset - or?
Keep on pressing - looking great!
Cheers - Jim
weather is the biggest issue, I need 50 degrees in my shop to do any body material .... it's supposed to be at least 60 degrees during the day but it's been struggling to get to 50 (and may snow Friday night).. but we will see. Likely tomorrow night I'll start finishing the inner wheel wells. Next week is predicted 60s
That said, work has slowed down but it's not insignificant (I work for myself and have employees)...
Last edited:
SuperBuickGuy
Well-known member
now it's getting somewhere... not sure where, but some. where
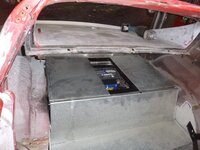
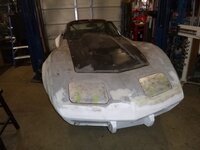
now a full dry fit
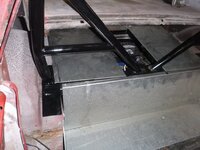
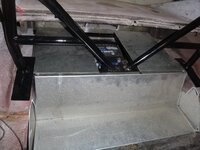
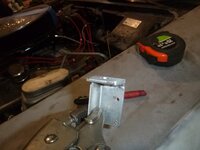
hood latches
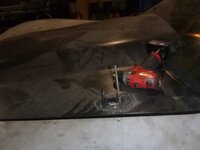
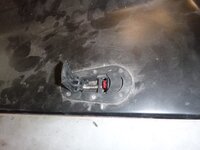
easiest way to find the bottom of the hole
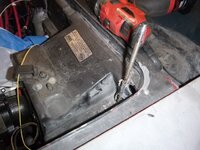
and then
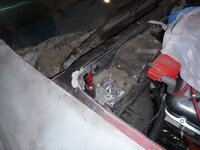
success, red thingy in the hole
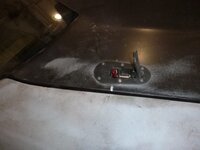
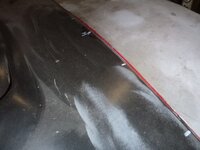
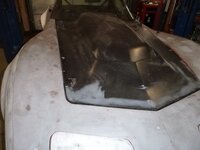
hood line up... what a pain
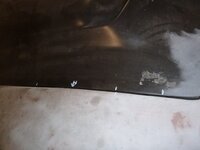
with a shim, I got one side pretty close, still need to do some kind of block on the other side
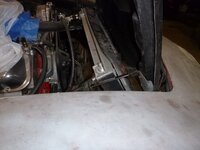
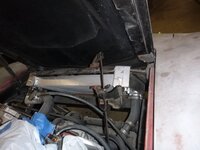
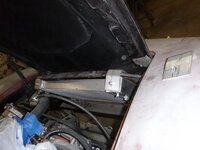
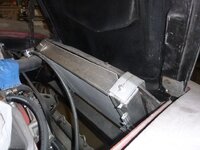
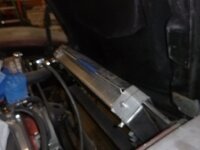
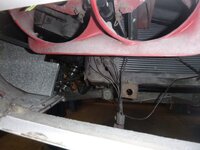
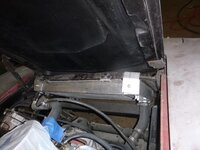
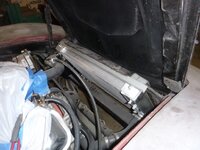
not quite done with the radiator... now I need to block all the ways air can bypass the radiator.edited If I don't, it will overheat


now a full dry fit


hood latches

easiest way to find the bottom of the hole

and then

success, red thingy in the hole

hood line up... what a pain

with a shim, I got one side pretty close, still need to do some kind of block on the other side


not quite done with the radiator... now I need to block all the ways air can bypass the radiator.edited If I don't, it will overheat

rtj
Well-known member
- Joined
- Nov 5, 2011
- Messages
- 2,966
One benefit of the relatively low cost of c3's, is the cutting them up for making mods.  :thumbs:
This will be a blast to drive, I'm sure.
With the gym closed and home projects getting done, it is time for me to get my junkers running.
This will be a blast to drive, I'm sure.
With the gym closed and home projects getting done, it is time for me to get my junkers running.
Last edited:
SuperBuickGuy
Well-known member
One benefit of the relatively low cost of c3's, is the cutting them up for making mods.:thumbs:
This will be a blast to drive, I'm sure.
With the gym closed and home projects getting done, it is time for me to get my junkers running.
I don't think, at least in my lifetime, anyone is going to complain about this car getting cut up.. sure, it was a 4 speed car - but with a bent frame, so even the notable bit was garbage...
about the gym, I'm feeling pudgy - it's been nearly a month since they closed them here...
SuperBuickGuy
Well-known member
the bent edges... there could be another bend or two before this is done
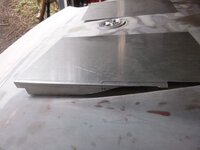
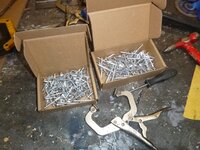
back apart to clean the edges for gluing, screwing and riveting
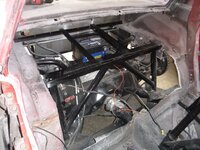
and removal of unneeded pieces
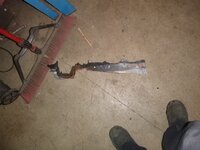
best way to remove undercoating.... irony is I'll reapply sound deadener once this is all together
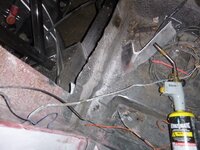
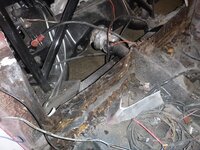
goes here, notice also the undercoating is gone
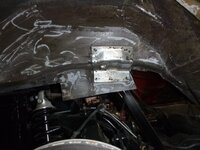
ugh
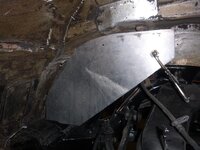
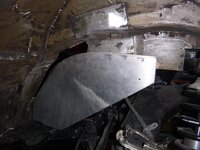
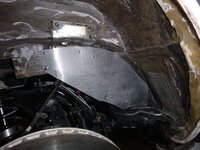
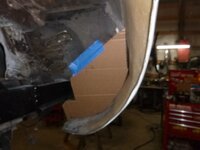
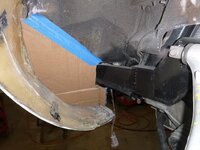
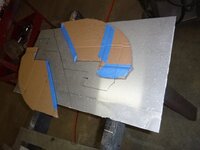
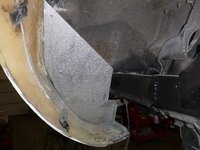
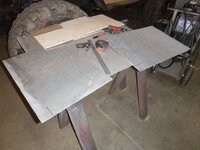
inner fenders (or how to make flat metal curvy)
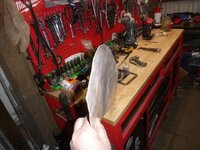
but it looks better in the end
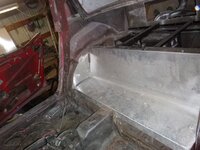
other than a bunch of dirt, it doesn't look like I did much of anything... and for the record, the left front had far less coating...
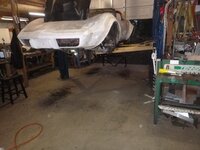

back apart to clean the edges for gluing, screwing and riveting

and removal of unneeded pieces

best way to remove undercoating.... irony is I'll reapply sound deadener once this is all together


goes here, notice also the undercoating is gone

ugh


inner fenders (or how to make flat metal curvy)

but it looks better in the end

other than a bunch of dirt, it doesn't look like I did much of anything... and for the record, the left front had far less coating...

SuperBuickGuy
Well-known member
SuperBuickGuy
Well-known member
SuperBuickGuy
Well-known member
In news, I ordered different accessory brackets for the motor.edited I need to move the power steering pump up to clear the rack, then it interferes with the alternator... so I'll move it to the other side... hopefully that stuff arrives next week.
Onward
air cleaners... I sure have a bunch of options... and another on its way.. i really, really, really don't want to cut on the hood... and I think I can get away without it... crossing fingers
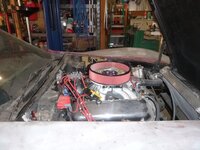
radiator
first step is rebuilding the bracket
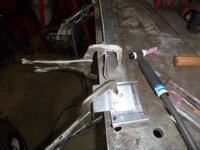
then melting stuff
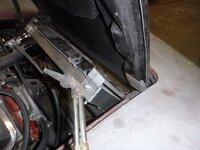
then more welding
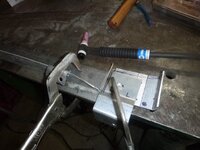
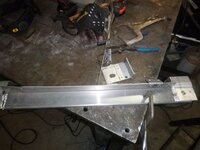
and more test fitting
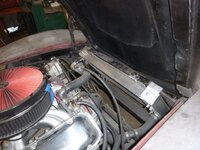
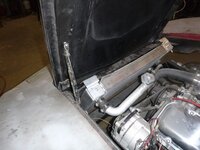
closer
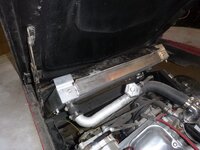
now bolted in place... still need to do something about the ends to make them pretty, but it's functional now
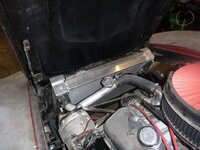
hood pins
the line (dark) is where the pin needs to be
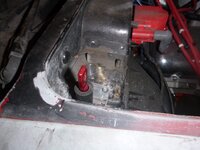
now it is
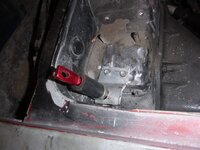
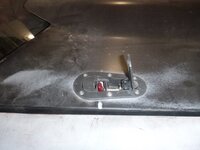
other side
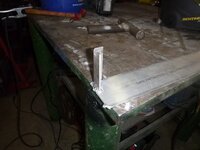
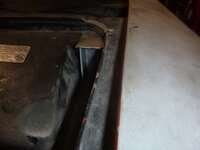
need to finish that up... it's becoming warm enough that I may be able to glue panels in place tomorrow... once that dries then epoxy the holes up... the coat the floor with sound deadener...edited
Onward
air cleaners... I sure have a bunch of options... and another on its way.. i really, really, really don't want to cut on the hood... and I think I can get away without it... crossing fingers

radiator
first step is rebuilding the bracket

then melting stuff

then more welding


and more test fitting


closer

now bolted in place... still need to do something about the ends to make them pretty, but it's functional now

hood pins
the line (dark) is where the pin needs to be

now it is


other side


need to finish that up... it's becoming warm enough that I may be able to glue panels in place tomorrow... once that dries then epoxy the holes up... the coat the floor with sound deadener...edited
SuperBuickGuy
Well-known member
of course what that means is I start body work and wiring... I would love to outsource the bodywork;... but where's the fun in that?
SuperBuickGuy
Well-known member
SuperBuickGuy
Well-known member
today was mostly cleaning the shop and reorganizing.edited The next step for both the Corvette and the Buick is bodywork so I opened up some floor space
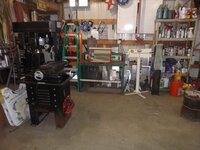
but onto the car first, resolving the power steering issue (I didn't)
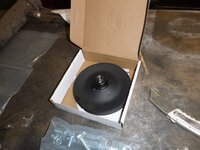
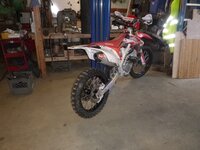
then I took some thinking time on my dirtbike
then got these for free, yes, downhill is in my future
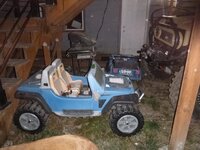
I guess I own 2 Jeeps now, I think I overpaid
pulley install starter pack
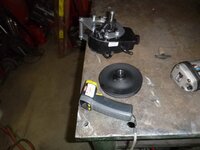
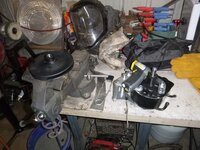
then I found the right pulley - too bad the pump is too small for what I'm doing
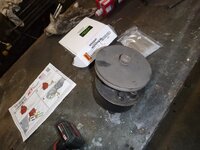
back to the pump
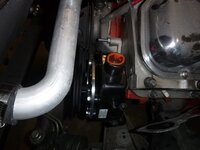
the problem is the pump is about 1/4" forward - and there is no room to go back...
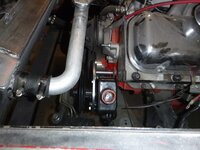
I still need to resolve the alternator issue but that is for another day

but onto the car first, resolving the power steering issue (I didn't)

then I took some thinking time on my dirtbike

then got these for free, yes, downhill is in my future

I guess I own 2 Jeeps now, I think I overpaid
pulley install starter pack


then I found the right pulley - too bad the pump is too small for what I'm doing

back to the pump

the problem is the pump is about 1/4" forward - and there is no room to go back...

I still need to resolve the alternator issue but that is for another day
SuperBuickGuy
Well-known member
let's start with the air cleaner
this is what's hitting
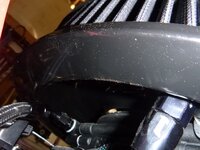
had to dig in my fitting bone pile for a 90* elbow
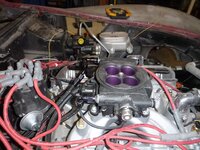
fixed
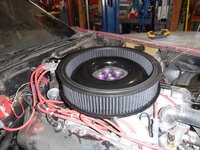
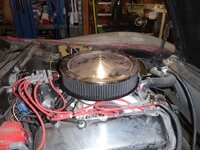
still need to buy a filtered top.. what I have is too think and too cheesy
epoxy time
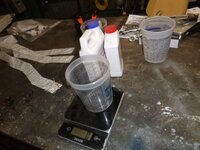
cut a bunch of strips
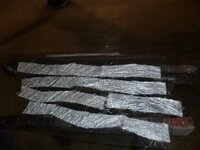
then start plying them on there
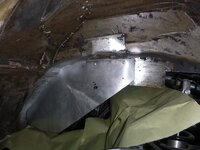
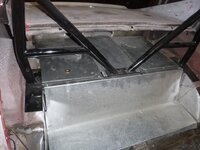
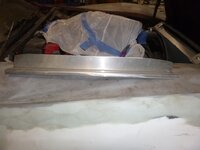
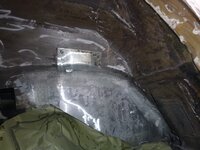
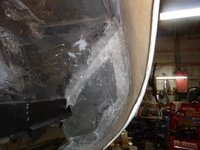
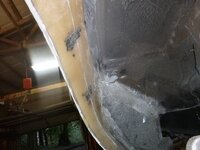
and inner fenders the aluminum is meant as a backing.edited I could have used wood, but that would require coating both sides.
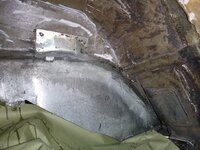
starting to refine my technique on this side
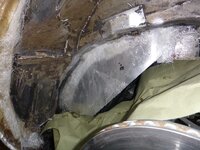
somewhere I read that using glass to coat the strips would help. It does
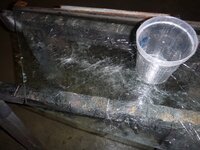
the steps.... first dump some resin on the glass then put glass strips on the glass
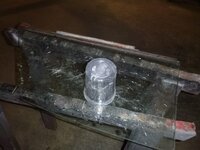
let it soak (maybe 30 seconds max)
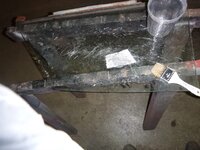
flip it over
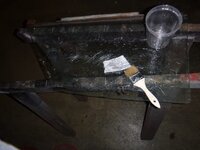
then stick it in place
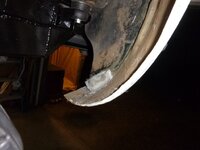
it's a messy task, but once you stick it up, let it adhere for a bit (push it onto the place), then come back a minute or two later and push it again to get the resin to come through.edited Tomorrow I should finish... tonight was hole-filling, so it was only one layer.... next lay up I'll do a couple more layers and that should hold it.edited The entire goal here is strength.edited I'm going to rubberize coat it so it will be unseen once done
this is what's hitting

had to dig in my fitting bone pile for a 90* elbow

fixed


still need to buy a filtered top.. what I have is too think and too cheesy
epoxy time

cut a bunch of strips

then start plying them on there

and inner fenders the aluminum is meant as a backing.edited I could have used wood, but that would require coating both sides.

starting to refine my technique on this side

somewhere I read that using glass to coat the strips would help. It does

the steps.... first dump some resin on the glass then put glass strips on the glass

let it soak (maybe 30 seconds max)

flip it over

then stick it in place

it's a messy task, but once you stick it up, let it adhere for a bit (push it onto the place), then come back a minute or two later and push it again to get the resin to come through.edited Tomorrow I should finish... tonight was hole-filling, so it was only one layer.... next lay up I'll do a couple more layers and that should hold it.edited The entire goal here is strength.edited I'm going to rubberize coat it so it will be unseen once done
phantomjock
Well-known member
I use glass often to make flat fiberglass parts. It helps to wax it - sounds weird - but it works. A couple of coats, buffed each.
If you have a piece that is curved - you can use plastic packing tape - leaves lines, but easily sanded out of your finished product. Another tape is silver refrigeration/H-Vac tape. Wax, wax (5 times is best) buffing between each. If you are going to make a complex part - like my fender flares, you'll want some PVA. here's a quick link to those products; http://www.uscomposites.com/moldrelease.html
Also have a few wedge shaped shims to help separate from your mold surface.
Hope you have gloves already - Harbor Freight is OUT!
I kind of run through the whole process here: http://www.vettemod.com/forum/downloads.php?do=file&id=94 It coves the results of using different composite core materials as well as some of the fabricating details.
Keep on "Itchin' for Fun!"
Cheers - Jim
SuperBuickGuy
Well-known member
I use glass often to make flat fiberglass parts. It helps to wax it - sounds weird - but it works. A couple of coats, buffed each.
If you have a piece that is curved - you can use plastic packing tape - leaves lines, but easily sanded out of your finished product. Another tape is silver refrigeration/H-Vac tape. Wax, wax (5 times is best) buffing between each. If you are going to make a complex part - like my fender flares, you'll want some PVA. here's a quick link to those products; http://www.uscomposites.com/moldrelease.html
Also have a few wedge shaped shims to help separate from your mold surface.
Hope you have gloves already - Harbor Freight is OUT!
I kind of run through the whole process here: http://www.vettemod.com/forum/downloads.php?do=file&id=94 It coves the results of using different composite core materials as well as some of the fabricating details.
Keep on "Itchin' for Fun!"
Cheers - Jim
very cool stuff - thank you for sharing it.
At this point, I'm just adhering the various parts - not making new pieces - but if I ever do this again, I'll use that to make molds and pieces... that would be much easier and have a far better result. ... so much information good information out there...
SuperBuickGuy
Well-known member
You just gave me an idea. The right front fender was replaced on my car and they cut off the inner fender splash shield flange. So now there is a gap. I was looking for some fiberglass "L" shape that I could bond in there but maybe some aluminum pieces would work as well?

