GT6Steve
Well-known member
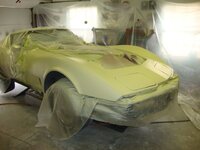
As I have a week off from work I started the bodywork on my daily driver. My thinking is to get it into a basic Chevy 10 White one panel at a time so it is at least presentable.
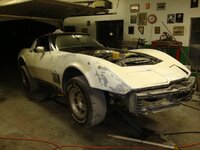
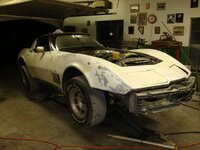
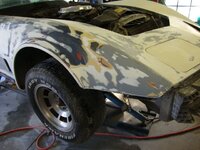
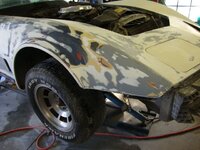
Now it is a nasty mess of some kind of pearlescent clear coat that's flaking off of the cum white base coat on top of a ratty silver over the probably stolen blue metallic from the factory.
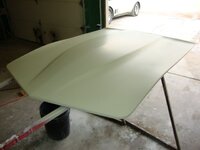
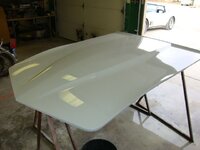
I started on the hood to get an idea of what I'm up against. It's not pretty but I'll bet it's what every Corvette restorer sees.:ill:
I'm stewing on how to attack the thick bits that do stick well. All of the curves!! The flat stuff flakes off easily with a razor blade but of course the curves won't:evil:
A pretty crappy pic of what I've got:
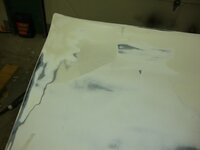
I think I'm gonna have to attack the whole thing with an aggressive grit and then work back up from there. I mean, the whole car is this way with loose crap!
more pics here: http://s206.photobucket.com/albums/bb46/GT6Steve/Corvette/
Now it is a nasty mess of some kind of pearlescent clear coat that's flaking off of the cum white base coat on top of a ratty silver over the probably stolen blue metallic from the factory.
I started on the hood to get an idea of what I'm up against. It's not pretty but I'll bet it's what every Corvette restorer sees.:ill:
I'm stewing on how to attack the thick bits that do stick well. All of the curves!! The flat stuff flakes off easily with a razor blade but of course the curves won't:evil:
A pretty crappy pic of what I've got:

I think I'm gonna have to attack the whole thing with an aggressive grit and then work back up from there. I mean, the whole car is this way with loose crap!
more pics here: http://s206.photobucket.com/albums/bb46/GT6Steve/Corvette/
Last edited:

