![]() |
|
![]() |
#1
|
|||
|
|||
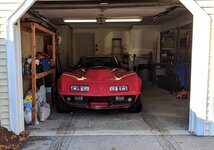
![]() Hey guys, new here.. I still need to post up an intro thread soon.
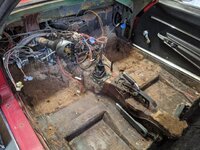
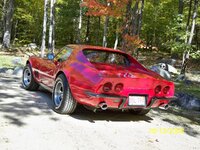
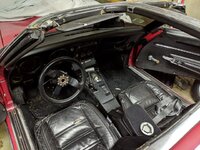
Anyway, I'm in the process of refreshing my modded 68 corvette and right now have the entire interior stripped to remove mice nests and the stench of sitting for a few years. Here's the plan:
Its my first time diving in this deep with this car, any pointers along the way is appreciated. Here's some pics, I think I might start to call it project mouse trap ![]() [Only registered and activated users can see links. Click Here To Register...] [Only registered and activated users can see links. Click Here To Register...] [Only registered and activated users can see links. Click Here To Register...] [Only registered and activated users can see links. Click Here To Register...] [Only registered and activated users can see links. Click Here To Register...] [Only registered and activated users can see links. Click Here To Register...] Last edited by klabz28; 05-21-2020 at 06:17 PM.. |
#3
|
|||
|
|||
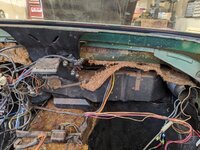
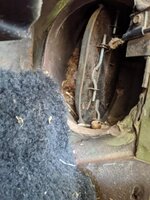
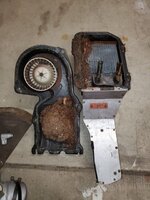
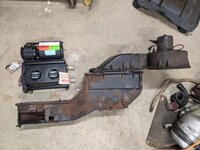
![]() Making slow progress, but getting there. Finished removing mouse nests under the dash, in the wiper cowl and vents. I felt reassured that I'm doing the right thing here when I saw the heater core and HVAC duct packed with smelly mouse nests..
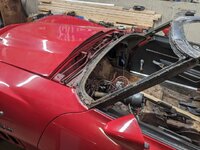
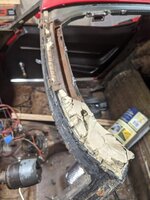
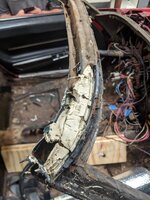
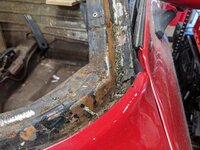
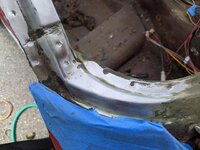
[Only registered and activated users can see links. Click Here To Register...] [Only registered and activated users can see links. Click Here To Register...] Vintage Air gen 2 universal heater to replace the old heavy bulky stock setup: [Only registered and activated users can see links. Click Here To Register...] I figured while I'm this far to remove the original windshield and all the windshield and t-top trim to have it powder-coated black. The birdcage appears to be in great condition, I have two questions if anyone might know: 1. After cleaning out the windshield channel bird cage, what should I paint this with to clean everything up before I have the windshield installed? I was thinking POR-15 or just Rust-Oleum 2. Does anyone know what the clay-like material is under the t-top trim? I believe this has never been removed so I think its something from the factory. Looking for suggestions on what to put back in place to seal upon reassembly. [Only registered and activated users can see links. Click Here To Register...] [Only registered and activated users can see links. Click Here To Register...] [Only registered and activated users can see links. Click Here To Register...] [Only registered and activated users can see links. Click Here To Register...]
__________________
[Only registered and activated users can see links. Click Here To Register...] currently undergoing a slightly more modern revival and mouse nest delete mod |
#4
|
||||
|
||||
![]() Glad you decided on the VA setup... Youll like it.
I think the clay stuff was a sealer of some sort, I used butyl rubber on mine, but Its a bit messy if you ever have to pull it back apart. Im sure theres some kind of modern equivalent that a bodyshop could suggest. I dont think id use the butyl again on mine. Your birdcage looks like its in great shape
__________________
Chris AutoWorks Middletown NJ @autoworksnj |
#5
|
||||
|
||||
![]() I don't think the clay stuff is from the factory. I used Por-15 on mine.
Good call on powder coating the trim. I had mine polished and it looked great but, because of the heat needed to polish stainless, it didn't fit my car anymore. |
#6
|
|||
|
|||
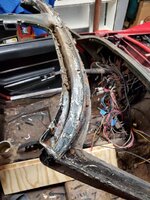
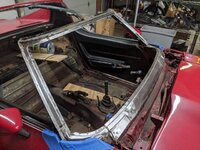
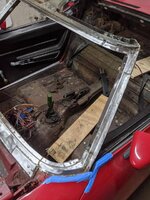
![]() Some more slow progress, cleaned out all the weird putty material and used a stripping wheel on my drill to get down to the window frame metal and HOLY F this thing is solid.
Now I'm panicking on what to use to paint the frame before the new windshield is installed. I bought SEM Rust Trap, similar to POR but now I'm not sure if that's the best thing to use on the fresh metal surface.. Either way should get painted this weekend, reinstall the trim and window goes in next week. Then its time to start putting the interior back together finally. [Only registered and activated users can see links. Click Here To Register...] [Only registered and activated users can see links. Click Here To Register...] [Only registered and activated users can see links. Click Here To Register...] [Only registered and activated users can see links. Click Here To Register...] |
#7
|
||||
|
||||
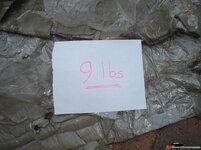
![]() You are getting a lot of work done. Back to the earlier post and saving weight. My 78 had this under a lot of the jute fiber:
![]() There is nearly 1 HP added! Cheers - Jim
__________________
Rebuilder's Zen Saying: One thought leads to another. If these thoughts link into a chain we become bound to the project. This bondage is subtle and remains until we complete the tasks -- or, STOP Thinking! [Only registered and activated users can see links. Click Here To Register...] |
#9
|
|||
|
|||
![]() The clay looking stuff looks like plumber's putty to me. It may have had a windshield replaced at some point and they just used that instead of butyl to take up the gap. Looks like it did the trick because your header is in really good shape. Keep coming with the updates. :-)
|
#10
|
|||
|
|||
![]() Everything is stripped and starting to paint the primer etc.
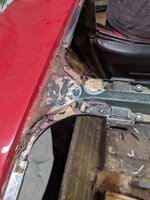
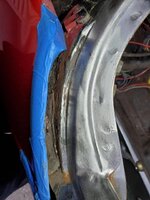
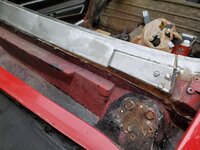
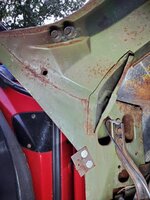
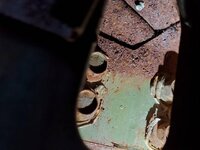
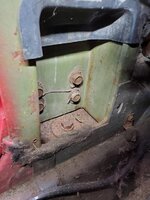
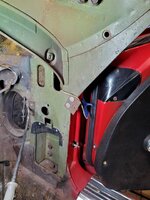
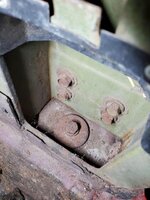
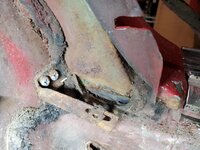
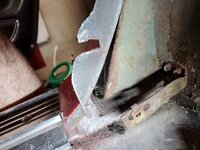
This bird cage seems really good compared to others I've seen, so while I'm this far I want to treat it the best I can. Looking inside the frame work with a flashlight at the lower corners of the windshield it looks pretty rusty in there and its pretty rusty between where the fender meets the lower part of that corner on the outside drivers side. Looking for any insight or advice on the best way to clean this up before putting it all back together. I know the only right way to get at cleaning that would be to literally separate the firewall from the birdcage and fix the rust but that's out of the question. Chris recommended that internal frame coating aerosol by Eastwood so I think I'll give that a try. Some more pics to show the rust I found: [Only registered and activated users can see links. Click Here To Register...] [Only registered and activated users can see links. Click Here To Register...] [Only registered and activated users can see links. Click Here To Register...] [Only registered and activated users can see links. Click Here To Register...] [Only registered and activated users can see links. Click Here To Register...] [Only registered and activated users can see links. Click Here To Register...] [Only registered and activated users can see links. Click Here To Register...] [Only registered and activated users can see links. Click Here To Register...] [Only registered and activated users can see links. Click Here To Register...] Last edited by klabz28; 09-29-2020 at 09:35 PM.. |
![]() |
Thread Tools | |
|
|
![]() |
![]() |