front flares and grilles - louvers -- project finally started

MYBAD79

Moderator
Joined
Mar 23, 2008
Messages
6,939
Location
sunny Florida
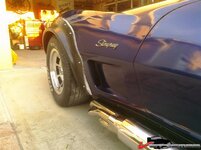
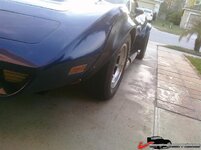
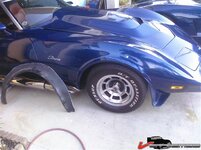
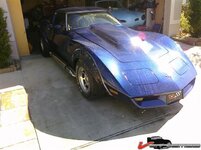
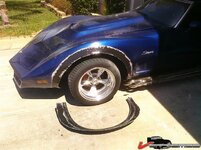
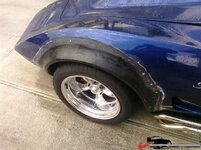
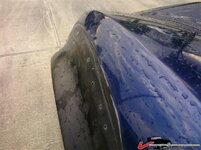
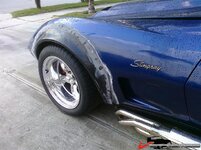
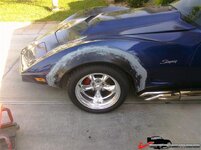
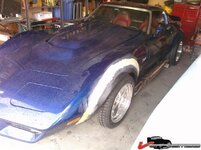
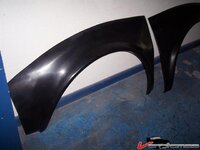
I finally started on my front flare installation. Here are the flares as I received them from Vanacor, these are the 1.5" wide L88 flares for the front to match the 2" wide flares on the rear.... no more mudflap... :waxer:
214d421f4f30c58.jpg

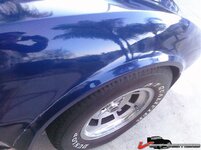
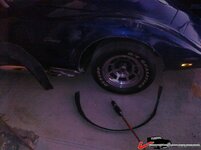
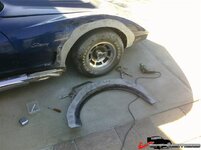
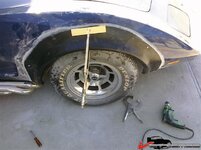
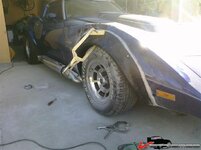
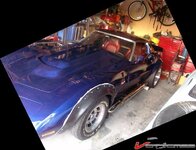
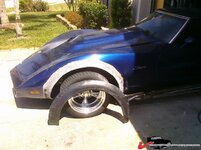
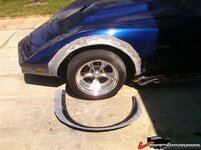
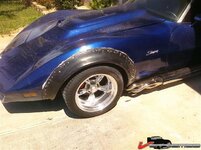
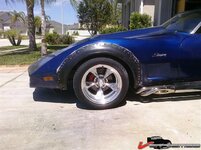
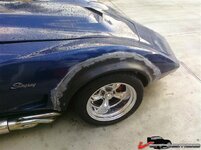
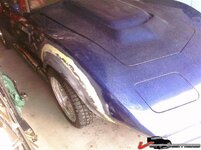
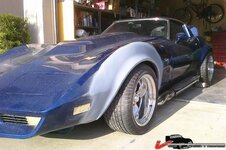
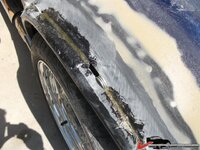
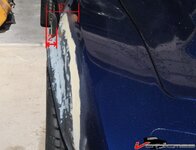
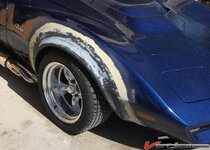
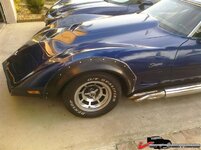
These are photos of todays first "test fitting" after I cut the stock '79 fender lip and mudflare off.
214d421f5024902.jpg
.
214d421f51556fd.jpg
.
214d421f521fad0.jpg

The fit is as good as the rear flares, I am actually positively surprised with the quality and fit... like with all fiberglass pieces, some cutting and fitting is required..... it's not a simple 'bolt on' or 'glue on' job.... if you want to get this to fit and look perfect then it takes some work. I have already worked on this for four hours today and I am nowhere near ready for adhesive... and I only did one side so far.... :rain:
 
Looks great! I'm looking forward to more pictures as things progress.

(Side note: Karsten, I got the '79 driver's seat mounted in my car the other day. Between the new brackets I welded up and the lighter seat weight I saved about 15 pounds off the car. Now I just need to get the car back on the road to see how comfortable the seat is and if my helmet will still fit under the roof.)
 
Made a little progress on the passenger side today. As you can tell by the photos it got dark ... more tomorrow....


214d4357fec01e2.jpg

.

214d4357ff86193.jpg
.
.
214d4357ffdb05b.jpg
.

Mike, the seat is more comfy than the older style (so I heard)... my only problem with these seats was that there is no headrest, my head would hit the plastic bucket... obviously not an issue if you're wearing a helmet :D
 
Karsten, that's really gonna look good when your done, it'll balance nicely with the rear...are you going with the same blue paint when youre done, or are you gonna do new paint too?
 
more progress... I managed to get the passenger side flare on the fender. This is a lot of work and it is quiet dusty :smash::smash:

214d44b958a3951.jpg
.

Glad that I bought these Harbor Freight clamps when they were on sale :)

.
214d44b9590c36b.jpg

.
214d44b9596b6de.jpg
.

both sides are now held in place with self tapping screws. It takes a little more grinding and fitting and then I'll glue them in place.

214d44b959c5c4b.jpg
.

Is one cartridge 3M 8116 going to be enough for both flares ?? :confused2::confused2:
I would hate having to buy another cartridge, this stuff is expensive :surrender:
 
...are you going with the same blue paint when youre done, or are you gonna do new paint too?

same blue paint. I have a few repairs on the front bumper so I'll paint the entire front surround. Hopefully the paint matches.... these blue flakes are going to be a pain.
 
...are you going with the same blue paint when youre done, or are you gonna do new paint too?

same blue paint. I have a few repairs on the front bumper so I'll paint the entire front surround. Hopefully the paint matches.... these blue flakes are going to be a pain.

Blend should be your magic work with this project. Paint only what needs paint on the front surround then blend it in and clear the whole surround. That way you won't have to worry about it matching so much.
 
MYBAD79;79967 same blue paint. I have a few repairs on the front bumper so I'll paint the entire front surround. Hopefully the paint matches.... these blue flakes are going to be a pain.[/QUOTE said:
Kinda what I was thinking, those flakes look great, but they're pretty big, I'm sure it'll turn out great, those flares really work!!
 
, those flakes look great, but they're pretty big,

well.... back in 2006 I painted the car in the shade and I did not see well enough how much flake I added... i kept spraying another coat with the flakes then covered everything with 4 coats clear.... THEN I got the car out in the sun :amazed::shocking::eek::eek:

so your car has that flakey look to it??? :harhar::trumpet::thumbs:
 
well.... I just ordered another 200ml cartridge 3M 8116 adhesive just to be safe.... fortunately I have almost 1qt Evercoat SMC adhesive/filler so that should be more than enough for both fenders and the bumper repairs.

I just hope that 3M glue is as good as everybody says.... for both fenders that's $80 just for the glue.... :huh::huh:
 
Hey Mike..... yes, it's going to look great, just a matter of finding time to work on it... :hissyfit:

I did get quiet a bit done this weekend :

214d8fd7b12e2e8.jpg
.
214d8fd7b1e7b95.jpg
.
.

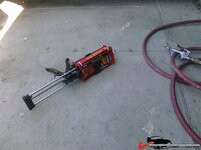
now this 3M adhesive is some serious stuff.... the applicator gun works like a charm.... expensive but worth it :thumbs:

214d8fd7b194b83.jpg

.
 
OK, more photos.....

I applied the 8116 adhesive to both fender and flare. Working time is 90 minutes according to 3M, it's more like 30 minutes in 90 degrees Florida weather :)

214d8fd7b255407.jpg

.

I used many screws to holt it in place:

214d8fd7b2c0ac7.jpg

.

214d8fd7b357b29.jpg

wow, can't wait to get it painted....

.
removed the screws:

214d8fd7b404b23.jpg
.
here you can see how I ground the flare and the fender down for a better transition:

214d8fd7b4728cf.jpg
.
 
I used Evercoat SMC adhesive for the first coat of filler, this way I know it will adhere propely to the SMC fender. Body filler goes on top of that...

214d8fd7b4e06b9.jpg

.
214d8fd7b577705.jpg
.
.
here's the driver side after two coats of Evercoat adhesive, grindind, sanding and one coat body filler....

214d8fd7eebb21b.jpg

..
 
Update:

with smaller tires it would probably not very noticeable but with my 275s up front I want it perfect: the driver side flare is wider than the passenger side, had to cut and spread it 3/8" ... took numerous measurements to VERIFY before I made the cut....
.
214db21ff64236c.jpg

.
214db21ff70ef22.jpg

from the upper fender edge it 6" to the outboard fender edge and from the curved section out it's 2" - before the cut it was only 1 5/8" and 5 5/8" on the passenger side.

It's done: now it's the same left and right. Now I have to grind inside the fenders and lay some glass in there... this is going to be fun....

214db21ff6ada28.jpg
.

.
 
Top