SBG's C3

SuperBuickGuy

Well-known member
Joined
Jul 16, 2012
Messages
3,971
Location
Pacific Northwest
So I bought this C3 Corvette - was supposed to be a quick flip.... yeah, that's not exactly what happened... but I digress.

This is what it looked like when it rolled into my shop. Turbo 350 transmission, about as stock as they come - no power windows, had a/c, power steering (no more). Has an aftermarket composite rear spring
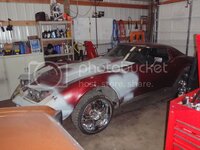
P3160009.jpg

yeah, the wheels were the 1st thing to go... ick

I built a run-of-the-mill 350 with jeg's copy of the vortec heads, thumper cam, intake, headers, holley carb - pretty much a standard build
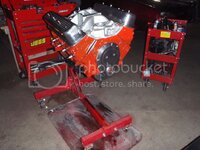
P3270002.jpg

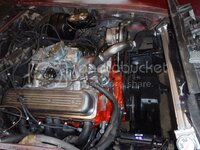
Motor in the car
P4150002.jpg

Interior was mia, so I bought carpet, dash cover, and went to work putting it back together
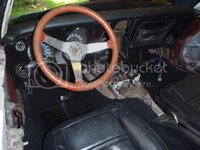
P5280001-1.jpg

because the seat belts were trashed, early on I decided to build this as a weekend warrior car/auto cross/open track day car, so I needed a harness, a harness requires a roll bar, which are very expensive... so built one myself
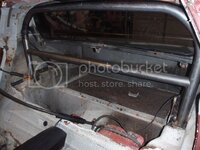
P7030003.jpg

and here is the final result
P7040003.jpg
 
Last edited:
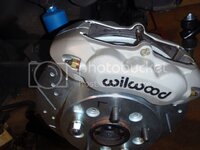
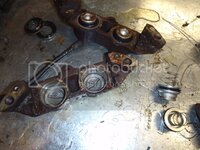
Now that the car ran, I fixed (or so I thought) the brakes by replacing a leaky master cylinder.... that worked all of 20 minutes and the calipers started leaking.

pulled the calipers
P7090004.jpg
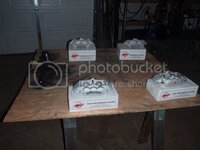
yep, stainless lined, but lip style seals. So it was addition time, long story short is I'm waiting for my wilwood calipers and new rotors to arrive.

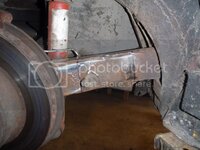
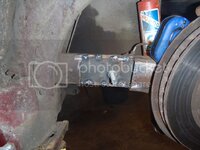
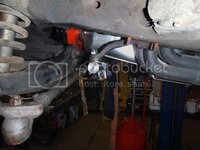
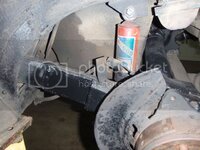
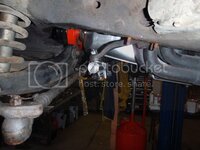
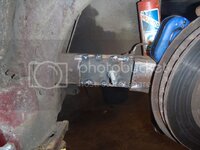
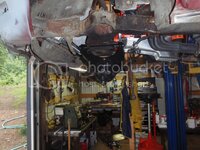
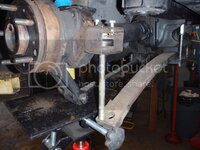
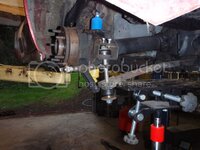
so today. I need wider wheels and I need to fix the emergency brake cable (it interfered with the tires
P7150004.jpg
as you'll soon see, I really am a cheapskate, and require lots of convincing to spend money on something I can build myself
P7150007.jpg

I also removed the power steering
P7120002.jpg

so there it is, still have to install the suspension bits (poly bushings, new anti-roll bars, brakes) and will remove the rag joint from the steering wheel

and I'm seriously considering the giovanni mod for my rear suspension. This car is not my drag car (it's when the SBG title comes from), it's meant to drive on dry days and race.

thoughts?
 
Welcome to the motley crew....

I don't understand something, on the left trailing arm there, you have a bolt where the ebrake bracket was, what for?? most of us just move the bracket to top of the arm, but when doing mine in '95 it got moved to behind the rotor, and the chassis brackets moved toward the frame rails....:flash:

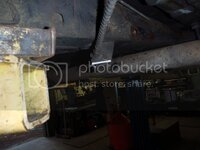
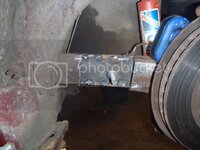
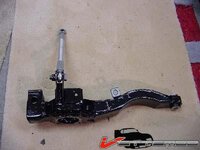
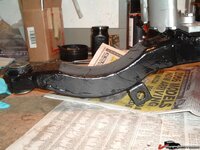
I used the bolt to slide the plate forward in the in arm, welded the plate in place, then knocked the bolt off and welded the 1/16" cover plate on it.
 
ahh project creep... love it. I ordered the plates cut from my laser cutter made from those cool drawings - ordered two sets. Anyone else need them?
 
Probably a stupid question....
You're cutting your TAs to make room for the tire, not just for the bracket, right?
Because, of course, the brackets can be relocated at the top of the TA.
 
Probably a stupid question....
You're cutting your TAs to make room for the tire, not just for the bracket, right?
Because, of course, the brackets can be relocated at the top of the TA.

right
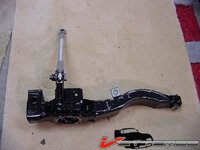
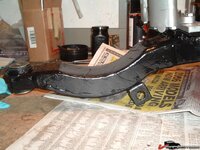
P7160001.jpg

P7160002.jpg


they will be welded, but need to verify a couple clearances before I make them permanent
 
so today. I need wider wheels and I need to fix the emergency brake cable (it interfered with the tires
P7150007.jpg

P7120002.jpg

thoughts?


First welcome to Vettemod,
I dont want to critisize your work and tust me, I'm not one that's afraid to cut into frames and trail arms but are you sure you didnt weaken the arm cutting into it like that?

If I want to cut a trail arm, this is the way I would do it,

1805004e2a3c57d4.jpg
1805004e2a3dd67f.jpg

Looks a bit like you did but I think it looks stronger that way..
My 2 cents.
 
so today. I need wider wheels and I need to fix the emergency brake cable (it interfered with the tires
P7150007.jpg
thoughts?


First welcome to Vettemod,
I dont want to critisize your work and tust me, I'm not one that's afraid to cut into frames and trail arms but are you sure you didnt weaken the arm cutting into it like that?

If I want to cut a trail arm, this is the way I would do it,

1805004e2a3c57d4.jpg
1805004e2a3dd67f.jpg

Looks a bit like you did but I think it looks stronger that way..
My 2 cents.
 
interesting, it looks like they took a lot more metal out then I did. The advantage of what they did is they can now notch the frame and get a wider wheel. I didn't want more space then what was already there.

I would be pretty surprised if what I did was weaker then stock. That first piece is 3/8" steel, welded in the middle which extends past the cut (like boxing on the inside rather then outside) Then on the outside the cover is 1/8" steel. I only notched 1/2". the sheet metal removed was only single layer. My biggest worry is there would have been compliance over the length of the arm, now the strongest point is in the middle thus where the internal bracing ends becomes the flex point

My napkin engineering thinks that is stronger then what was there... Also, whatever side load there is now will be eliminated when I put the upper strut on the axle. If not, I have DOM tubing and an off-road design heim joint that will move the weak point to the frame....

still unconvinced?
 
HUmm....I never really got the idea of any offset t-arm due to that the tire has same clearance from arm as rear sway bar, and or spring, depending on which one and bolt length, I used '89 vette rims with 275/50/17 in back 255 up front....2.5" adapters......some pix on my sites below....
 
still unconvinced?

Oh I dont need to be convinced LOL

Like I said, it looks like your installation is similar to his, Seems like the only difference is that he added a back wall.
Makes the arm the same thickness viewd from the top.

and after following your thread about your spider, I dont doubt your abilities LOL

Good job,
 
HUmm....I never really got the idea of any offset t-arm due to that the tire has same clearance from arm as rear sway bar, and or spring, depending on which one and bolt length, I used '89 vette rims with 275/50/17 in back 255 up front....2.5" adapters......some pix on my sites below....

I noticed the spring in the back, don't have a solution for that yet - although, I've been considering 19" C5 wheels.... at this point, the major issue was emergency brakes with a thought towards wide wheels at some point in the future. As it is, I'll have to run a spacer to bring my torque thrusts out flush with the fender lip.

still unconvinced?

Oh I dont need to be convinced LOL

Like I said, it looks like your installation is similar to his, Seems like the only difference is that he added a back wall.
Makes the arm the same thickness viewd from the top.

and after following your thread about your spider, I dont doubt your abilities LOL

Good job,

that spider? that was just a "strip everything to the studs and replace it" build.... weekend or hundred is all I have left to finish it :tomato: but thanks for the kind words.
 
I do appreciate the feedback, I am not even to the "hack" level on Corvette knowledge - or even suspension stuff (which is kind of why I'm doing this project)

That said... I like the UPS guy, he brings me toys

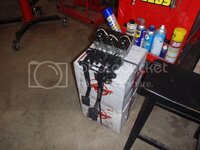
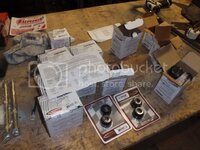
a stack of awesome (D8-4s)
P7170001.jpg

on the transmission thread, I remembered I bought these to put on the Spider - but there just ain't enough room (now they're bottom mount).... so these are "extra" :)
P7170002.jpg

which means I have all the parts I need to pull the t-350 out and replace it with the Super T-10 :)


also, anyone wants to inform me on how to improve the front suspension (I think I've completely surfed out the advice) I would appreciate it. I see change the geometry; but not how much.
 
So progress. But first caution - never buy anything from iRotor.com in Corona California.
Poly bits
P7180001.jpg

cleaned and installed
P7190010.jpg

automotive art (IMO)
P7190009.jpg

I still need to clean and paint the frame, but I do have time (waiting for the rotors) and also the upper control arms that I just ordered
 
more work completed.... I wonder at times if this is of any interest since I'm not breaking any new ground....

front painted, poly in lower control arm.... but then I read the article on GM recommended updates - so we'll see if that stays. I also noticed, just behind the rear mount (on the outboard side of the steering box) there is a dent... damn. I'm certain the car is straight, but that's a weak point in an already weak point.... thinking I need to brace it on the outside with 1/4" plate....
P7220010.jpg
P7220008.jpg

replaced the front diff mount with poly (I have delrin, but I'll save that for when I do the giovanni updates) and put the longer bolt to lower the car
P7230001.jpg

also installed the bilstein shocks

cut off the dust shields
P7230003.jpg
Put the sway bar in.... oh what poor instructions... it fits fine, but they were not clear where the bar should be mounted - that's fine, I'm going to use heim joints to tie them to the arms but still, I need to move it 1 1/2" forward of their implied "right" spot to put it above the mounting point.... also bonus, you can only use vise grips to hold the bolt after the plate is installed for the arm mount.
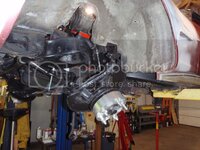
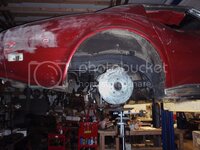
and installed a brake/rotor to see what it looks like. I don't think I'm going to use the spacers on the back....
P7230004.jpg
 
more work completed.... I wonder at times if this is of any interest since I'm not breaking any new ground....

It's always nice to see pix of a project. There isn't much new ground on these old cars. Probably everything has been done.

Did you have a bad experience with irotor.com?
 
more work completed.... I wonder at times if this is of any interest since I'm not breaking any new ground....


Did you have a bad experience with irotor.com?

yes, super slow shipping, lying arrogant jacka$$

I waited a week after my order to inquire about when they shipped the product. After 5 emails, the response was I've shipped it.... well, yes, they shipped it 2 days later. Took almost 3 weeks from the order to receive the parts.... and they're not in good shape. Summit was the same price, but stupidly I tried this yahoo.....
 
more progress
reinstalled sway bar... Addco really needs to make better instructions or at least steal this picture to show where it's supposed to mount. That said, it's a lot easier to get together with the 2" drop - which means they should have sent longer bolts - oh well, next week I'll replace them with heim joints... also, the correct holes are the ones to the left on the picture - or in other words, put your bracket as close to the brace as you can.
P7240001.jpg

put the pads in the calipers
P7240002.jpg
problem - the caliper isn't centered, I'll have to take apart again and clean the face of the hub because there is drag on it now.

so let me get this straight - I spent nearly $1,000 for near calipers and they can't send me a hose that goes from the caliper to the body? So I have the short hose on order (stock, soft line to hard line - in this install the hose replaces the hard line and apparently you need to reuse your old rubber line to the body....
P7240003.jpg

Moving to the front, removed old rag joint
P7240005.jpg

and eyeballed putting the new joint in place. Migraine meds stopped me from continuing...
P7240004.jpg
 
Last edited:
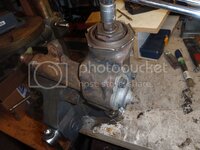
Steering box r&r

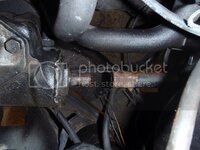
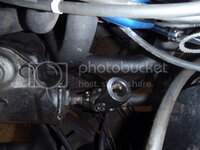
pulled the steering box
P7260004.jpg

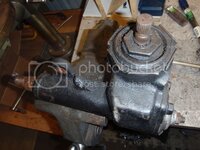
cleaned and checked for cracks
P7260007.jpg

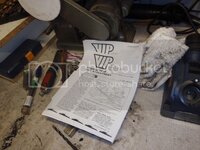
printed out instructions
P7260010.jpg

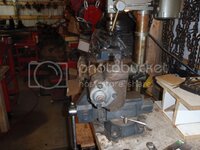
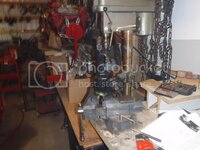
followed them
installed zerk fitting
P7260012.jpg

painted

P7260014.jpg

not in the instructions

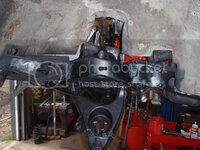
cleaned and painted the frame

P7260003.jpg
P7260011.jpg

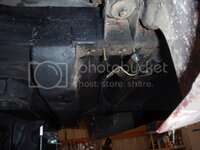
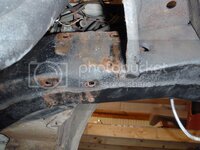
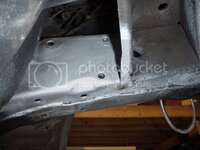
I painted it silver so when I'm checking the frame for cracks, they'd be really easy to see. I also decided the frame hasn't been pulled or wrecked - there was some question because of a dimple on the other side from the box - but now I just think it was an adjustment point because none of the welds are pulled, flanges are straight, back side is flat, in short, there's no other damage beside the dent (looks like someone got it with a BFH)
 

Latest posts

Back
Top