You are using an out of date browser. It may not display this or other websites correctly.
You should upgrade or use an alternative browser.
You should upgrade or use an alternative browser.
1937 ford hot rod project
- Thread starter bobs77vet
- Start date
00fxd
Well-known member
Looks like you got those heads off. 
bobs77vet
Well-known member
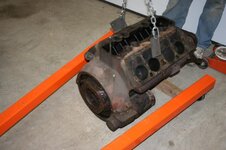
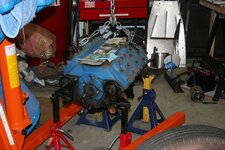
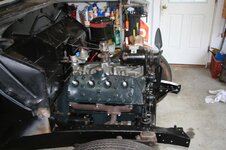
well i got the engine on the engine stand, it has the adjustable lifters in it, it has one cylinder that has been sleeved and i can see one the of the middle threaded head studs areas in the middle of the water jacket has been cracked, apparently this is common and not a big deal. i will take it apart the rest of the way tomorrow or next week. i hope it is rebuildable with out making me go broke.... i hate to put a 350 SBC in this car..... i wonder what my other choices are for cheap v8s or even v6s? any thoughts i am not looking for too much power only 100-200 hp
bobs77vet
Well-known member
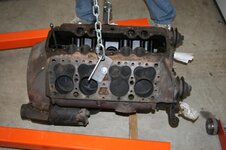
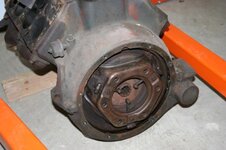
i have two pistons out....i almost think they had the engine bored then used the wrong size pistons in it......the crank has a stamp that says E 12 76. there was almost no ridge on the cylinder walls and the rings have no gunk around them, all the pistons look pretty new. it has new style adjustable lifters, if get a chance i will get out there again and take some more pistons out. the valve stems even look pretty good. have you ever seen floating connecting rod bearings?
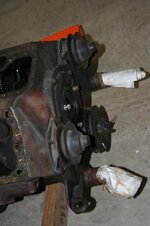
the gunk is form not having an oil filter system.....check out that fly wheel
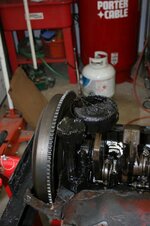
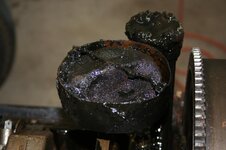
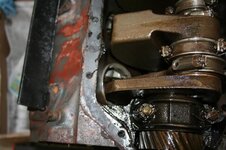
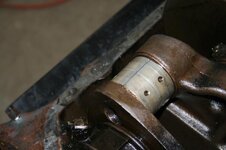
the gunk is form not having an oil filter system.....check out that fly wheel


bobs77vet
Well-known member
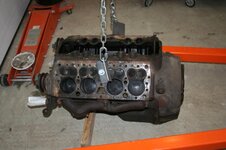
well i knew something was wrong when i pulled the heads and when i looked down the cylinder walls i could see a gap and clearly see shinny rings......well the pistons slipped right out...i mean if had the engine turned so the pistons were vertical i think they would have fallen out. turns out the pistons were the wrong pistons...they are 3 ring pistons not the 4 ring pistons it should have. i have not measured the bore yet or the pistons. i do not see any stampings on the pistons to indicate the size, std .010, .020 etc.
there was really no ridge on the cylinders and at first glance from upside down there is no scoring or any real wear.....i need to flip the engine around and look a little more.
i wonder what the acceptable clearance is from piston to cylinder bore? these are aluminum pistons and cast iron block.
there was really no ridge on the cylinders and at first glance from upside down there is no scoring or any real wear.....i need to flip the engine around and look a little more.
i wonder what the acceptable clearance is from piston to cylinder bore? these are aluminum pistons and cast iron block.
mrvette
Phantom of the Opera
I would look for a common 3.1 or maybe 3.8 engine.....or to keep it all Ford, a 5.0.....given the tops 200 hp figger....
I gotta scratch my head now, but my recollection is 8 mills for clearance on pistons.....I remember a olde tyme trick was to run drag/race engines WAY out on the loose side+ on them walls.....I curious to know if my mammory is correct....:flash:
I gotta scratch my head now, but my recollection is 8 mills for clearance on pistons.....I remember a olde tyme trick was to run drag/race engines WAY out on the loose side+ on them walls.....I curious to know if my mammory is correct....:flash:
bobs77vet
Well-known member
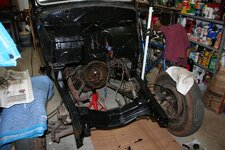
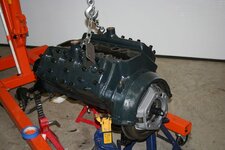
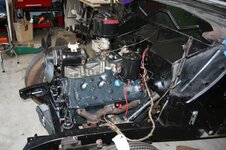
two month update.....the engine out of the car had been bored to max and has one cylinder that has a crack in it......the machine shop costs to rebuild this were prohibitive so I found another used engine from a guy in Pittsburgh and picked it up last weekend.......cylinder leak down tests are very good especially since they are being taken on a cold engine.....pulled the pan and there was not much sludge in it, I can't wait to see how it runs.....all the parts i need are ordered to put in the by pass oil filter system, new clutch kit etc.....so i am probalby not far from sticking it back in....maybe with cleaning, painting block ,retro fitting oil filter, new clutch kit may be 20 hrs of work so that will take me several weeks. will keep you posted
MYBAD79
Moderator
Good to hear you found another engine and you're making progress :thumbs:
68L71
Well-known member
- Joined
- May 13, 2008
- Messages
- 749
What is the new engine?
bobs77vet
Well-known member
mrvette
Phantom of the Opera
Dejavu all over again....looks like a old friend's.....
some 25 years ago...
:noworry:
some 25 years ago...
:noworry:
bobs77vet
Well-known member
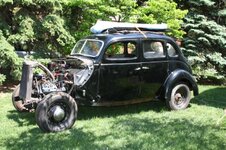
i cant believe its been almost a full 7 months from the last post ....where did the time go.....well heres the update in pictures....
this was the first car show shortly after the last picture was taken
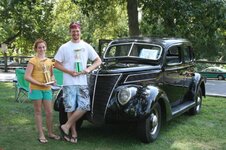
both my babies got trophies
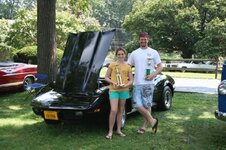
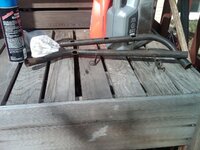
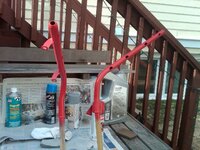
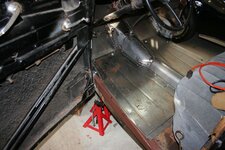
we made completely removable floor panels sitting on a square tubing frame
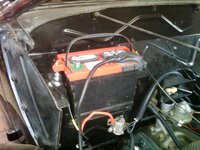
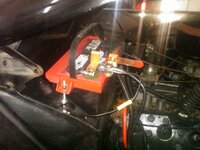
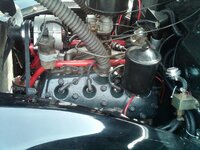
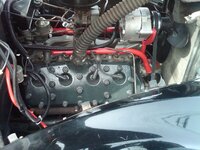
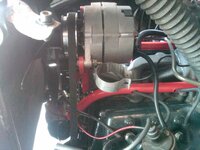
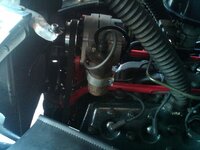
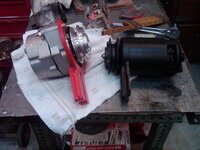
we replaced all the wiring with a home made custom wiring harness and went from gen to alt, we still need to make a cover for the wires.
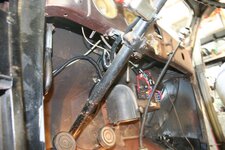
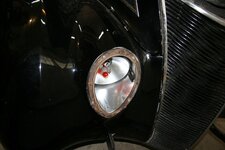
added turn signal lights halogen head lights and LED brake/turn signal lights
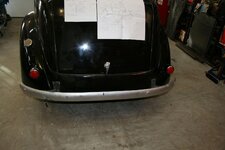
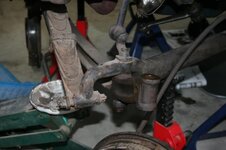
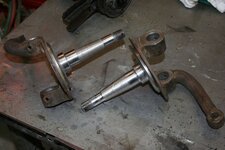
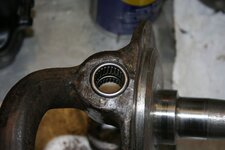
rebuilt king pin, replaced ball joints and tie rod ends and spring shackles
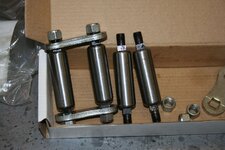
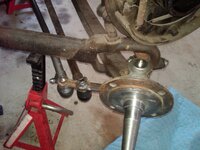
and we changed all the trans and diff fluids and i added more clutter to my garage


this was the first car show shortly after the last picture was taken

both my babies got trophies

we made completely removable floor panels sitting on a square tubing frame

we replaced all the wiring with a home made custom wiring harness and went from gen to alt, we still need to make a cover for the wires.


added turn signal lights halogen head lights and LED brake/turn signal lights


rebuilt king pin, replaced ball joints and tie rod ends and spring shackles


and we changed all the trans and diff fluids and i added more clutter to my garage


bobs77vet
Well-known member
bobs77vet
Well-known member
mrvette
Phantom of the Opera
Kingpin, trying to remember the last time I saw one....been nearly 1/2 a century....blast from the past.....:gurney::drink:
MYBAD79
Moderator
Nice work Bob, looks like a lot of fun ... 
big2bird
Charter Member, Founder Bird-Run, Cruise-In Bird-R
Glad to see your still around Bob. Busier than I have been. Kinda burned out on cars lately, but that will change.:drink:
bobs77vet
Well-known member
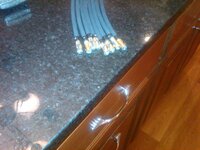
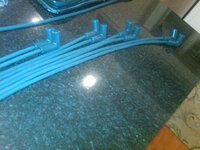
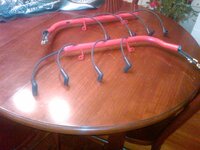
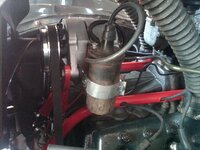
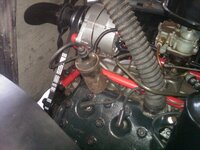
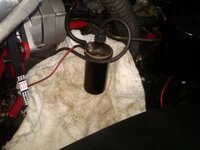
cars are funny....sometimes its work sometimes its pleasure....i am glad to say on the 37 it has gotten to the fun part again......after i put in the plug wire looms and then mount the coil the engine mechanical portion is done, except for the tune up ....and then its to doing fairly clean interior work......

