Twin_Turbo
Der Maulwurf
- Joined
- Mar 5, 2008
- Messages
- 7,575
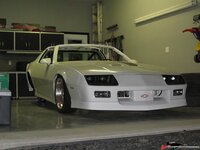
I decided that my 87 IROC needed some TLC. There were rust bumps forming on the rear fender and I had this suspicion all was not well there....I was right LOL I know no one in the US likes camaros, Irocs are trailer trash cars but I like them and don't mind spending $$$ on it.
I'm aiming for a good handling car with good brakes and good performance. The engien was pulling very strong so I'm not 100% sure I'll do a lot there. The tranny shifts very hard, has a shift kit and upgraded internals in it.
This nastyness was hiding under there...dang!
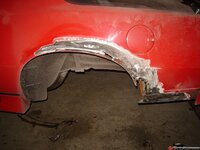
Obviously I need a patch panel for that but I'm not going to weld there with the tank still in the car because there's always been a fuel smell in that area. I figured it was the tank pressure vent but I replaced it and that didn't help. So, I had to drop the tank and for that I had to drop the axle. The Posi was shot on it anyway, and I quickly found out why. Some moron put limited slip additive in it but being a cone friction type LSD that stuff is not supposed to be in there. Both cones shot but just not touching the case...lucked out there. Time for either new cones or machine them for more clearance and shim up the difference.
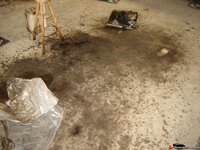
I also wanted to do something about that sticky mess under the car. Bitumen undercoating...I hate that crap.
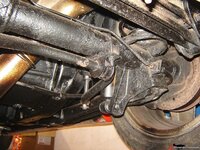
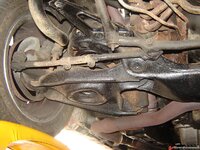
So, before I started..here's some before:
mess
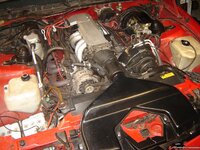
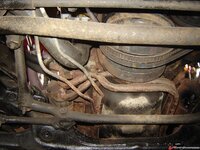
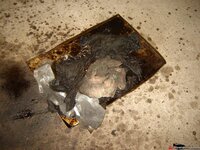
more mess and worse....rust! Can't stand rust.
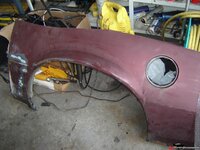
Found a camaro rear quarter here in NL, it's not 100% pristine but the part I need is mostly rust free apart from 1 small spot.
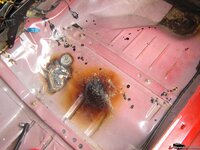
So..off we go. First I ripped out the interior and found why an exhaust cutout (was already installed) is a bad idea. Burnt floor & carpet. Nice
1st installed a new rear pulldown motor, the old one was shot
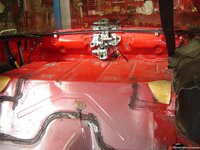
burnt floor...and a dented/welded up spot. Someone must have created some floor clearance for that cutout...what a bubba job
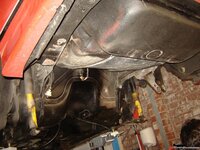
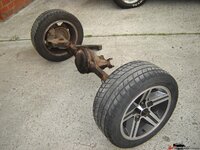
Pulled the axle
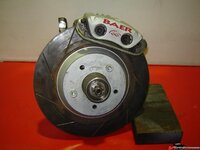
Some new parts to keep my spirits up...all that rusty dirty depressing old junk needs something to offset it
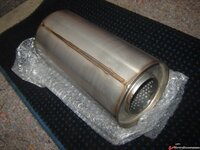
Mufflers for full stainles exh.
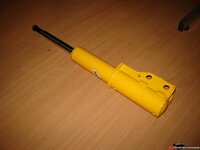
Adjustable konis
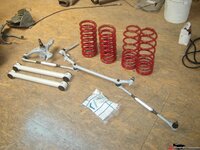
Eibach springs and all new moog steering components.
Yucky rear axle
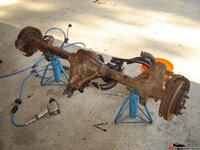
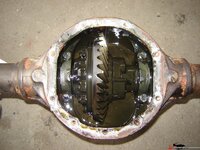
Diff opened up, stinky fluid with a hue of metal particles and limited slip additive
After cleaning (and gutting)
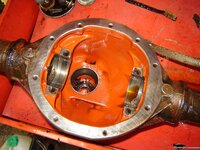
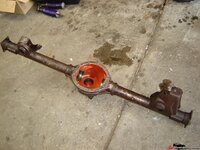
After welding on some rear control arm relocators I'll have it powdercoated.
The guts:
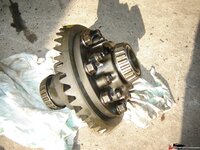
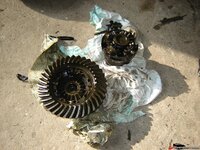
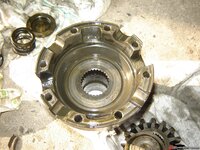
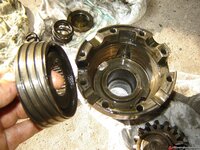
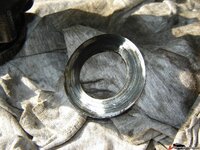
Cone worn, shim all rubbed down...time for new stuff.
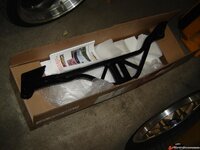
Since the car will be lowered quite a bit I needed either a shorter or an adjustable panhard bar...but I figured I wanted something better so this is it, a watts linkage:
Next I pulled the tank and instantly found where that fuel smell was coming from
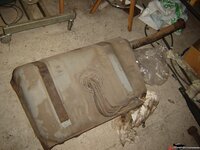
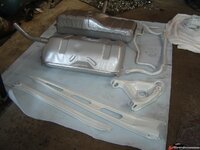
This is the problem, it's severely leaking here (explains the bad mileage too! when filling up the tank to the brim)
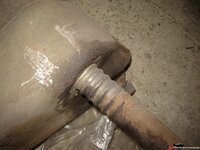
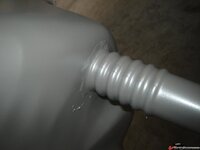
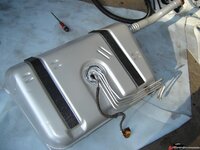
That's probably caused by someone leaning on the nozzle when filling. Not a problem, will solder that and have the tank powdercoated too.
Stripping...stripping and more stripping
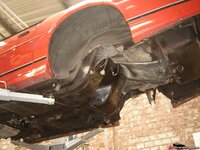
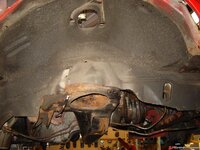
A bent radiator frame....have to fix that too (someone jacked up the car there)
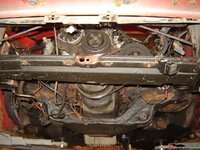
A little rust here and there too...nothing some spotblasting and my super special epoxy/rust converter won't fix
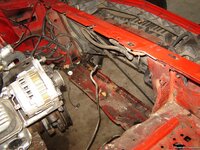
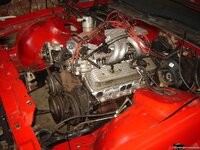
The old exhaust was hammering against the inside of the car, made a small pinhole (I cut out a larger section w/ air saw to inspect)
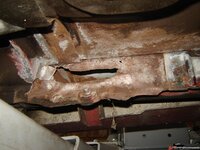
Will have to fix that, the sheetmetal is only cosmetic and for sealing off, it's very thin.
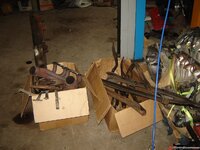
Old junk
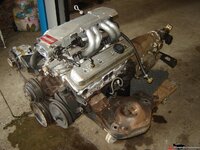
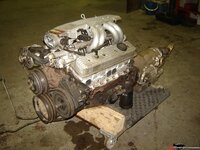
Engine pulled (dropped it down w/ front crossmember, much easier than wrestling the cherry picker)
Left with this sticky mess....now for the most fun part...removing it with kerosine.
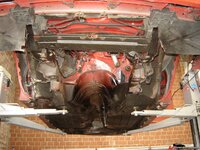
FWD >> got it all cleaned
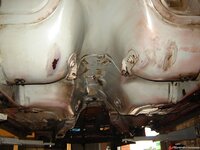
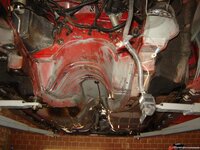
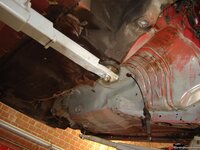
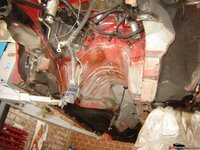
The purple spots here are bare metal where I painted on the expoxy w/ rust converter. That stuff works like magic.
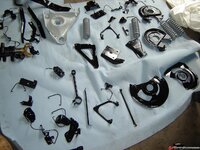
Nuts and bolts back from the plater:
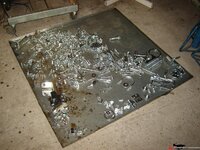
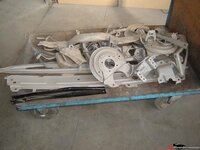
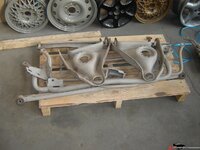
Sandblasted parts:
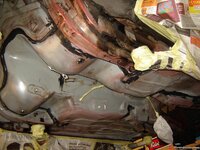
I sealed all the factory seams and there were some huge gaps here and there...unbelievable it leaves the factory like that.
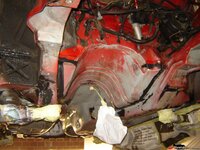
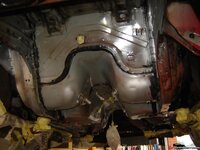
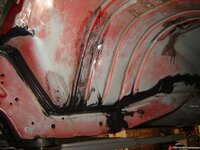
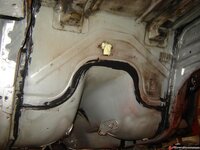
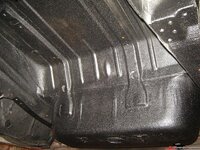
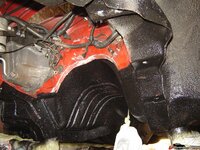
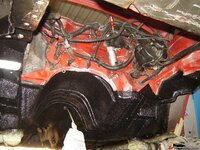
Next was spraying the underside with bedliner. Had already fixed the hole from the exhaust here and the radiator frame was hammered back into shape too. Also cleaned up the dented floor as good as I could.
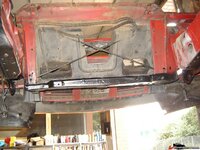
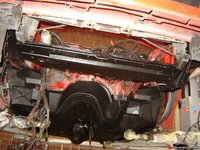
The underside
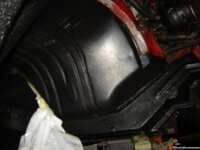
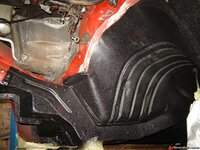
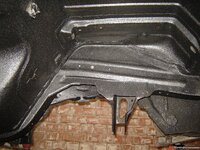
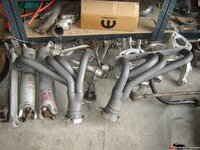
Next onto the headersI cut off the crappy collector flange deal, this always worked itself loose and caused leaks. Time for V bands. I also painted themand they will be wrapped later.
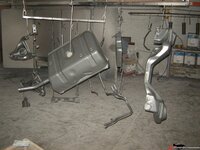
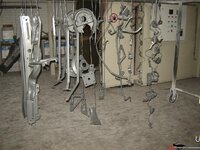
At the powdercoaters, parts in primer coating
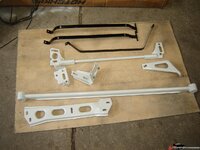
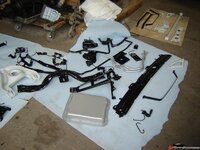
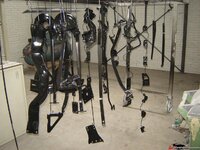
And the final coat (this is from 2 cars, not 1)
Soldered joint:
more powdercoated stuff.
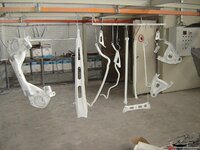
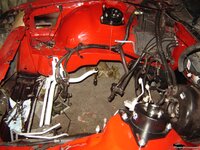
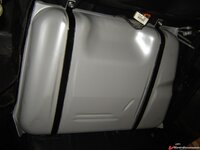
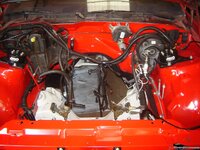
Here's some misc. progress shots from assembly after painting the engine bay.
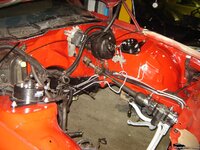
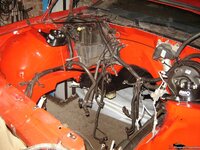
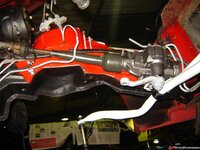
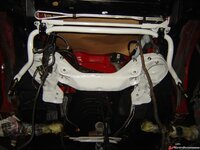
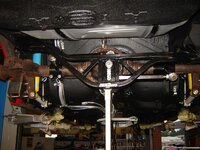
Mockup of Fays 2 Watts linkage
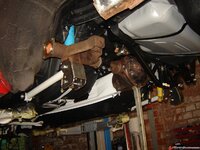
More front stuff
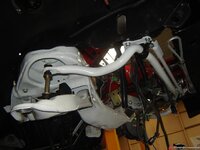
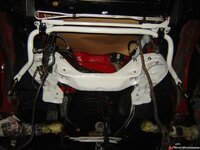
Wrapped headers...waiting on parts from Summit before the engine can go back in..and thinking about slapping on some old TFS heads I have lying around and an LT4 hotcam.
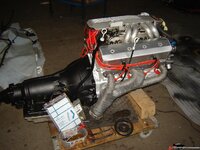
That's it for now. I made more progress but the camera is kaput.....
List of mods to the car:
Misc engine stuff like headers, possible TFS heads, LT4 hotcam
Baer 13" front brakes
Baer 12" rear brakes
Adjustable yellow konis
Eiback SportLine drop springs
Car already had 34/23mm bars. May upgrade to either 36/24 GTA/WS6 bars if needed (doubt it)
19x9.5 & 19x8.5 M6 wheels w/ 245 & 295 wide tires
Full stainless dual exhaust
Fays 2 watts linkage
Tubular rear control arms w/ lowered attachment points on axle
TA Performance rear end cover w/ girdle for the BW 9 bolt.
J&M caster adjsutable strut towers
Edelbrock Strut tower Brace
Will fabricate some intricate subframe connectors for it. Everything you can buy is only so so..and expensive to ship. I'm not paying 400$ for a bunch of steel tubing.
Have to source an aluminum LS driveshaft, they ha ve a damper much like a harmonic damper on the yoke. The steel one vibrates at autobahn speeds, this because of the crappy torque arm deisgn which does not have a good pinion angle when the susp. moves. May end up modifying the lower control arms for some adjuster rods to set pinion angle that way and do away with the torque arm altogether.
*** this project has been made possible by the Karsten Postal Repackaging & Forwarding Service in Orlando FL ***

I'm aiming for a good handling car with good brakes and good performance. The engien was pulling very strong so I'm not 100% sure I'll do a lot there. The tranny shifts very hard, has a shift kit and upgraded internals in it.
This nastyness was hiding under there...dang!

Obviously I need a patch panel for that but I'm not going to weld there with the tank still in the car because there's always been a fuel smell in that area. I figured it was the tank pressure vent but I replaced it and that didn't help. So, I had to drop the tank and for that I had to drop the axle. The Posi was shot on it anyway, and I quickly found out why. Some moron put limited slip additive in it but being a cone friction type LSD that stuff is not supposed to be in there. Both cones shot but just not touching the case...lucked out there. Time for either new cones or machine them for more clearance and shim up the difference.
I also wanted to do something about that sticky mess under the car. Bitumen undercoating...I hate that crap.
So, before I started..here's some before:
mess

more mess and worse....rust! Can't stand rust.


Found a camaro rear quarter here in NL, it's not 100% pristine but the part I need is mostly rust free apart from 1 small spot.

So..off we go. First I ripped out the interior and found why an exhaust cutout (was already installed) is a bad idea. Burnt floor & carpet. Nice
1st installed a new rear pulldown motor, the old one was shot

burnt floor...and a dented/welded up spot. Someone must have created some floor clearance for that cutout...what a bubba job

Pulled the axle


Some new parts to keep my spirits up...all that rusty dirty depressing old junk needs something to offset it

Mufflers for full stainles exh.

Adjustable konis

Eibach springs and all new moog steering components.

Yucky rear axle

Diff opened up, stinky fluid with a hue of metal particles and limited slip additive

After cleaning (and gutting)


After welding on some rear control arm relocators I'll have it powdercoated.
The guts:


Cone worn, shim all rubbed down...time for new stuff.
Since the car will be lowered quite a bit I needed either a shorter or an adjustable panhard bar...but I figured I wanted something better so this is it, a watts linkage:

Next I pulled the tank and instantly found where that fuel smell was coming from

This is the problem, it's severely leaking here (explains the bad mileage too! when filling up the tank to the brim)

That's probably caused by someone leaning on the nozzle when filling. Not a problem, will solder that and have the tank powdercoated too.
Stripping...stripping and more stripping


A bent radiator frame....have to fix that too (someone jacked up the car there)

A little rust here and there too...nothing some spotblasting and my super special epoxy/rust converter won't fix


The old exhaust was hammering against the inside of the car, made a small pinhole (I cut out a larger section w/ air saw to inspect)

Will have to fix that, the sheetmetal is only cosmetic and for sealing off, it's very thin.
Old junk

Engine pulled (dropped it down w/ front crossmember, much easier than wrestling the cherry picker)


Left with this sticky mess....now for the most fun part...removing it with kerosine.

FWD >> got it all cleaned


The purple spots here are bare metal where I painted on the expoxy w/ rust converter. That stuff works like magic.
Nuts and bolts back from the plater:

Sandblasted parts:


I sealed all the factory seams and there were some huge gaps here and there...unbelievable it leaves the factory like that.


Next was spraying the underside with bedliner. Had already fixed the hole from the exhaust here and the radiator frame was hammered back into shape too. Also cleaned up the dented floor as good as I could.


The underside


Next onto the headersI cut off the crappy collector flange deal, this always worked itself loose and caused leaks. Time for V bands. I also painted themand they will be wrapped later.

At the powdercoaters, parts in primer coating


And the final coat (this is from 2 cars, not 1)


Soldered joint:

more powdercoated stuff.


Here's some misc. progress shots from assembly after painting the engine bay.


Mockup of Fays 2 Watts linkage


More front stuff


Wrapped headers...waiting on parts from Summit before the engine can go back in..and thinking about slapping on some old TFS heads I have lying around and an LT4 hotcam.

That's it for now. I made more progress but the camera is kaput.....
List of mods to the car:
Misc engine stuff like headers, possible TFS heads, LT4 hotcam
Baer 13" front brakes
Baer 12" rear brakes
Adjustable yellow konis
Eiback SportLine drop springs
Car already had 34/23mm bars. May upgrade to either 36/24 GTA/WS6 bars if needed (doubt it)
19x9.5 & 19x8.5 M6 wheels w/ 245 & 295 wide tires
Full stainless dual exhaust
Fays 2 watts linkage
Tubular rear control arms w/ lowered attachment points on axle
TA Performance rear end cover w/ girdle for the BW 9 bolt.
J&M caster adjsutable strut towers
Edelbrock Strut tower Brace
Will fabricate some intricate subframe connectors for it. Everything you can buy is only so so..and expensive to ship. I'm not paying 400$ for a bunch of steel tubing.
Have to source an aluminum LS driveshaft, they ha ve a damper much like a harmonic damper on the yoke. The steel one vibrates at autobahn speeds, this because of the crappy torque arm deisgn which does not have a good pinion angle when the susp. moves. May end up modifying the lower control arms for some adjuster rods to set pinion angle that way and do away with the torque arm altogether.
*** this project has been made possible by the Karsten Postal Repackaging & Forwarding Service in Orlando FL ***

