Redoing that old Camaro

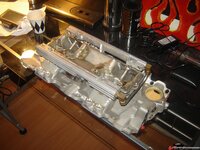
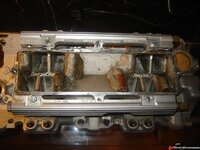
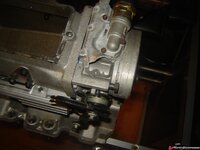
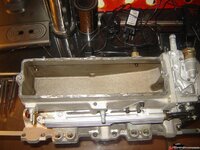
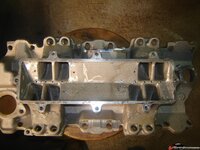
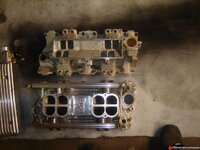
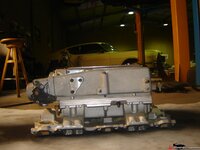
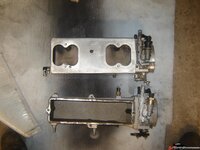
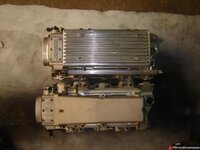
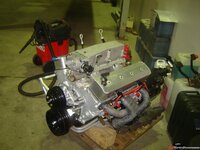
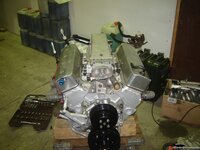
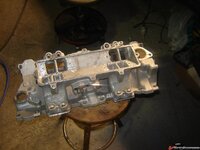
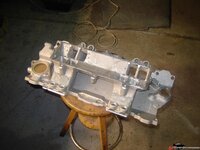
Got the prototype intake. It's most likely a GM piece, has a winters snowflake on it and a lot of porting and epoxy work done to it. Going to clean it up, most likely I'll remove some of the epoxy stuff in the plenum..it's very rough and I don't see how it improves things there....

24ae0d8ac8eead.jpg

24ae0d8ade45e5.jpg
 
That looks like a 1/2 step to the LT1 induction....

one thing I never figgered out, was why bother to change the bolt pattern on the LT production run??

:crutches:
 
bolt pattern difference? Are you talking about the 72 degree center 2 bolts? That's only for cast iron heads, happened to the TPI in 87. Vettes always kept the 90 deg. bolts, all others got the 72 deg stuff so if your manifold is off a camaro, trans am, impala...yadda yadda...it has 72deg. bolts in the middle.
 
bolt pattern difference? Are you talking about the 72 degree center 2 bolts? That's only for cast iron heads, happened to the TPI in 87. Vettes always kept the 90 deg. bolts, all others got the 72 deg stuff so if your manifold is off a camaro, trans am, impala...yadda yadda...it has 72deg. bolts in the middle.

Nah, I was thinking of the LT1 intake, bolt angles, straight up/down...same port locations,...so why change it?? TPIS had a very expensive similar casting for the L98 engine, back in the day....

I have a home made adaption of the LT on the L98 and it was a LOT of work...and that was one nagging question of why bother changing bolt locations and angles??
 
The LT1 is based on the TPIS miniram....the miniram is a pretty rough casting but it's still for sale and not cheap.

Oh, forgot..the LT1 bolt holes are different yes, the middle ones..they are not jsut a different angle, they're in a different spot too...must have been because it's easier to get to the bolt that way
 
Larry, it has to do with the instant center location and where you want it for acceleration (anti squat) and braking (reduce wheel hop), the 2 conflict and a decoupled torque arms is a short sliding shaft that connects the diff to a solid point, this is used under acceleration, under braking a large beam with a snubber up front contacts another point under the car, much like traction bars, and this makes that the snubber pushes against a fixed point and all braking torque is introduced there, to a braking instantaneous center very far forward of the centerline and down low.It takes advantage of a 2 arm geometry and a virtual swing arm/instantaneous center as a result, much like the forward links on a C4 IRS. Do you have the Herb Adams book? it's in there, mentioned briefly.

Found that someone actually makes on for a 4th gen, the 3rd gen rear is almost identical, there's just less roof in the trans tunnel. This thing won't bolt up also because it mounts to the completely different subframe horns on a 4th gen but still they have a very nice kit. Worth copying or maybe modifying.

http://www.unbalancedengineering.com/Camaro/TA/
 
More stuff done...

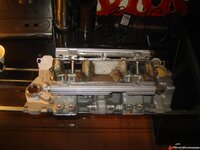
Checked out the manifold and there is some ugly epoxy work done inside, someone tried to make funnels with copper tubes and epoxy. I don't see how this is improving flow in a dry flow manifold so I removed it and radiused the port entries, also have to weld up the little holes left by the set screws that were used to secure the copper tubing sections.
24ae092dc90806.jpg

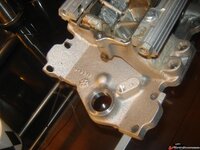
Winters snowflake, sand cast & part number.
24ae092de05579.jpg

24ae092df2ed94.jpg

24ae092e05d400.jpg

24ae092e19a47e.jpg

24ae092e2e1158.jpg

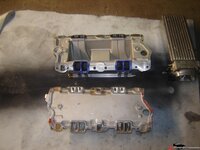
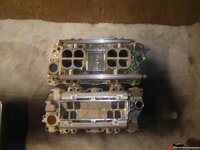
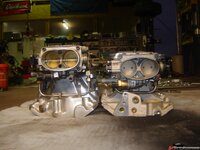
Also have some comparison shots to a Stealthram, the stealthram is a good bit larger than this one but I'm going to use this as it's unique, to my knowledge no one has one and it can't be worse than the stock TPI or the big mouth base manifold & SLP runners that I could use otherwise. The stealthram doesn't fit under the strut tower brace so it too is a no go.

Someone also used UNC bolts to hold down the fuel rails (2 of the 4 holes had a bolt) but the holes are threaded for metric threads so I cleaned the damaged threads and used allen heads to mount the fuel rails.
24ae35608915b6.jpg

24ae35609b86b9.jpg

24ae3560ac982c.jpg

24ae3560bc9823.jpg

24ae3560cda98e.jpg

24ae3560e0b13a.jpg

24ae3561356c1d.jpg

24ae3561032244.jpg

24ae356114339e.jpg

24ae356124f701.jpg

Still undecided on what to do with the pulleys, the T10 ones are a major PITA, the stockers are powdercoated but it's a serpentine/v belt combo and the huge stock pump is giving me issues with some other stuff that needs to fit there. Probably will sue a sweet or KRC pump, I have a KRC pump somewhere. I may upgrade to Canton Serpentine pulleys to get rid of the V belts. New water pump and misc. stuff underway from summit yay :D

..back to the car:

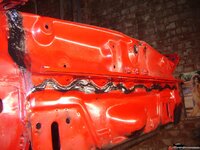
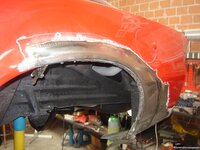
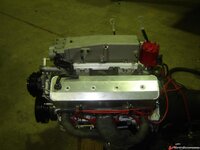
Fender as good as finished and did a mock up fit of the new manifold. Fender needs a little more grinding on the outside and some finish welding on the fender lip, the ugly weld blobs are from where zinc coating and other crap oozed out and pushed the molten weld pool out. Nothing a little grinding and some more welding can't fix. Still amazed at how these cars rust with all that zinc coating. The porous glue/sealer crap on the inside doesn't help here either.
24aededb37d66e.jpg

24aededb531b99.jpg

24aededb6d5501.jpg

24aededb800ea4.jpg

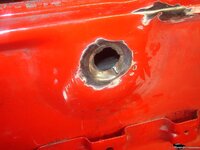
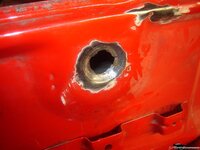
Had a little tear in the metal around the key hole...I wonder how it got there, very weird. Welded it up, ground it down.
24aee2367c0e4b.jpg

24aee236a383bb.jpg

Found some more little rust spots under the flange on the bottom there, where the bumper goes over. All the rusty areas are again where the seam sealer is..it's the same crap over and over. Already fixed the seam where the quarter panel and rear panel are spot welded together.

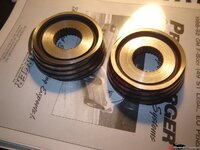
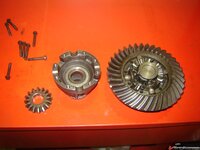
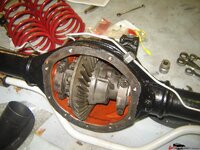
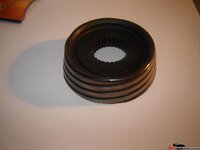
The rear axle cones need to be machined and then shimmed to get the posi working again...that's my next thing on the to do list.
24aef0c34cc672.jpg
 
so you went from a little 'TLC' to basically doing a full resto mod... TT, you are my hero

ok whats the scoop on that car in the back ground....it looks like a torino in the last picture except in an earlier picture it looks like a mustang? any way it looks like fun
 
I think that must be it, it's not the original lock and the pull down motor was destroyed too. Even the little lever that actuates the able via the lock (there's only a cable connection, the pull down motor actually closes the hatch) was bent. Explains why the lock area sheetmetal was a little bent too. All fixed now!

Bob, the yellow car? It's a 69 Mercury Cyclone 428CJ.
 
Yes, I got a brand new one (NOS), it always bothered me that it didn't work and I had to sue the key to open the rear. Some idiot also cut the main wiring harness and used those screw block things to put it back together..FIRE hazard!! I'm going to wire a big 8 pin connector there.

24a7c8aecac1ea.jpg
 
Yeah, after the camaro is done I'm going to do some work on the 82 again. It's sad to see it just sitting there with the bare steel rusty and all.
 
Finally had some time to do something constructive...

Got the rear all fixed all rust holes welded up, ground down and epoxied, seams sealed...done!!

24afb30c9ef44e.jpg

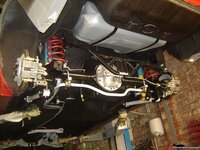
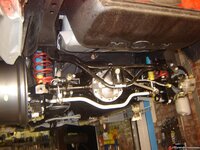
I got the rear axle in, another big hurdle crossed. Posi all shimmed up nice and tight.

24b056bb172c68.jpg

24b08623629dbd.jpg

Since the watts linkage required plugging off the tube vent I relocated it here, replaced it with an aluminum NPT threaded piece instead.

24b09b6ea72476.jpg

24b09b6ebeed33.jpg

24b09b6ed2436b.jpg

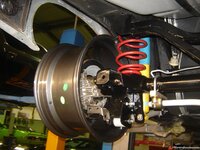
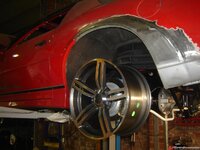
The wheels stick out just right, they are a little bit shy of being flush with the fender lip, some tire bulge will fill it right up. No need for spacers.

24b09b6ee885b3.jpg

Still need to adjust the watts linkage.

24b09b6efb6c3a.jpg
 
Top