You are using an out of date browser. It may not display this or other websites correctly.
You should upgrade or use an alternative browser.
You should upgrade or use an alternative browser.
1958 MGA Coupe
- Thread starter bobs77vet
- Start date
bobs77vet
Well-known member
removed the door glass and frame from the drivers side.....no matter how much I read the instructions in the shop manual I could make no sense out them.....so I just did it my way....
some screws holding things down
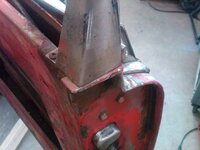
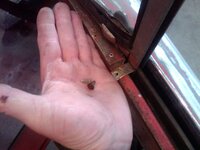
the rivets hold the door skin to the metal frame, I drilled them out because I wasn't sure
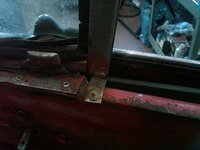
the usual grinding was required to remove several bolts
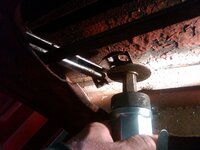
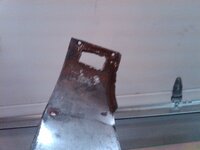
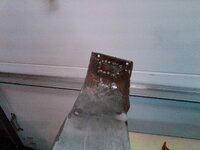
I found what a barrel nut was the hard way, there was a screw holding the front of the trim down and I couldn't figure out how to get at so after a couple hours of frustration I cut it
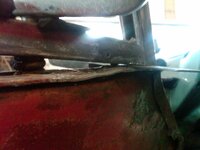
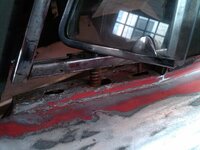
a barrel nut
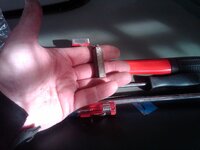
this is where the barrel nut attaches inside the door frame.....I have no idea how you are suppose to get to it though. I will see if I can figure a different way on the pass side now that I know how it all fits together
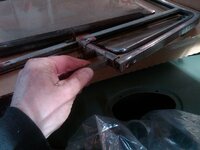
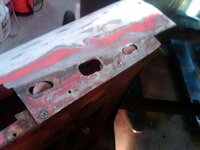
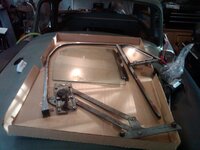
some screws holding things down


the rivets hold the door skin to the metal frame, I drilled them out because I wasn't sure

the usual grinding was required to remove several bolts

I found what a barrel nut was the hard way, there was a screw holding the front of the trim down and I couldn't figure out how to get at so after a couple hours of frustration I cut it


a barrel nut

this is where the barrel nut attaches inside the door frame.....I have no idea how you are suppose to get to it though. I will see if I can figure a different way on the pass side now that I know how it all fits together


Sam Cogley
Well-known member
I'm guessing you need a long-ass extension bar, and maybe a u-joint, to get on that thing.
SuperBuickGuy
Well-known member
I'd love to meet the engineer that comes up with stuff like that... preferably in a place where his screams for help will go unheard.
bobs77vet
Well-known member
even after taking it apart on the one side I don't know how you do it on the other side..... some how you have to remove all the door locking components, then raise the window so you can remove it from the cranking mechanism, then remove the cranking mechanism so you can get at those barrel bolts then the window and the frame can be taken out???? I have not figured out how remove the window crank mechanism when the window is still with in the frame and the frame is still in the door .....I may be making an access hole some where to help this situation out. and did I mention that the window crank mechanism has like zero clearance to be pushed out and I could only do it after I had the window frame out...and as always "installation is reverse of removal"
lets get all the door handle and locking mechanism components out
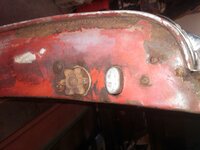
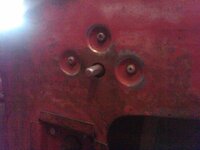
use a tooth brush to clean the threads off no need to make the situation any harder then hit with PB blaster
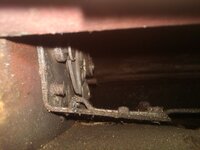
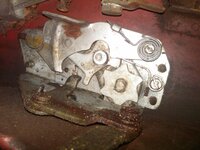
and of course the lock retaining nut is 9/16W which is just a tad bigger then 1" the key code is stamped on the cylinder, the key cylinder retaining nut will slip off the back after the small bolt is removed and the cylinder will come out
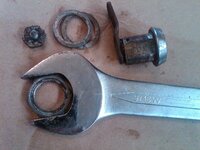
and lastly letting the door handle machine screws soak for a little while
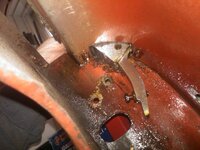
these door mechanisms are a PITA most due to the cramped space
lets get all the door handle and locking mechanism components out


use a tooth brush to clean the threads off no need to make the situation any harder then hit with PB blaster


and of course the lock retaining nut is 9/16W which is just a tad bigger then 1" the key code is stamped on the cylinder, the key cylinder retaining nut will slip off the back after the small bolt is removed and the cylinder will come out

and lastly letting the door handle machine screws soak for a little while

these door mechanisms are a PITA most due to the cramped space
Last edited:
bobs77vet
Well-known member
this is whats left of the window seal
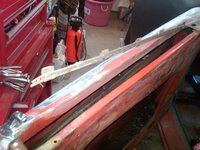
so now i move on to the pass side with my new found knowledge of whats holding it down....well after enough of sticking my hand every where I could think I found this position for the back barrel bolt
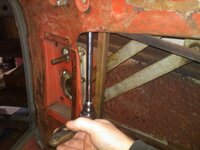
I tried every conceivable way to get at the front barrel bolt but an inner door support was in the way no matter how I moved my hands. strangely there was a 3/8" hole in the bottom of the door in the area of those two barrel bolts but I still couldn't get at the front one.
so I marked the location of the barrel bolt using the other side as the guide
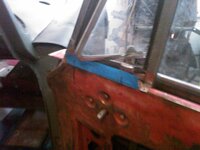
so I made an access opening
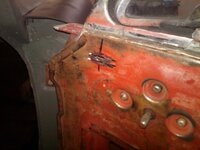
can you see the support bracket the barrel bolt is sitting on?
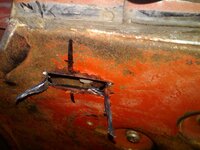
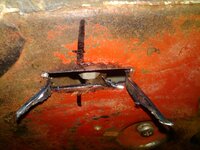
and my access window
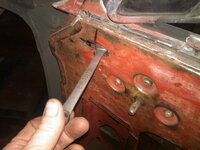
and it slipped off the bracket as I loosened it and moved down
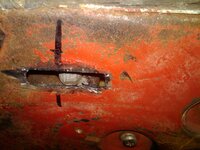
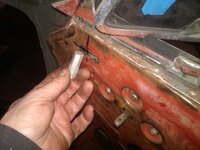
loosen up the caulking
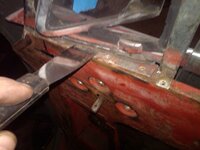
and I win, if you had any sort of a seal left you would need to remove the horizontal chrome finishing piece that covers it
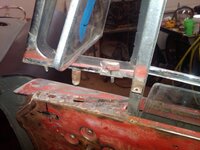
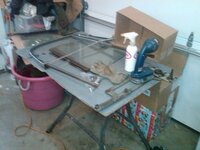

so now i move on to the pass side with my new found knowledge of whats holding it down....well after enough of sticking my hand every where I could think I found this position for the back barrel bolt

I tried every conceivable way to get at the front barrel bolt but an inner door support was in the way no matter how I moved my hands. strangely there was a 3/8" hole in the bottom of the door in the area of those two barrel bolts but I still couldn't get at the front one.
so I marked the location of the barrel bolt using the other side as the guide

so I made an access opening

can you see the support bracket the barrel bolt is sitting on?


and my access window

and it slipped off the bracket as I loosened it and moved down


loosen up the caulking

and I win, if you had any sort of a seal left you would need to remove the horizontal chrome finishing piece that covers it


SuperBuickGuy
Well-known member
I bet they put the door skin on after they assembled the innards... as I said "where their cries for help will go unheard" or better, where no one cares.
bobs77vet
Well-known member
I bet they put the door skin on after they assembled the innards... as I said "where their cries for help will go unheard" or better, where no one cares.
i can tell you that any one who has done this before falls in the where no one cares category...when i get a moment with everything out of the door i will put the frame back in and see if my hand can even reach up there, if not i make my access hole a little bigger and be done with it. there may be some strange combination of putting the parts in and tightening them up that makes this doable.....almost like putting headers on an engine in a C3......you fart around with it for 30 mins then it finds the right angle and slips in.
SuperBuickGuy
Well-known member
I bet they put the door skin on after they assembled the innards... as I said "where their cries for help will go unheard" or better, where no one cares.
i can tell you that any one who has done this before falls in the where no one cares category...when i get a moment with everything out of the door i will put the frame back in and see if my hand can even reach up there, if not i make my access hole a little bigger and be done with it. there may be some strange combination of putting the parts in and tightening them up that makes this doable.....almost like putting headers on an engine in a C3......you fart around with it for 30 mins then it finds the right angle and slips in.
C3 is easy - V8 conversions on S-10s. There's this magic moment when you realize that you have to pull the motor to get the right side header into the truck... bad words tend to happen just after that magic moment. :clobbered: Those words are especially poignant when you've already plumbed and wired the motor... want to guess how I know this?
bobs77vet
Well-known member
today I cleaned up the door windows and packaged them up for safe keeping. the question was posed to me would a planishng hammer work well to remove a crease. this was the go to tool back in the 30 and 40s to remove creases when the metal was good quality and pretty thick...so lets see how it does on an mga body panel
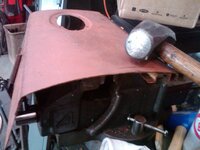
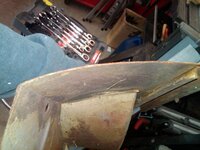
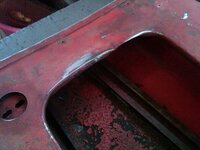
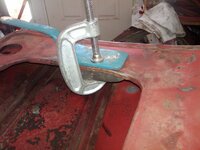
lets make a crease
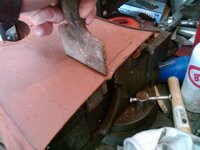
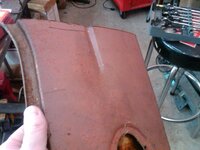
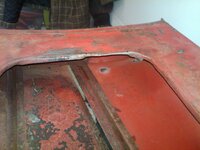
about 1 minute on the planishing hammer
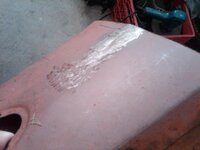
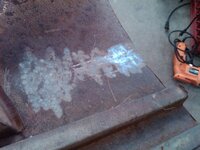
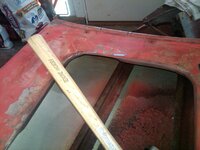
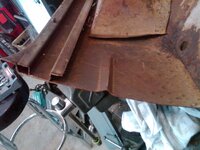
heres the rub the distortion it introduces
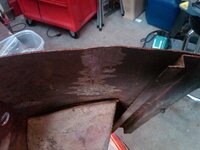
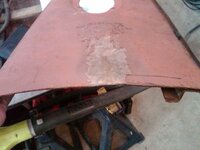
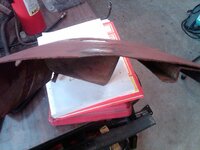
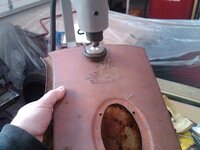
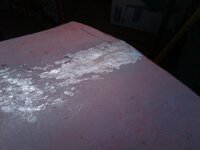
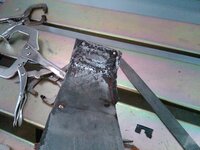
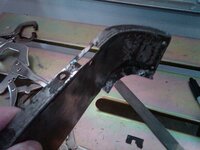
so with very little effort the crease is gone but some distortion is introduced.... I didn't take any time with this and did it very quickly you may be able to go slower and find the sweet spot to stop at or just add some heat to shrink the metal.


lets make a crease


about 1 minute on the planishing hammer


heres the rub the distortion it introduces


so with very little effort the crease is gone but some distortion is introduced.... I didn't take any time with this and did it very quickly you may be able to go slower and find the sweet spot to stop at or just add some heat to shrink the metal.
bobs77vet
Well-known member
remaining door lock hardware came off today and time to sand the remaining paint off, tomorrow the doors will come off and I will sand the doors out side
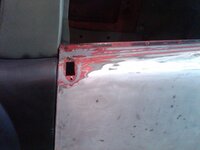
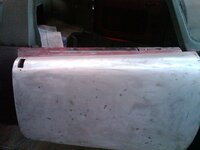
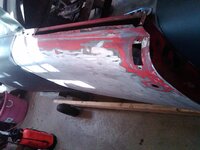
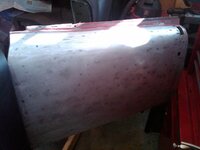
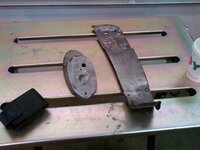
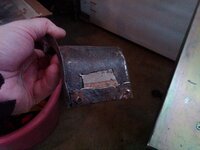
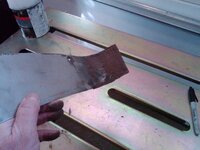
and while cleaning up I found a spacer on the floor???? does any one recognize it. it has flecks of blue paint on it......you know my son just brought over a blue pallet fork lift and it has a broken hand release mechanism and we were turning it over to look at it....any way does any one recognize this? I clean up regularly so it has to be some thing I have done recently worked on.
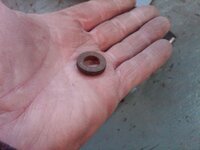
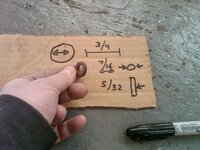


and while cleaning up I found a spacer on the floor???? does any one recognize it. it has flecks of blue paint on it......you know my son just brought over a blue pallet fork lift and it has a broken hand release mechanism and we were turning it over to look at it....any way does any one recognize this? I clean up regularly so it has to be some thing I have done recently worked on.


bobs77vet
Well-known member
bobs77vet
Well-known member
Sam Cogley
Well-known member
Ya lost a bracket there on that last /img tag. Every time someone takes a car apart, something goes missing and somehow ends up with two extras of something else. :harhar:
bobs77vet
Well-known member
Ya lost a bracket there on that last /img tag. Every time someone takes a car apart, something goes missing and somehow ends up with two extras of something else. :harhar:
added the IMG bracket, I am pretty sure that spacer is off of the pallet jack we were turning over....the blue paint kind of gives it away since the pallet jack is also blue. my car only had some blue paint on the exterior of some of the panels, but no where on any nuts,bolts, engine parts, brackets etc...
bobs77vet
Well-known member
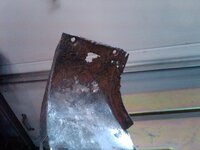
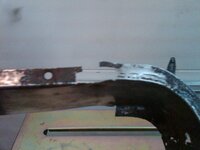
lets take care of some pin holes
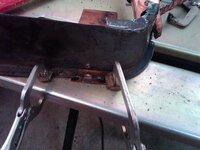
the flash light shows the spots, after much deliberation I decide to plug them this is about 1.5 hrs of work
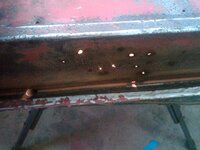
I made a nice big backing plate wrapped in copper
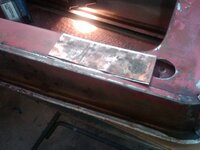
grind the area and plug the holes
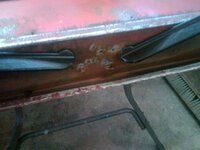
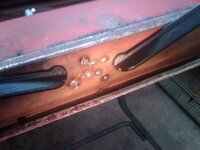
once again after final grinding when you think you are done do the flash light test
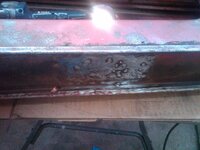
nice skim coat of fiber glass and time to move on to the next spot, I need to remove a bracket to knock that "hole" flat and the screw is frozen on the bracket so its soaking
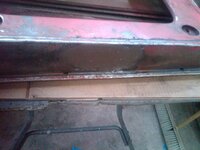
the flash light shows the spots, after much deliberation I decide to plug them this is about 1.5 hrs of work

I made a nice big backing plate wrapped in copper

grind the area and plug the holes


once again after final grinding when you think you are done do the flash light test

nice skim coat of fiber glass and time to move on to the next spot, I need to remove a bracket to knock that "hole" flat and the screw is frozen on the bracket so its soaking

bobs77vet
Well-known member
well it was a busy day today
here is the manmade hole surprisingly located underneath the first barrel bolt of the door frame.
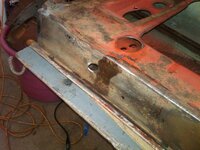
body dollys come in all different shapes and sizes this has a radius side and a flat side
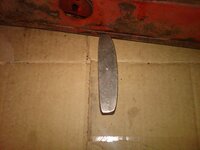
hammer from the inside "on dolly', this means the hammer hits the metal on the support dolly, off dolly means the hammer hits the metal but the dolly is not behind the striking hammer
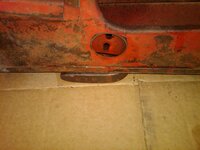
first go around
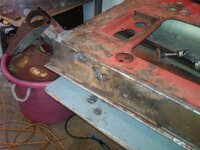
all done
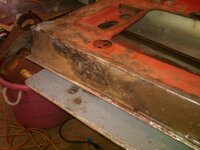
skimmed with fiberglass
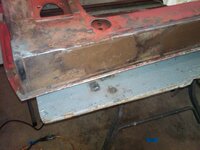
now to the work that got me no where......my son, his wife, granddaughter and dog are in between apartments so they will stay with us for a short time and the garage will be used for storage
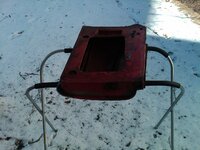
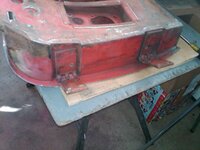
built a frame for storing the body on top of the chassis
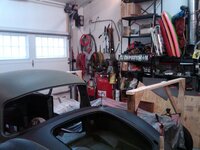
lift the current car body and frame up on to 12 ton jack stands about 24" tall
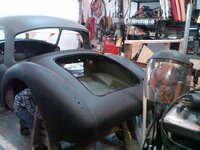
we got the heights with in 1/2" of each other then my son and son inlaw just got on either end and picked it up on to the new frame
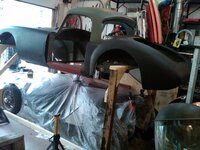
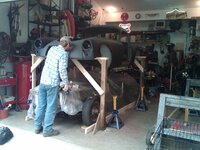
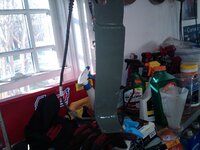
you can see how high up the blue jack stands are these were under the old car frame
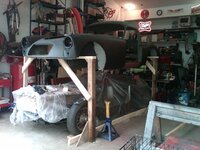
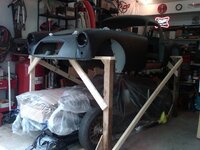
here is the manmade hole surprisingly located underneath the first barrel bolt of the door frame.

body dollys come in all different shapes and sizes this has a radius side and a flat side

hammer from the inside "on dolly', this means the hammer hits the metal on the support dolly, off dolly means the hammer hits the metal but the dolly is not behind the striking hammer

first go around

all done

skimmed with fiberglass

now to the work that got me no where......my son, his wife, granddaughter and dog are in between apartments so they will stay with us for a short time and the garage will be used for storage
built a frame for storing the body on top of the chassis

lift the current car body and frame up on to 12 ton jack stands about 24" tall

we got the heights with in 1/2" of each other then my son and son inlaw just got on either end and picked it up on to the new frame


you can see how high up the blue jack stands are these were under the old car frame


Last edited:
bobs77vet
Well-known member
Took me a couple of days to read the 70 pages and look at these pictures of the progress.
Good job Bob!
Thanks for the insight, I just took possession of an '62....you made my life much easier.
Keep it up!
Greetings from North Texas
G-Pete:drink:

nice looking coupe, I figure there are probably 1200-1800 coupes left in existence in the world, but who knows for sure. they only made 10,000 to begin with and racers have always wanted these for race cars and thats a hard life...
bobs77vet
Well-known member
well finally some nice weather, as you can see I need to do as much out side as possible
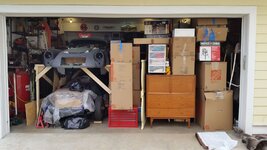
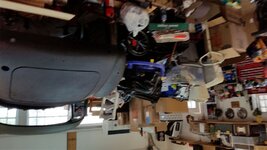
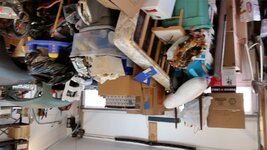
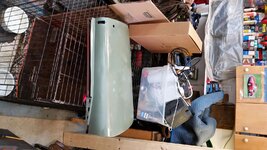
we did save some small work area and a place for the visiting 85lb beast, I mean my sons dog
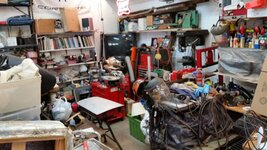
time to do some more sanding on the door skin and put some filler down, since there is no repair here it is just polyester filler
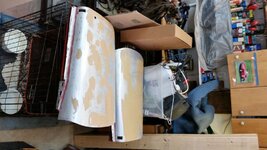
use a long sanding board so you don't get waves
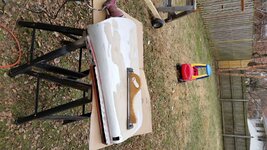
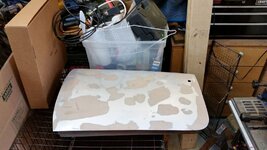
after sanding and a wipe down with wax and grease remover it gets the self etching primer. the kids and dog are away for the weekend so the evaporating primer will not bother the beast.
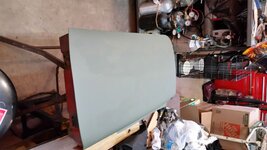
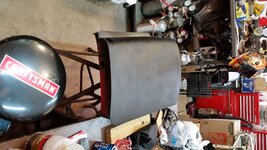
and my black primer
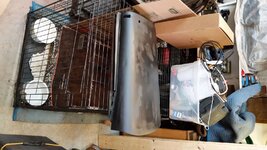


we did save some small work area and a place for the visiting 85lb beast, I mean my sons dog

time to do some more sanding on the door skin and put some filler down, since there is no repair here it is just polyester filler

use a long sanding board so you don't get waves


after sanding and a wipe down with wax and grease remover it gets the self etching primer. the kids and dog are away for the weekend so the evaporating primer will not bother the beast.


and my black primer


