You are using an out of date browser. It may not display this or other websites correctly.
You should upgrade or use an alternative browser.
You should upgrade or use an alternative browser.
1958 MGA Coupe
- Thread starter bobs77vet
- Start date
Sam Cogley
Well-known member
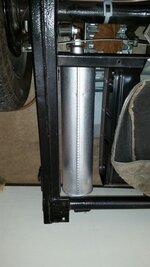
That muffler looks like new with that coat of silver ceramic paint!
bobs77vet
Well-known member
That muffler looks like new with that coat of silver ceramic paint!
you shamed me into making it right.....
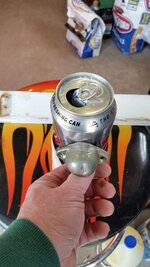
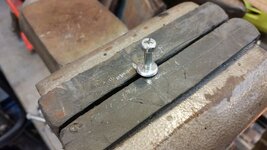
lets start with making the missing headlight adjuster.....for some reason i had to chase the threads with a die to make the screw work, not sure why perhaps it was metric...any way take the head that was a hex head with a lip and turn it on the flap disc unitl i had a nice round head.
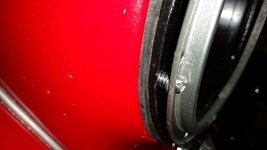
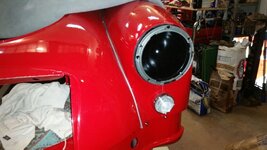
test fit the old head light lamp
lets start with making the missing headlight adjuster.....for some reason i had to chase the threads with a die to make the screw work, not sure why perhaps it was metric...any way take the head that was a hex head with a lip and turn it on the flap disc unitl i had a nice round head.
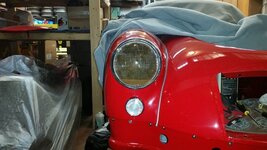
test fit the old head light lamp
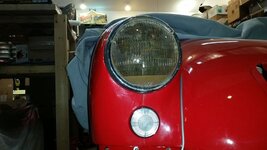
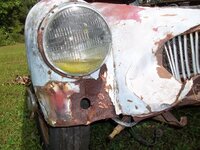
SuperBuickGuy
Well-known member
wow, just wow.
you know, I'm getting to the end of my FJ40 build - and I love the result, I have a 50 Buick (and others) waiting in the wings; but I get get C3s out of my head.... you're in roughly the same stage of completion... how did you get Corvettes out of your head?
you know, I'm getting to the end of my FJ40 build - and I love the result, I have a 50 Buick (and others) waiting in the wings; but I get get C3s out of my head.... you're in roughly the same stage of completion... how did you get Corvettes out of your head?
bobs77vet
Well-known member
. how did you get Corvettes out of your head?
there wasnt enough metal body work in the corvette, thats all. i just needed to exercise my metal working skills some. it is hard to get the corvettes out of the mind.....and i am thiinking if i am going to have only one toy what should it be.....a C2 ????? its hard to get them out of the mind. but that big ass buick would be such a fun build. i think that would but corvette fever at bay for a while
easy day today
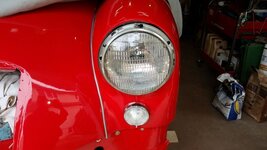
Last edited:
bobs77vet
Well-known member
bobs77vet
Well-known member
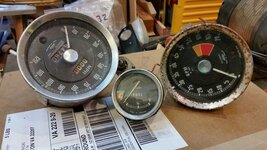
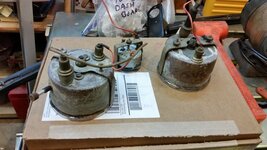
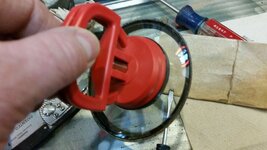
lets do the big instruments, I used a very fine 1" paint brush to carefull wipe down the inner face, to remove some cob webs on one of the gauges, these are new bezels
you can see the big O ring in between glass face and chrome ring
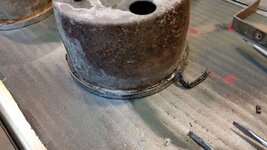
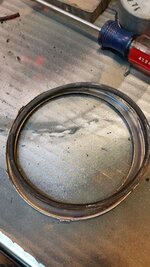
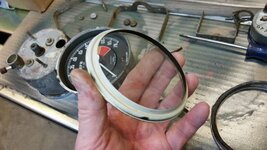
the glass wouldn't come off,easily
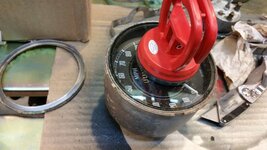
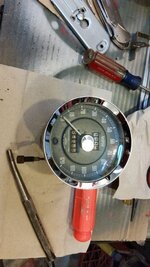
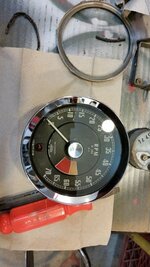
stainless steel paint to freshen it up.
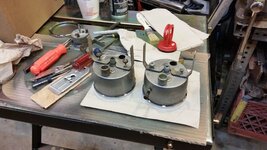
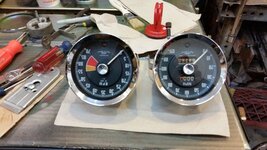
there is so little chrome on the inside of the coupe it seemed like it was worth it to me to make sure the chrome really popped out.
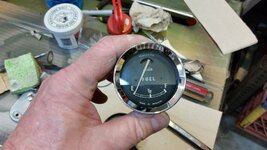
you can see the big O ring in between glass face and chrome ring


the glass wouldn't come off,easily


stainless steel paint to freshen it up.


there is so little chrome on the inside of the coupe it seemed like it was worth it to me to make sure the chrome really popped out.

Last edited:
GoVetteGo
Well-known member
Bob - You ARE a magician!! You turn "crap" into jewels. Man, it is a pleasure to look at your expertise in turning things that most people would toss, into precious, usable parts!!!
It is joy following your precesses!
Thanks for the inspiration!
John
It is joy following your precesses!
Thanks for the inspiration!
John
phantomjock
Well-known member
Glad to see you are using Mothers! We use it on all our stainless steel on deck. Have you also tried Autosol? Been giving it a go - seems similar. Will know after some long term "testing."
Beautiful, just beautiful.
Cheers - Jim
Beautiful, just beautiful.
Cheers - Jim
bobs77vet
Well-known member
thanks, we are getting there.....a little bit slower then I wanted though
bobs77vet
Well-known member
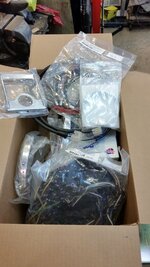
its hard to imagine I still have so many parts laying round with the car so much put together... I need to have clearer picture in my head what parts I have left
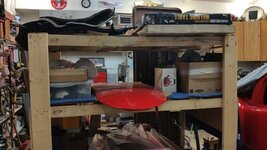
brackets
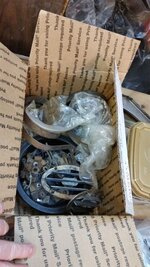
new parts
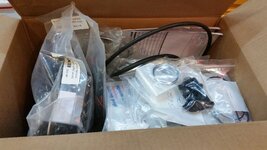
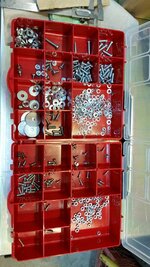
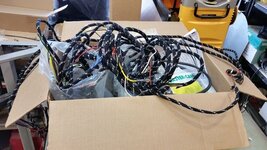
and what got my nuts all twisted.....too many nuts bolts screws washers...and I haven't even sorted the master electrical kit yet
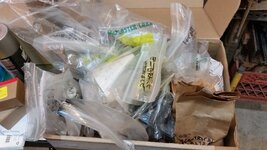
buy two parts boxes
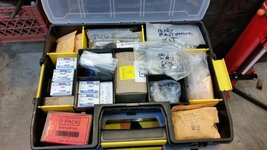
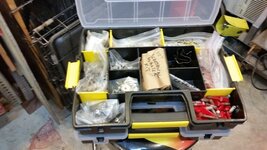
and no more twisted nuts, man do I feel better
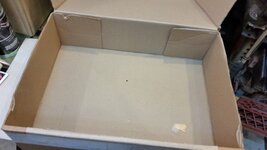

brackets

new parts

and what got my nuts all twisted.....too many nuts bolts screws washers...and I haven't even sorted the master electrical kit yet

buy two parts boxes


and no more twisted nuts, man do I feel better

bobs77vet
Well-known member
bobs77vet
Well-known member
bobs77vet
Well-known member
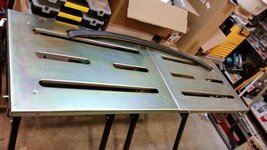
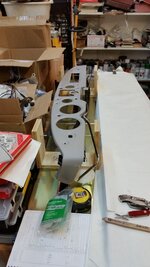
put the two tables together with screws, these are quickly becoming my favorite tables
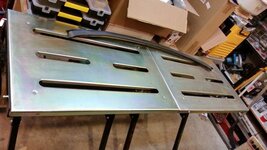
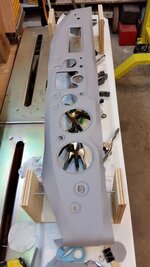
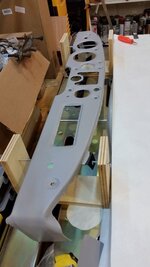
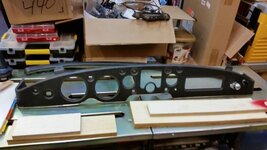
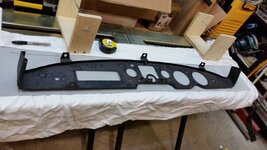
take dash out of car
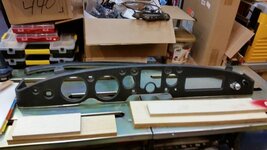
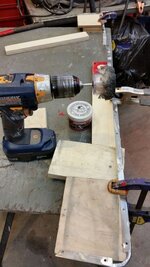
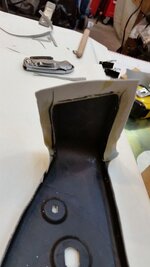
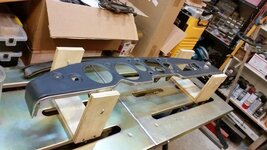
get some scraps to make a holding system for the dash
got the idea from here
https://www.google.com/search?q=reb...LAhXCRiYKHeruDQoQsAQIHg#imgrc=2d3UYa8k-uFZeM:
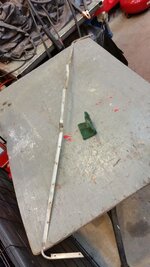
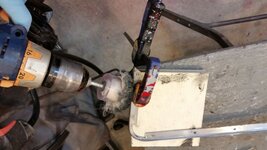
from an old file cabinet
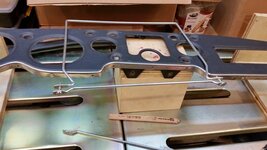
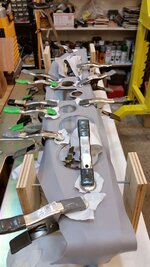
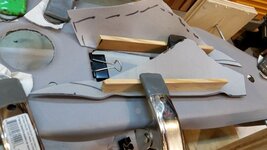
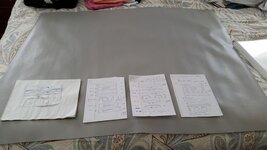
spent way too much time trying to figure a cut pattern only to determine i did not have enough vinyl to do to it all
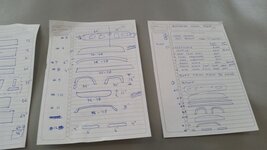
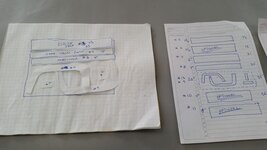
then to find out i didnt have enough vinyl fabric....... &^%$# ^&**(%$# ^%$#@!@# ... so 2 stores, 3 hours and $43 later I am now ready to continue
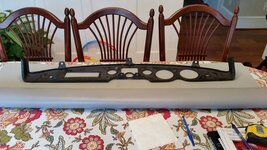
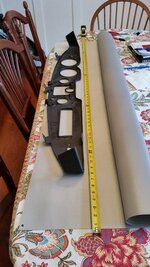
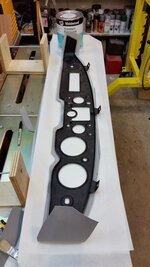
glue time when i am in a fresher mood
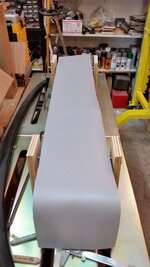

take dash out of car

get some scraps to make a holding system for the dash
got the idea from here
https://www.google.com/search?q=reb...LAhXCRiYKHeruDQoQsAQIHg#imgrc=2d3UYa8k-uFZeM:
from an old file cabinet


spent way too much time trying to figure a cut pattern only to determine i did not have enough vinyl to do to it all


then to find out i didnt have enough vinyl fabric....... &^%$# ^&**(%$# ^%$#@!@# ... so 2 stores, 3 hours and $43 later I am now ready to continue


glue time when i am in a fresher mood

Last edited:
GoVetteGo
Well-known member
Nice work Bob! I just put one of those welding tables together last week. Sturdy and easily adjustable. Harbor Freight????
I have taken on a new tact with the cars - 30 minutes then a break!!
Keep it up buddy. You give me the little push I need!!
John
bobs77vet
Well-known member
thanks and yes harbor freight on sale for like $50 each
well time to &^%$ or get off the pot as the saying goes....
dont really know what i am doing but sometimes there are leaps of faith....(.and its not the first time i have done this , these are just not skills i stay practiced on)
i am taking a break for dinner and will do more tonight
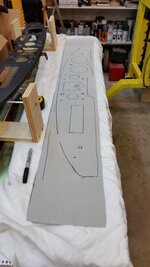
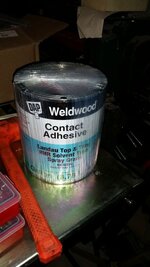
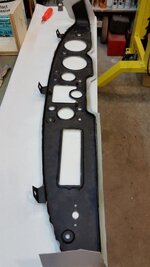
put the contact adhesive on
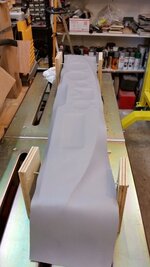
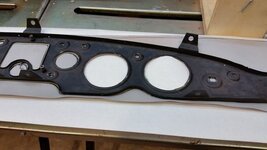
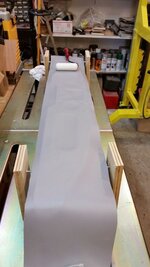
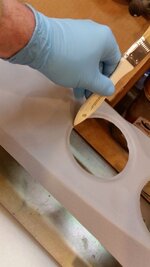
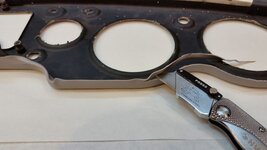
trim inside of opening
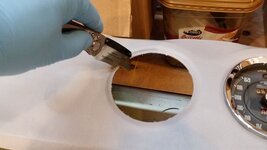
just put the gauges in for temporary pulling the fabric taught
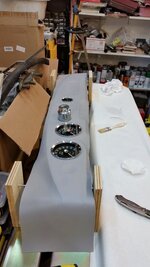
well time to &^%$ or get off the pot as the saying goes....
dont really know what i am doing but sometimes there are leaps of faith....(.and its not the first time i have done this , these are just not skills i stay practiced on)
i am taking a break for dinner and will do more tonight


put the contact adhesive on


trim inside of opening

just put the gauges in for temporary pulling the fabric taught

bobs77vet
Well-known member
bobs77vet
Well-known member
bobs77vet
Well-known member
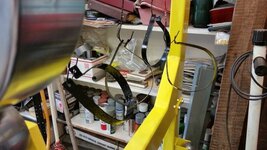
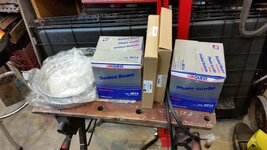
i need to move boxes out of the work space so lets see what i can move from to do......to DONE
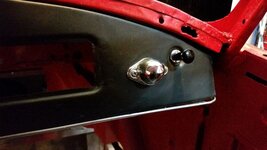
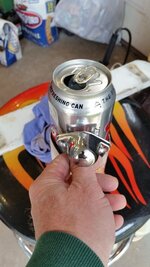
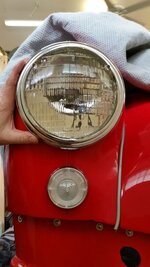
all the other head light adjusters are single slot, so let make this one the same way
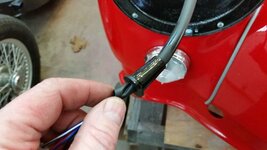
put some oil on the grommet and like to see some of the tubing on the inside
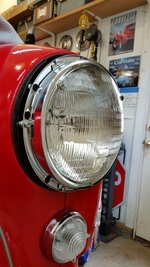
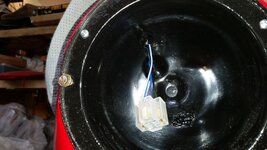
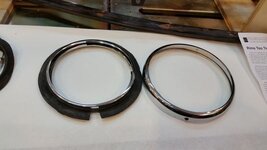
there is a dust excluder in between the outter rim and inner rim
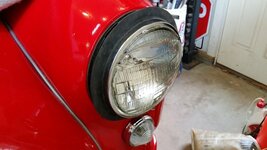
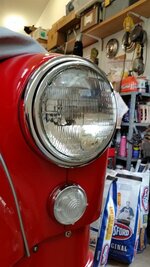
other then going back to adjust them they are done, (sorry photobucket wont let me rotate them?????)

all the other head light adjusters are single slot, so let make this one the same way

put some oil on the grommet and like to see some of the tubing on the inside


there is a dust excluder in between the outter rim and inner rim


other then going back to adjust them they are done, (sorry photobucket wont let me rotate them?????)


