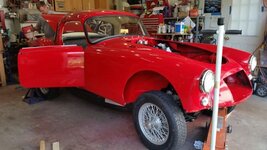
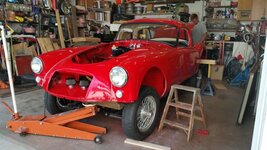
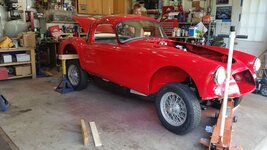
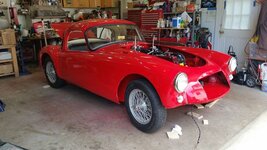
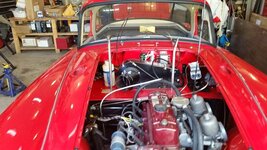
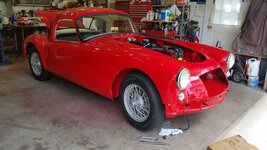
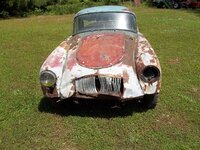
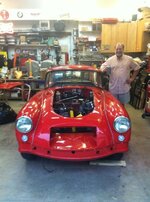
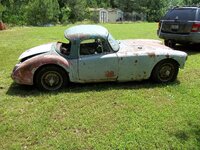
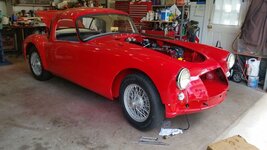
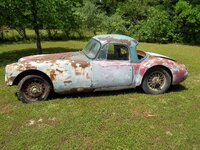
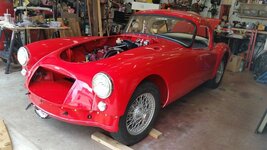
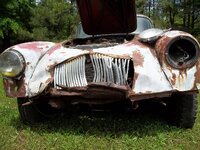
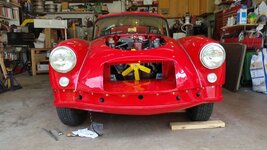
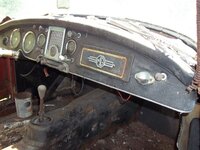
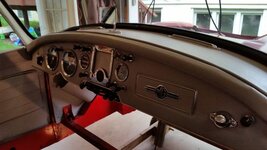
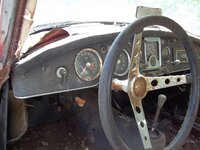
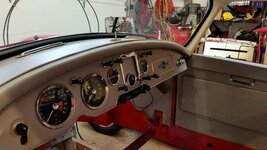
1958 MGA Coupe

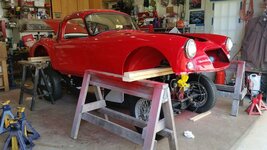
the body is on but not bolted on.

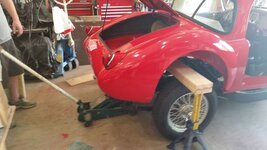
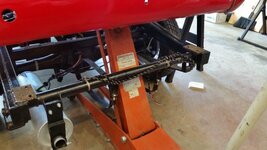
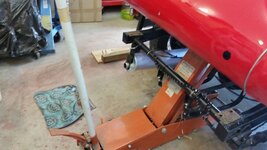
two of us about 2 hours, no lifting used the floor jacks the entire time, treated the M/C like a brake caliper, no real issues

lifting lowering the back i put two bolts in the bolt holes that were long enough that when the body came down it helped align it
20160716_110419_zpskhwc9bbw.jpg

20160716_110427_zpspw9wx0mz.jpg

treated MC like a brake caliper
20160716_111851_zpsqttzk5mx.jpg

removed all jacks under saw horses

20160716_112411_zpsd16to99c.jpg

slowly lowered went from front to back
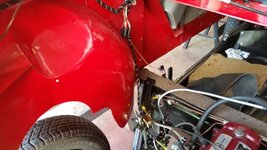
20160716_112419_zpszoeneyuy.jpg

20160716_112424_zps9ficiva1.jpg

20160716_114008_zps6phipdir.jpg

20160716_114016_zps8qkfokuw.jpg
20160716_114026_zps8vsvfbab.jpg

last spot before we could use the smaller floor jack in the back
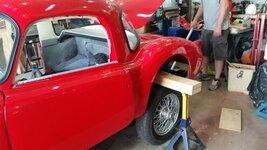
20160716_114033_zpspx9qjco6.jpg
20160716_114046_zpsvspiecgk.jpg
20160716_114059_zpsos2sbunq.jpg

20160716_122010_zpsggmtvzk7.jpg

20160716_122020_zps8wzwulc7.jpg

you can see the alignment tools sticking up to help get things lined up right
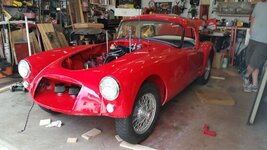
20160716_122027_zpsquoqkgwt.jpg

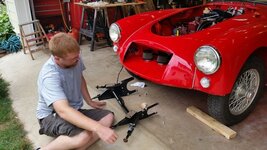
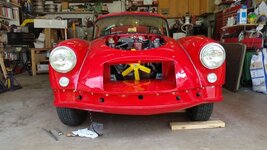
front extension install
20160716_123234_zpswovd49js.jpg

and valance

20160716_140050_zpsjvzli9hx.jpg


20160716_140111_zpsehgmhcsk.jpg

and the first drive

20160716_143924_zpsiku6575q.jpg


and measuring up from the floor the front tires openings are exactly the same height and the rear tires openings are 1/16 off....not bad

celebratory first wets

IMG950769_zpsziwiq7vg.jpg
 
Last edited:
Congratulations!
You do GREAT work.
It was so interesting following your step by step postings!
 
thanks

well my three week push to get the body on the chassis has come to a happy end....time to take a break for a little while and recharge the batteries

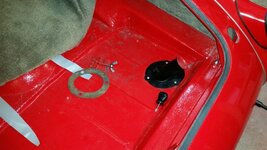
today i put most of the body bolts in , the gas tank is in and i got the brake master cylinder bracketry/pedals and MC in that is a PITA.

20160717_163826_zpsufuwrgkg.jpg


20160717_163858_zpspdp1k6ef.jpg
 
thanks guys i am super excited to have half of my garage back again too!!!

these cars are small but having them divided in half with all the other parts taking up floor space kills garage space.

left to do: put in radiator 1 hr, attach 7 bullet connectors 15 mins, wire rear lights 1 hr, put compression fitting on fuel line 15 mins, fit carpet 2 hrs, reinstall seats 1 hr, install hood 1/2 hr, install seat belts 1/2 hr. install inner fender splash guards 4 hrs,test electrical system with power supply 1 hr. install grille 3 hrs, install horn 1 hr,


unknown time frame: install door seals and a sheet metal piece that goes between inner sills and over frame opening, refurbish the window mechanisms, install bumpers and license plate bracket.

so enough to tinker through fall
 
You sir, are a magician! The real trick is that there were no tricks here, you showed us everything and the magical transformation is almost complete. What an amazing ride! :)
 
Congratulations on an excellant journey , those before/ after shots really say it all. I have been following this from the beginning and it truely is inspirational . Your thread is always the first place i check when i log on.
Well done it looks beautiful.
Are you planning to dive into another basket case rescue after this one ?
 
thanks guys...

i am not sure on the next project......after my last two C3's i really wanted some metal work.....well the last 4 years gave it too me.


it is nice to walk into the garage and see only one car.... i think its been at least 3 years the body and frame have been separated. so i need to finish this one up and bask in the after glow for at least a day or two or until the right offer comes around. the thing is that these coupes are pretty rare and just now people are realizing that, so holding on to it for a while isnt such a bad thing.. you know just putz and polish and wash the windshield.

good news is i sent the application in the mail for the antique tags and i expect them in the next two weeks, so we will be driving it very soon
 
oh boy, you're going to be a lawnchair racer? :sos:

you know, I have a Fiat(ish) project that's languishing .... I'd make you a heck of a deal on it :D
 
Last edited:
Are you going to drive it over to show the man you bought it from? I would love to see his reaction! I'm sure he'll be happy as can be to see it now.

And one more great big thumbs up from me :thumbs: This has been a very entertaining project to be vicariously involved with. I know it is finally down to all the myriad tiny details to finish up, but with the bulk of the work behind you, these little things (in my experience) become almost fun to wrap up.

Congratulations, Bob. I certainly look forward to the first drive pics & video!
 
i am excited to be at this stage of the project also, with just little things to do now and they are all "clean projects" it does move to the "fun" stage.
 
I'm at that point too, but tonight I pulled the Buick out.... but I'm still basking so the Buick deal is kind of a "when I have nothing better to do" deal.
 
vacation, house projects and family events have had me preoccupied....

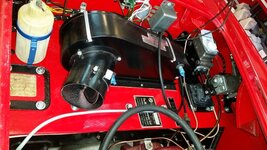
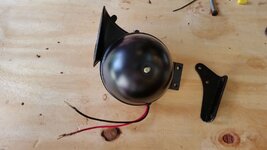
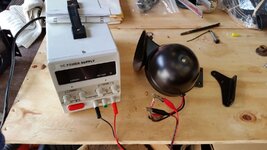
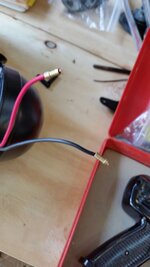
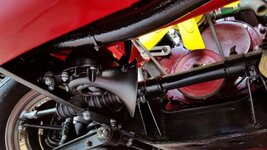
so today lets grab a low hanging fruit and get back in the swing of things....the horn install

20160825_100358_zps3pld4hlf.jpg

we test every thing

20160825_100537_zpshhlbkifk.jpg

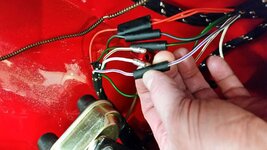
put bullet connectors on
20160825_101158_zps3gcrcw6t.jpg


and done.....where the wires are exposed at the last 6 inches or so i used shrink tubing on it zip tied closed at the ends

20160825_111712_zpsdzpdnvtx.jpg
 
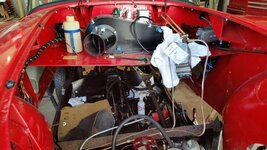
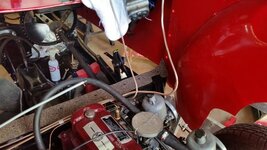
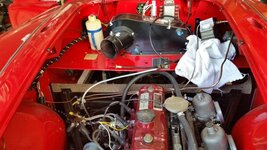
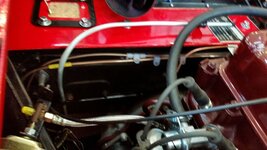
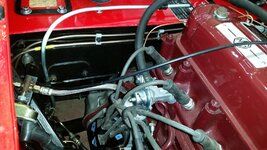
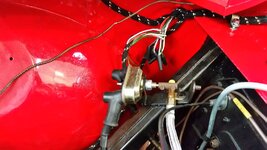
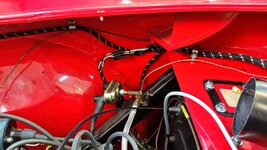
pick some more easy stuff of the low hanging fruit tree......fasten pipes to bulkhead, snap two wiring harnesses together, route safety gauge tubes

20160826_093657_zpsystjpejo.jpg

20160826_105307_zpsaxwlmed9.jpg

20160826_095336_zpsrqfifdmd.jpg

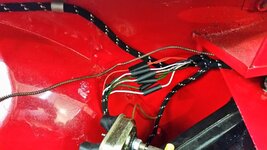
make life easy on your self and take your time sorting out the wires so they are nice and straight and then line up the striped wires so you can see both sides of the connector for easy identification in the future

20160826_100401_zpsyrhkwzfo.jpg

20160826_100813_zpsdlx29jct.jpg
20160826_104940_zpslsizivub.jpg

i am plumbing the capillary tube up by the wiring harness it looks cleaner to me.

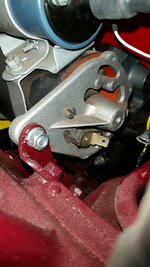
and lastly can some one confirm that the big fat 3/8 spade connector is for the heavy gauge solid yellow wire to "D" and that the small 1/4" spade connector is for the yellow/green wire to "F"

20160826_105107_zpsvykofolw.jpg
 
Last edited:
lets keep pushing.....radiator in and bonnet on.....
20160827_112511_zpsbcvsv7js.jpg


20160827_112525_zpsceyl1ocd.jpg


20160827_120009_zpsyhgauphl.jpg


and heres the sweet spot for the lower radiator hose clamp

20160827_125009_zpsdchmxzoa.jpg


i had drilled the small hole into each hinge plate when i had the bonnet aligned before disassembly and it worked great, tomorrow i will fine tune the plunger rod alignment

20160827_132438_zpsuuzcnh8o.jpg


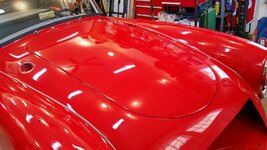
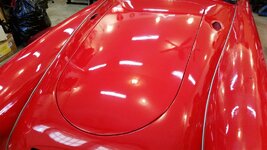
give it a quick buff its been alone by itself for a while

20160827_140516_zpsvezfkhiq.jpg


the moment of truth and probably 30 feet of edges to chip
20160827_140533_zpsnjoqojkc.jpg


20160827_142758_zpsstp4aocs.jpg


20160827_142955_zpsvjaupvih.jpg
 
adjusted the bonnet plunger and cleaned up the shop a little bit

20160828_163737_zpsnwjzi2o8.jpg

20160828_163802_zpsmbakdlj0.jpg


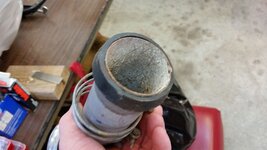
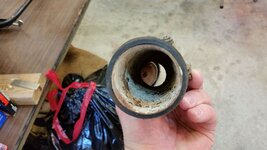
i wonder if just cleaning thie inside of this is going to be enough? any miracle cures for this crude? i have a new gas tank and dont really want to introduce any of this crude into it

20160828_165312_zpsn0bqe3te.jpg

20160828_165332_zpswwrm9ejh.jpg
 
Top