You are using an out of date browser. It may not display this or other websites correctly.
You should upgrade or use an alternative browser.
You should upgrade or use an alternative browser.
Little garage overhaulin
- Thread starter 1Michel
- Start date
mrvette
Phantom of the Opera
Watt you doing man, moving outta the house?? you old lady tossing your out, so you setting up a kitchen and dishwasher???
where you going to bunk up???
:lol::stirpot:
where you going to bunk up???
:lol::stirpot:
1Michel
Well-known member
Watt you doing man, moving outta the house?? you old lady tossing your out, so you setting up a kitchen and dishwasher???
where you going to bunk up???
:lol::stirpot:
I'll sleep in the Vette, while theres room in there.
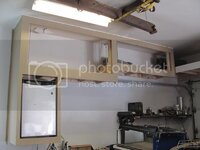
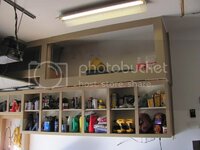
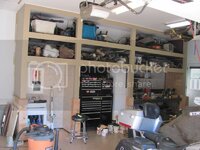
I'm reorganizing the garage, I was tired of the mess and wanted to do this for a while.
Clean up the place and make it look better.
Each time the garage is open it looked like crap and I was tired of the ugly industrial shelves.
The house is nice, I want a garage that goes with it.
mrvette
Phantom of the Opera
Watt you doing man, moving outta the house?? you old lady tossing your out, so you setting up a kitchen and dishwasher???
where you going to bunk up???
:lol::stirpot:
I'll sleep in the Vette, while theres room in there.
I'm reorganizing the garage, I was tired of the mess and wanted to do this for a while.
Clean up the place and make it look better.
Each time the garage is open it looked like crap and I was tired of the ugly industrial shelves.
The house is nice, I want a garage that goes with it.
Got tired of the wife nagging, eh????:lol::stirpot:
1Michel
Well-known member
Got tired of the wife nagging, eh????:lol::stirpot:
Not at all, trust me, she has the outdoors part and the garage is mine.
Was getting crowded in ther, I wanted to install a powder coat oven, needed a shelf for the lathe, beer fridge was in the way.
Last edited:
mrvette
Phantom of the Opera
Got tired of the wife nagging, eh????:lol::stirpot:
Not at all, trust me, she has the outdoors part and the garage is mine.
UMMM....I do the pit work on the outside, she is the creative one on the plants/landscaping/etc.....she needs help, she calls the old dinosaur....but the lair of the beast is the garage.....she tip toes through....with great caution....:lol:
phantomjock
Well-known member
If she buys you a hotplate or microwave -- look out! 
Seriously, Nice work. It's been an inspiration for me. I have no sqft for the sink/urinal, but some nice options to consider.
Cheers - Jim
Seriously, Nice work. It's been an inspiration for me. I have no sqft for the sink/urinal, but some nice options to consider.
Cheers - Jim
1Michel
Well-known member
I do have a small microwave that came from my big truck.....
Now I know why she didnt want to get rid of it...
Anyway, Back to the garage organization.
The engine hoist was a pain in the rear to store when not needed,
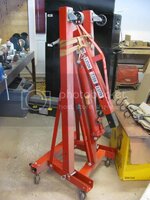
So.
I installed on it 3 small casters.
2 in the bottom part
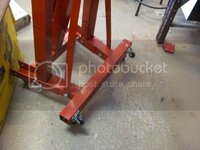
And 1 on the top part.
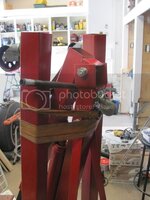
Note that I attached the tower to keep everything in place, I used the pump bar.
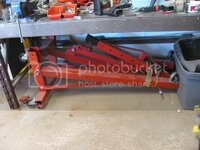
All was left to do was to lay the hoist on the casters and roll it under the workbench.
It's out of the way and easy to roll out of there.
Now I know why she didnt want to get rid of it...
Anyway, Back to the garage organization.
The engine hoist was a pain in the rear to store when not needed,

So.
I installed on it 3 small casters.
2 in the bottom part

And 1 on the top part.

Note that I attached the tower to keep everything in place, I used the pump bar.
All was left to do was to lay the hoist on the casters and roll it under the workbench.
It's out of the way and easy to roll out of there.

Last edited:
phantomjock
Well-known member
Another Clever idea for me to clone! WHen I saw the first picture - was thinking - how will that be "sky-jacked" (like the compressor) to the ceiling?!
Thanks - Jim
Thanks - Jim
1Michel
Well-known member
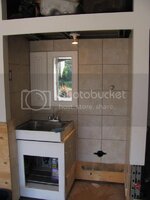
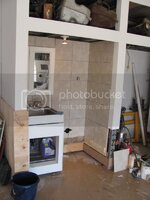
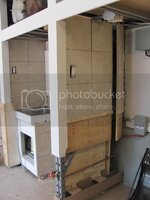
Today, more tiling, this time on the tool box area.
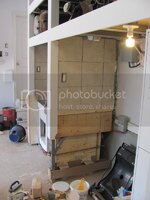
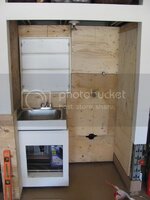
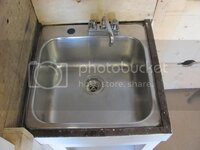
I also made a little door so I could have access to the urinal plumbing and other electrical.
Couple of piano hinges I had from a previous project.
Used some 3/4 inch self tapping bolts to the frame.
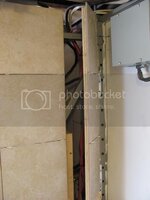
once the door is closed, youll never know it's there.
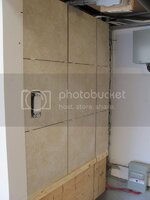
Also did the tiles on the other side of the tool box area.
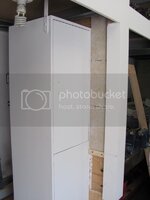

I also made a little door so I could have access to the urinal plumbing and other electrical.
Couple of piano hinges I had from a previous project.
Used some 3/4 inch self tapping bolts to the frame.


once the door is closed, youll never know it's there.

Also did the tiles on the other side of the tool box area.

1Michel
Well-known member
Not much of an update on the garage makeover,
I didnt know how to cover the water spigot so I made a little door.
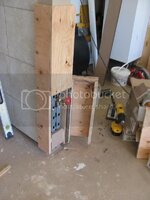
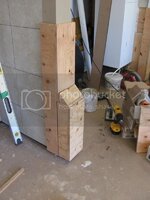
Then I mocked up some pieces to see how the trim would fit.
I covered the bottom of the shelving with plywood, much tougher base and better water resistant than MDF.
The plywood part will be covered with a Rustoleum product called Stone effect, the trim will be hardwood and painted.
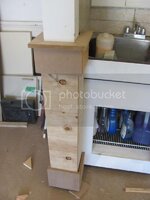
I didnt know how to cover the water spigot so I made a little door.


Then I mocked up some pieces to see how the trim would fit.
I covered the bottom of the shelving with plywood, much tougher base and better water resistant than MDF.
The plywood part will be covered with a Rustoleum product called Stone effect, the trim will be hardwood and painted.

1Michel
Well-known member
phantomjock
Well-known member
You have TWO fuel tanks! (above the sink area) -- Man that's Nutz!:bonkers:
Wanna 3rd?!
Just kidding -- Progress is looking Very Good.
Cheers - Jim
Wanna 3rd?!
Just kidding -- Progress is looking Very Good.
Cheers - Jim
1Michel
Well-known member
You have TWO fuel tanks! (above the sink area) -- Man that's Nutz!:bonkers:
Wanna 3rd?!
Just kidding -- Progress is looking Very Good.
Cheers - Jim
The grey one is brand new, never used and the rusty one is the original from the car, been flushed out with water before I stored it.
I have most of the chassi in double somewhare in there.
Front and rear suspension, diffs, steering box etc.
Actualy I have 3 steering boxes, the original, the one from the new frame and the Borgeson installed on the new frame.
Theres also a 1959 Evenrude outboard motor somewhere in there LOL
Last edited:
1Michel
Well-known member
Ok a little update.
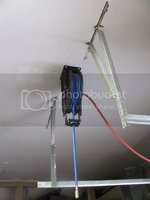
So I wanted to relocate the air hose reel, I wanted to put it between the garage doors frame.
late I'll probably build a box to cover those frames and the reel.
Saw that somewhere and I liked it.
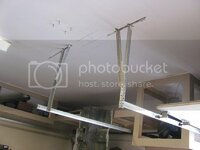
It was a pain in the butt because must of been 100 deg in the attic.
Relocated, the red rubber hose is temporary.
I'll get to the air plumbing later.
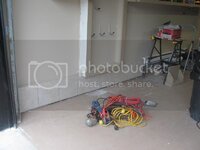
Last week, I installed a bit more tiles.
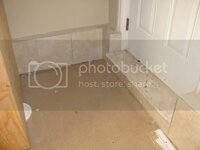
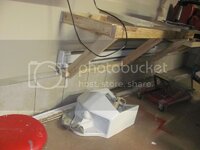
Then I painted the walls.
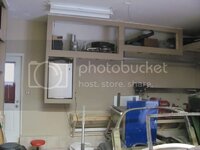
And a few othe things.
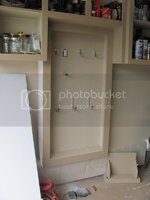
The reason I didnt paint the ceiling yet is because the old Vette's frame was in the way.
Denpo and another friend came to visit and we took it down.
It's now resting in the yard.
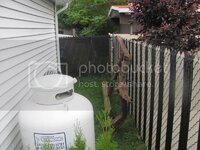
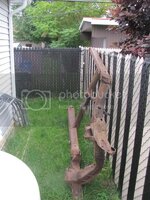
I also took out all the neons lights and cleaned them up.
Next, is painting the ceiling.
So I wanted to relocate the air hose reel, I wanted to put it between the garage doors frame.
late I'll probably build a box to cover those frames and the reel.
Saw that somewhere and I liked it.

It was a pain in the butt because must of been 100 deg in the attic.
Relocated, the red rubber hose is temporary.
I'll get to the air plumbing later.

Last week, I installed a bit more tiles.


Then I painted the walls.

And a few othe things.

The reason I didnt paint the ceiling yet is because the old Vette's frame was in the way.
Denpo and another friend came to visit and we took it down.
It's now resting in the yard.


I also took out all the neons lights and cleaned them up.
Next, is painting the ceiling.
1Michel
Well-known member
Appart a bit of clean up, theres not much of an update to show in the garage.
BUT
My son Mathieu came over today and we have been talking about building a powder coat oven for a while using aluminium studs.
He's a drywall and metal studs installer and was an easy task for him.
As soon he got home, he started to build the frame for the oven.
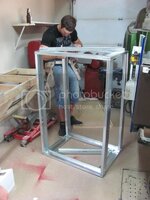
didnt take him too long and the box was finished
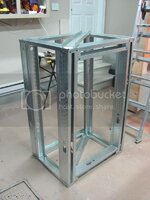
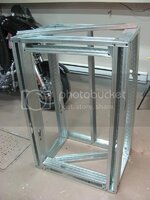
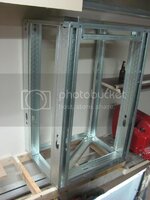
So basic frame is done and I'll start installing the rest of the mecanics, insulation, outer and inner skin and later build a door for it.
Going to be 32 in wide by 48 in high ans 24 in deep.
BUT
My son Mathieu came over today and we have been talking about building a powder coat oven for a while using aluminium studs.
He's a drywall and metal studs installer and was an easy task for him.
As soon he got home, he started to build the frame for the oven.

didnt take him too long and the box was finished


So basic frame is done and I'll start installing the rest of the mecanics, insulation, outer and inner skin and later build a door for it.
Going to be 32 in wide by 48 in high ans 24 in deep.
1Michel
Well-known member
Today, I had a little time to play so I decided to dismantle the old oven.
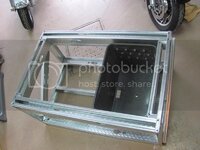
The more I took out parts the more I tought that the inner steel from the old oven would fit nicely in the new frame.
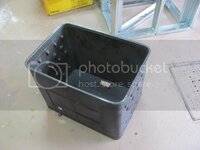
A little test revealed that I wasnt too far off about the fit.
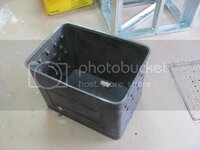
So since the old oven was dirty, I gave it a good scrub with a degreaser
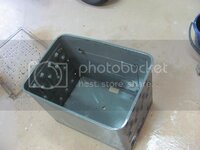
Then, all cleaned up and time to cut it appart.
I will also use the front facia of the old oven,
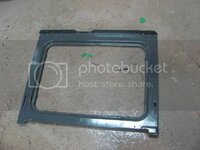
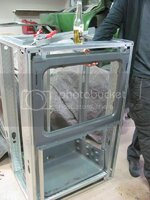
then, will get some metal weld the 2 halves together and I think this will be good enough for the inner box.
Here the fascia was cut and it will fit just fine after a little surgery.
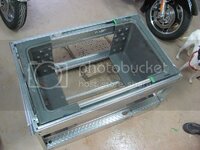
I like it because this will give me brackets for the wire shelving plus I'll be able to reconnect the heating elements, temp probe and the inside light
oh and Denpo came to help

The more I took out parts the more I tought that the inner steel from the old oven would fit nicely in the new frame.

A little test revealed that I wasnt too far off about the fit.

So since the old oven was dirty, I gave it a good scrub with a degreaser

Then, all cleaned up and time to cut it appart.

I will also use the front facia of the old oven,


then, will get some metal weld the 2 halves together and I think this will be good enough for the inner box.
Here the fascia was cut and it will fit just fine after a little surgery.

I like it because this will give me brackets for the wire shelving plus I'll be able to reconnect the heating elements, temp probe and the inside light
oh and Denpo came to help

MYBAD79
Moderator
Nice progress..... Denis made that face after drinking that Corona that you show in the 6th photo I assume ???
Oh boy, you guys have way better beers than that in Canada ..... :mobeer:
Oh boy, you guys have way better beers than that in Canada ..... :mobeer:
1Michel
Well-known member
Nice progress..... Denis made that face after drinking that Corona that you show in the 6th photo I assume ???
Oh boy, you guys have way better beers than that in Canada ..... :mobeer:
Nahh the guy can drink just about any beer LOL
:mobeer:
denpo
Carburated Nihilist
I'm a prankoholic....just.....couldn't......help :harhar:Nice progress..... Denis made that face after drinking that Corona that you show in the 6th photo I assume ???
Oh boy, you guys have way better beers than that in Canada ..... :mobeer:

