You are using an out of date browser. It may not display this or other websites correctly.
You should upgrade or use an alternative browser.
You should upgrade or use an alternative browser.
1958 MGA Coupe
- Thread starter bobs77vet
- Start date
bobs77vet
Well-known member
bobs77vet
Well-known member
well I see this going through late spring....and I have my next project tentatively lined up.
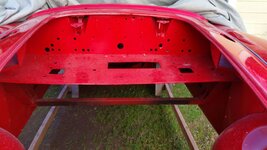
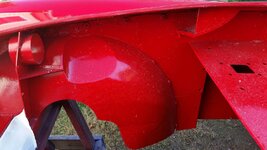
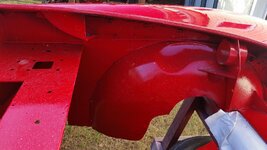
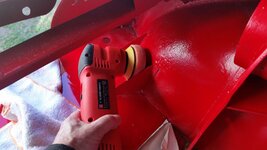
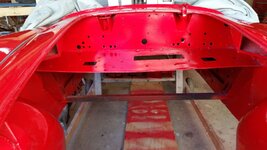
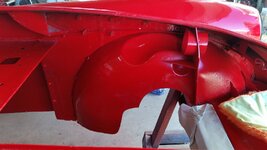
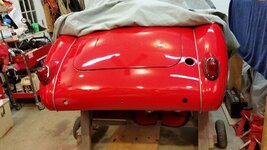
this is what I am working on today, normally you do this before paint but my ordering sequence got out of whack
I notice the holes are not even
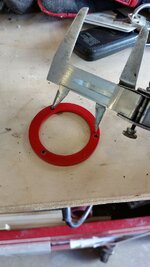
I use cardboard so I don't dig up the paint if the drill slips
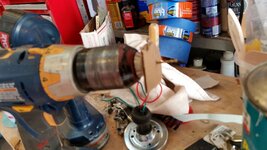
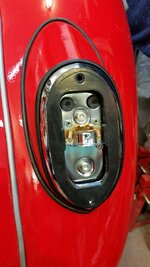
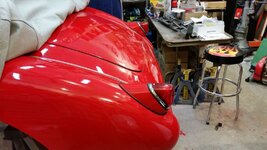
mark the hole using the light fixture and drill it out and test fit the bracket
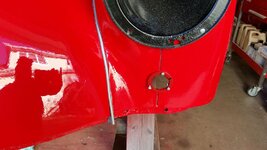
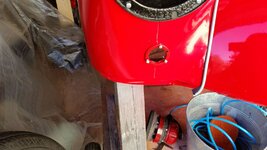
jb weld to hold it in place
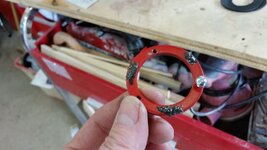
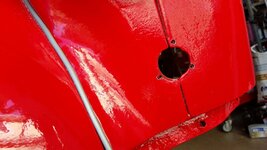
measured down from light bucket for uniformity sake
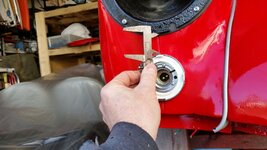
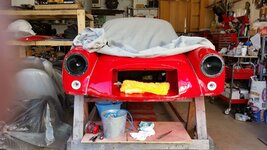
this orients them so the bars in the glass are horizontal and vertical
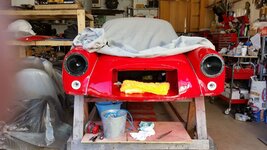
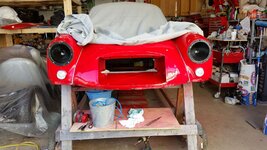
this is what I am working on today, normally you do this before paint but my ordering sequence got out of whack

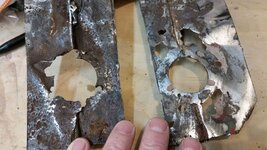
I notice the holes are not even

I use cardboard so I don't dig up the paint if the drill slips

mark the hole using the light fixture and drill it out and test fit the bracket


jb weld to hold it in place


measured down from light bucket for uniformity sake


this orients them so the bars in the glass are horizontal and vertical


bobs77vet
Well-known member
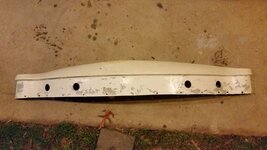
well my buddies on the forum were looking out for me and let me know of a front fiberglass valance that was for sale and Alan was kind enough to box it up and send it my way.....
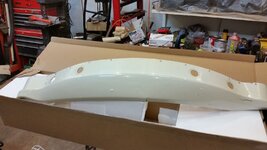
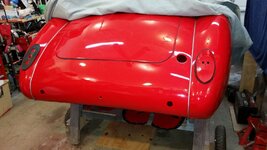
and we have our first trial fit
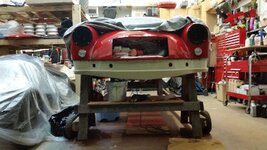
I was amazed with the 10 zillion fasteners I have that I could barely scrounge up 10 or 12 8-32 screws......
I am thinking these are going to be stainless steel hex head cap screws......more then half have functioning caged nuts the others will get a nut on the back side of them.... more fitting tomorrow.....sanding, priming will happen tues, weds and Thursday and finish painting will happen on Friday when its suppose to be 62*

and we have our first trial fit

I was amazed with the 10 zillion fasteners I have that I could barely scrounge up 10 or 12 8-32 screws......
I am thinking these are going to be stainless steel hex head cap screws......more then half have functioning caged nuts the others will get a nut on the back side of them.... more fitting tomorrow.....sanding, priming will happen tues, weds and Thursday and finish painting will happen on Friday when its suppose to be 62*
SuperBuickGuy
Well-known member
neat... so what's the next project? enquiring minds want to know. :waxer:
bobs77vet
Well-known member
neat... so what's the next project? enquiring minds want to know. :waxer:
another MGA, a roadster this time and one that has no accident damage and is in relatively really good shape. that restoration I will do to a really high standard. it almost worth doing the same car twice since you become so knowledgable about the cars.
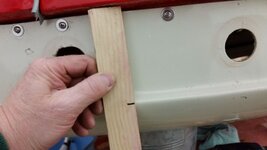
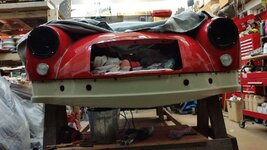
another quick hour changing all fasteners to SS pan head with SS washers.....its 8x32, tried again on the 10x32 size and it was a no go......not too much fiddling had to elongate several holes and drill three new ones for the fabricated piece I made. measured the distance along with a marked wooden stick and its dead on perfect. my guess is the previous owner spent a lot of time getting the fit right and I benefit from his effort.
tomorrow I mark the center hole for cutting out and start the stripping of the old paint.
bobs77vet
Well-known member
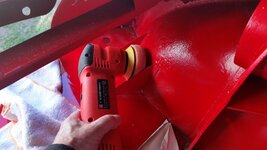
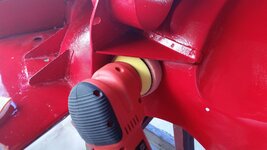
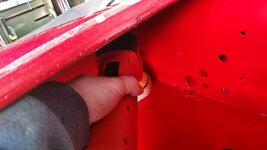
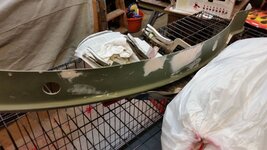
well goal for Friday is to paint it.....tomorrow night is the work Holiday party....so todays lunch time mission was to start the paint removal process
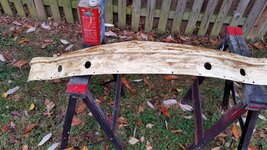
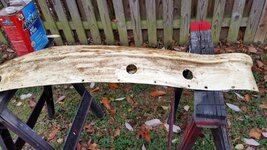
tonight it will get washed off, and the mechanical sanding process will start. strangest thing the Flat part by the bumper extension holes the paint bubbled.....the round underbelly part nothing came off, its just kind of rough. I wonder why the different results?


tonight it will get washed off, and the mechanical sanding process will start. strangest thing the Flat part by the bumper extension holes the paint bubbled.....the round underbelly part nothing came off, its just kind of rough. I wonder why the different results?
bobs77vet
Well-known member
bobs77vet
Well-known member
JRSCA said:Bob:
Are you saying that the chemical stripper didn't do the job?
John
I honestly don't know why the chemical stripper worked differently for the paint behind the bumper vs the rounder under belly. on the behind bumper part it did exactly what you would expect and bubble and peel the paint, on the rounder under belly it made it more of a hardened alligator skin? I don't know? perhaps the paint was thinner and it came off with out me noticing it (it was at night) and what was left was what I noticed.
in any event, I hit it with 150 this am
you can see the demarcation line on the under belly
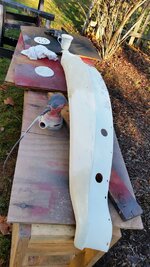
hit it with 150 to remove all traces of paint or any thing shiny and then again with 220
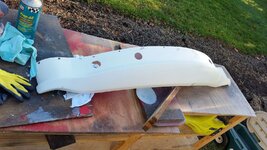
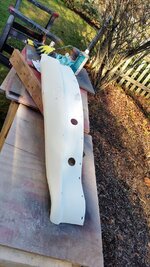
total wipe down with pre paint cleaner and then prime it with self etching primer
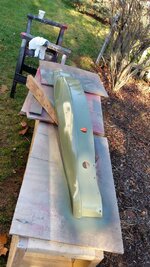
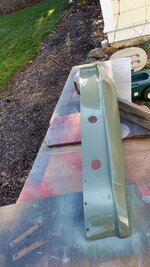
the fiberglass was so porous that I wanted to prime it immediately after getting it cleaned and the small repairs with get done later tonight with the goal to have it fully primed before I go to bed. that way if there is any paint in compatibility I should see tell tale signs before I paint it tomorrow.
bobs77vet
Well-known member
bobs77vet
Well-known member
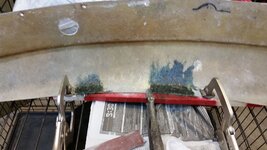
I prepped the area that I fiber glassed really well and scuffed with a 60 grit sand paper
and it worked to repair the point, basically I opened the tear which relieved the "point" and clamped it open and fiberglassed it. before it had a sharp point where the tear was. now look at the yellow spreader and it points to the repaired area which is nice and smooth
you can see the small point here on the bottom
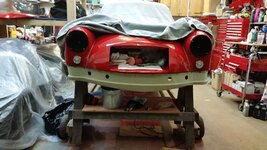
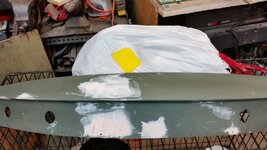


bobs77vet
Well-known member
bobs77vet
Well-known member
mostly just cleaning up today and putting away body working tools....now that's a good feeling
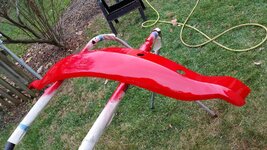
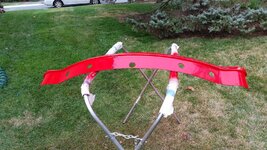
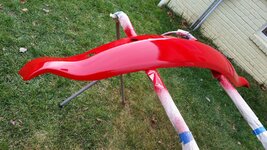
best spot for this front valance is on the car....final adjusting can come after the paint has hardened a little bit more
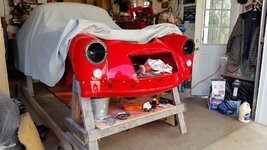
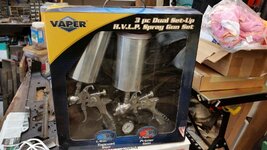
I could not get at my TCP global guns since my sons beast was staying with us and his cage is in the garage, so I used my sons guns I bought for him from auto zone, I really like these guns, may be even more then the TCP global ones
best spot for this front valance is on the car....final adjusting can come after the paint has hardened a little bit more

I could not get at my TCP global guns since my sons beast was staying with us and his cage is in the garage, so I used my sons guns I bought for him from auto zone, I really like these guns, may be even more then the TCP global ones

bobs77vet
Well-known member
bobs77vet
Well-known member
seat belt day!!!!!!!!!!!!! or may be weekend we will see....of course the seat belts are back order 
while the paint is drying I will write this and then move to the other side
Barney says you can move it further back by about 2"
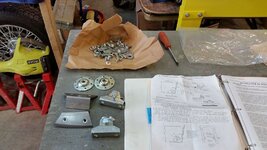
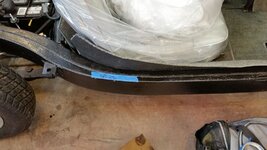
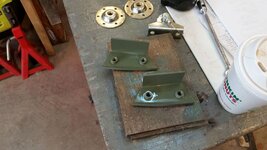
proximity to seat back at 30.5"
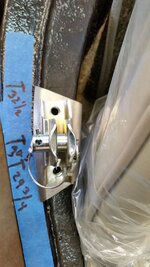
sweet spot for me at about 31.75"
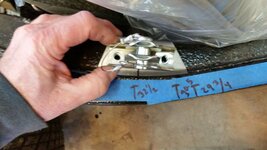
the bracket is still on the top ridge and lots of seat clearnance
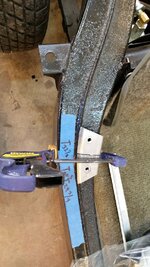
grinding outline
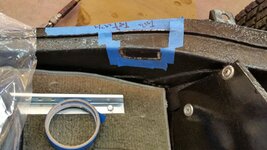
weld splatter control....what could possibly go wrong?????
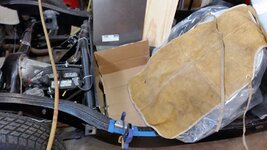
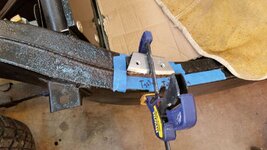
welded in place
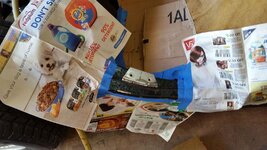
welds ground down and painted
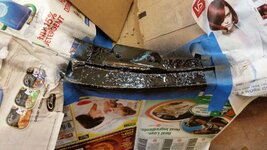
same process drivers side
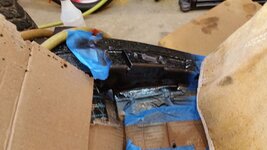
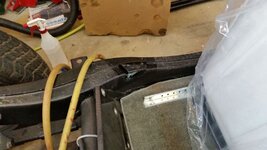
now to the tunnel mounts
while the paint is drying I will write this and then move to the other side
Barney says you can move it further back by about 2"


proximity to seat back at 30.5"

sweet spot for me at about 31.75"

the bracket is still on the top ridge and lots of seat clearnance

grinding outline

weld splatter control....what could possibly go wrong?????


welded in place

welds ground down and painted

same process drivers side


now to the tunnel mounts
bobs77vet
Well-known member
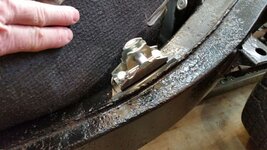
tunnel mounts....1.5" hole I drill 1/8 holes and mount the bracket backwards with 2 sheetmetal screws and then drill the other holes to size putting a screw in each one of them to hold the position and then after its all done flip it around and mount for real
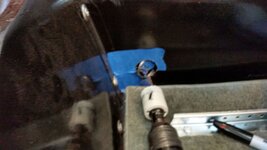
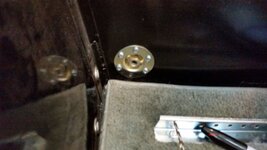
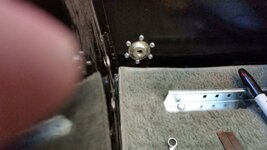
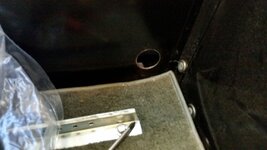
and done!!!!
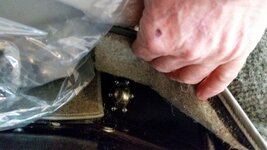
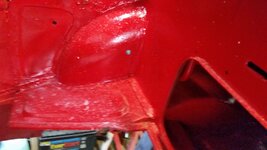
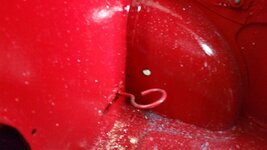
tomorrow the 3 point bolts on the inner rear fender wells


and done!!!!

tomorrow the 3 point bolts on the inner rear fender wells
Last edited:
bobs77vet
Well-known member
bobs77vet
Well-known member
well better late then never.....
this is a problem
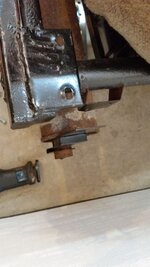
take wheel off and theres lots of access
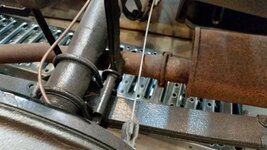
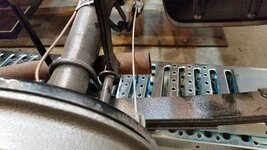
they just never seated it properly
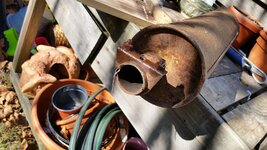
cut the inner tube with a reciprocating saw
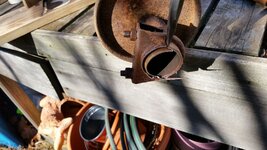
its as I suspected the exhaust was new just before the car stopped running
clean it up lightly inside
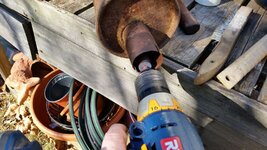
muffler clocked properly and this is at full bottom swing, it lines ups nicely
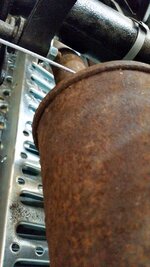
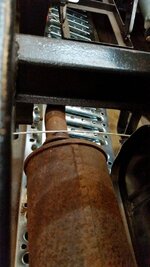
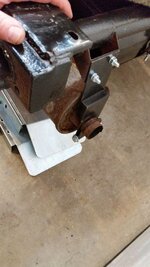
this is a problem

take wheel off and theres lots of access


they just never seated it properly

cut the inner tube with a reciprocating saw

its as I suspected the exhaust was new just before the car stopped running
clean it up lightly inside

muffler clocked properly and this is at full bottom swing, it lines ups nicely


Sam Cogley
Well-known member
Gonna hit that poor thing with some high-temp exhaust paint?
bobs77vet
Well-known member
Gonna hit that poor thing with some high-temp exhaust paint?
I am not sure what the best thing to do is.....
a zinc/phosphorus treatment then paint.....primer then paint.....just paint.....brush on paint.... spray paint....or just leave it alone
I am conflicted....it is real metal though.....amazingly not rusted through
Last edited:

