You are using an out of date browser. It may not display this or other websites correctly.
You should upgrade or use an alternative browser.
You should upgrade or use an alternative browser.
1958 MGA Coupe
- Thread starter bobs77vet
- Start date
bobs77vet
Well-known member
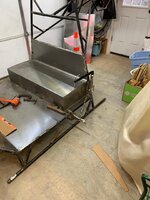
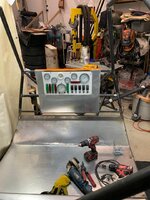
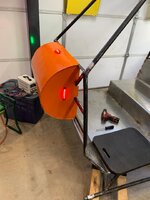
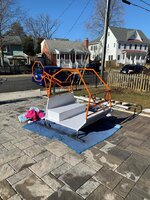
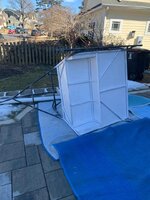
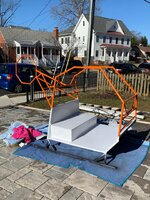
Ready for liftoff!
bobs77vet
Well-known member
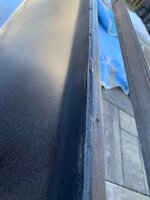
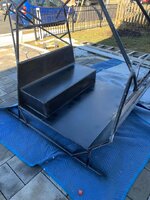
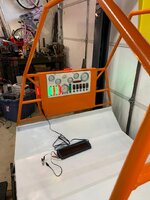
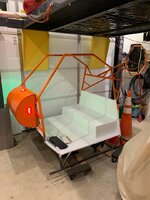
and done....battery added along with solar panel for charging, will do some final clean up on paint after it has a few more days of drying time
maybe $200 pipe, $50 gauges, $10 lights, $200 16 ga steel, $40 paint
$10 for 5 or 6 cutoff wheels, $15 5lbs of welding rod, $14 seam sealer, $10 2-3 flap wheels.
$42 battery and solar charger

maybe $200 pipe, $50 gauges, $10 lights, $200 16 ga steel, $40 paint
$10 for 5 or 6 cutoff wheels, $15 5lbs of welding rod, $14 seam sealer, $10 2-3 flap wheels.
$42 battery and solar charger


Last edited:
SuperBuickGuy
Well-known member
that thing is so awesome.... I wish my grandparents loved me that much....
GoVetteGo
Well-known member
What a work of ART!! Should give the grandkids hours of enjoyment. Nice job Bob!!
bobs77vet
Well-known member
SuperBuickGuy
Well-known member
first project in your new home is a complete success, all the rest should be easy given that you won this time.
bobs77vet
Well-known member
all right time to get back to work, the tube bumper i made with rotating attachment arms to get the postion right but i think i am going to tack weld them on the car so they dont move.....what can possibly go wrong with that strategy?
so after much deliberation i found the horizontal line to measure off of and leveled the tube bumper
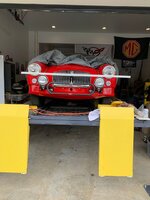
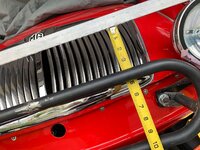

then it was no guts no glory and time to tig weld the adjustable brackets in place
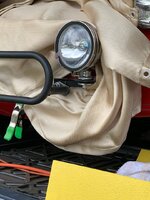
then it was time to take it make the welds a bit more real and grind off the adjustable part of the bracket and weld it up

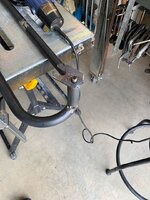
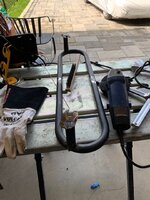
so after much deliberation i found the horizontal line to measure off of and leveled the tube bumper


then it was no guts no glory and time to tig weld the adjustable brackets in place

then it was time to take it make the welds a bit more real and grind off the adjustable part of the bracket and weld it up


Last edited:
SuperBuickGuy
Well-known member
Looks great, even from my house :banghead:
bobs77vet
Well-known member
thanks, i still have to be the worst tig welder ever.....so yesterday i made a new rule......that you should wear the leather welding sleeves ( like cut off shirt sleeves) when TIG welding in a t shirt and leaning on the metal table that you have your work piece on...
yikes when you lose focus and spatial awarness of a moment and the tungsten arcs to the filler rod instead of the work piece and your nice moist arm flesh is leaning on the metal table that the work piece is clamped to you get a little reminder that leather gloves alone are not quite enough.
i remember watching a car show with a guy welding exhaust pipes and he was getting bitten as he got into funny positions. I am happy to say today there were no repeat reminders of not focusing on the tungsten torch.
bobs77vet
Well-known member
well the helicopter is getting used!!

now back to the MGA
Honestly I did not fully appreciate how clean the TIG welds are and now much less grinding is needed with them. I try to have only one project at a time going on and I need to fix the door latch mechanism so I can drive the car.....having a bungi cord across my chest is just not the best soloution. So I need to wrap the tube bumper up so i can get to that.
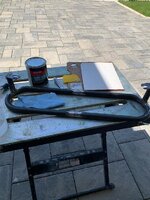
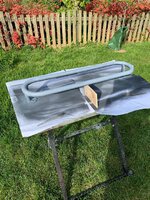
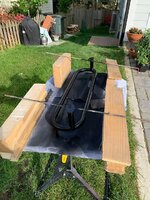
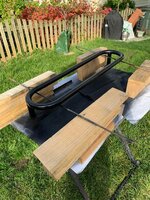
todays chore, clean up the welds, user some filler, sand, prime and paint. i decided to use fiber glass for the task. I like it because its sticky as heck and i think its less susceptible to moisture seeping in. i use the clean sheets for mixing the filler, you dont have to worry about any thing being picked up like if you usecard board.


SuperBuickGuy
Well-known member
looking good
Looks good.
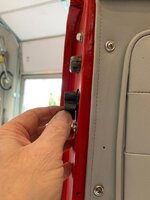
What is the latch problem?
What is the latch problem?
bobs77vet
Well-known member
rtj
Well-known member
- Joined
- Nov 5, 2011
- Messages
- 3,487
- Reaction score
- 167
I got a bad “sunburn” on my neck and shoulders when I started tig welding and welded a long time. Now I almost always wear a jacket and gloves. If you don’t have a leather “Bib” on your helmet, adding one helps reflections and keeps the neck from getting burned. I used bulldog clips to attach it.
Mines just square leather, but I might upgrade to one of these : Black Stallion FR Wrap Around Welding Helmet Bib AH2140-NS
Mines just square leather, but I might upgrade to one of these : Black Stallion FR Wrap Around Welding Helmet Bib AH2140-NS
Last edited:
Looks good.
What is the latch problem?
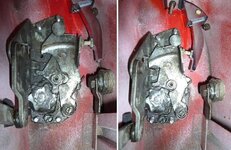
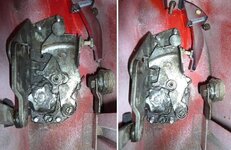
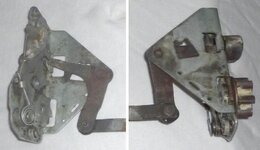
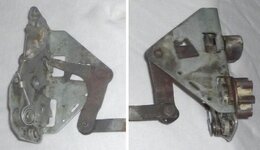
the star wheel that is on the door that turns and latches on to a cog on the body shut face pillar is no longer parallel and tight and it wobbles which disconnects from the internal parts that allows it to rotate and then hold the door in place.
That is interesting. So it's like a pinion gear that "latches" onto a tooth on the door jamb?
bobs77vet
Well-known member
That is interesting. So it's like a pinion gear that "latches" onto a tooth on the door jamb?
admittedly i am way over my head on this one, but thats not unusual for me. I am not sure how i am going to pull the repair off but heres the write up, buit you can see the internal star gear if its wobbly can walk off the internal cams
http://mgaguru.com/mgtech/coupe/cp113e.htm
lucky for me the guy who wrote this has offered to help walk me through the process.
Latest posts
-
-
-
-
-
Was member years ago dropping by to say hello.
- Latest: crazyhorse
-
-
-
-
-
-

