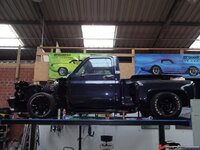
83 stepside project

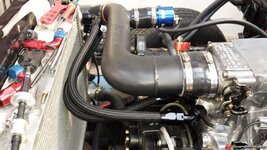
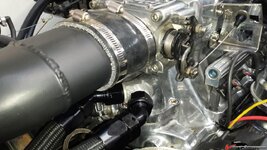
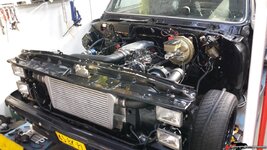
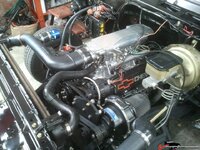
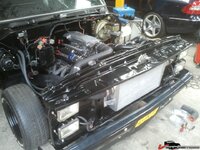
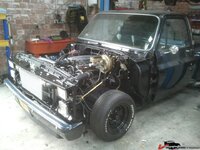
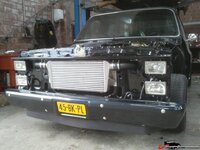
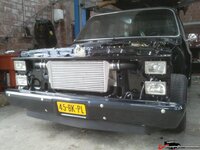
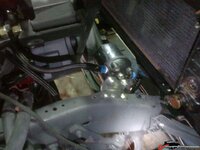
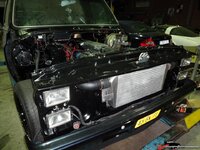
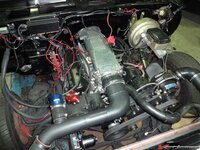
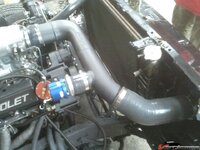
intercooler plumbing is ready, wiring is almost done.

250ba6526327ef.jpg

250ba652678ceb.jpg

250ba65259f8b1.jpg

250ba652515332.jpg

250ba652556de9.jpg

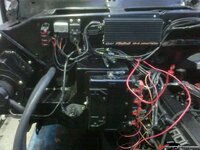
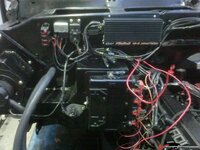
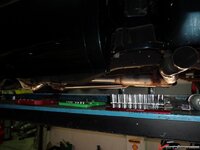
ECU, ignition box w MAP controlled dial in boost retard (normally set to 0 but in case of crappy gas I can dial in retard vs boost) Getting a bit of a cluster-f with all the wires..oh well.

250d2fcd8647bd.jpg

fabbed a trans mount for the 700R4, used a T56 mount because of the 2 stud mounting instead of just 1

250ba652556de9.jpg

fuel filter fram hpg1

250c384d897224.jpg

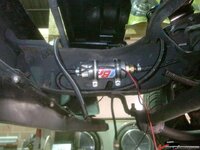
fuel pump, may add a booster pump close to the tank if it doesn't get enough fuel with the pump all the way here. This is a high flow, 125psi max dead head pressure pump. Not s stock one.

250c384d85305d.jpg

Now waiting on my new fenders later style bumper w fog lights and some other stuff to come in cia container.....oh the wait....
 
I have that large air cooled alternator on the right you see.....

Decided to put my spark control here....it's a bit more of a wiring cluster F than I would have liked but oh well.... form follows function I guess

250d2fcd8647bd.jpg

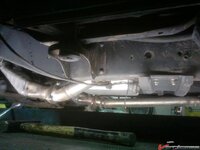
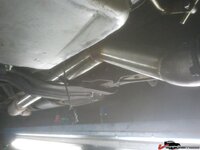
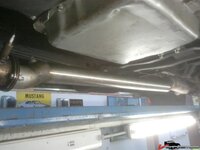
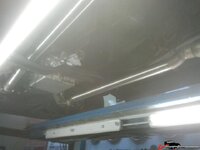
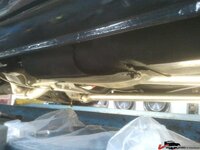
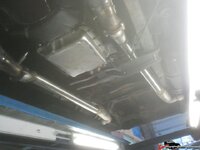
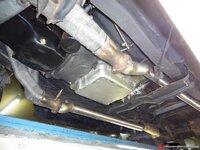
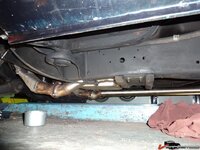
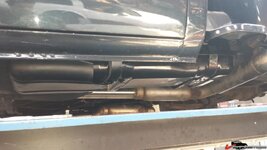
Decided to redo the exhaust. It was already stainless but an ugly quickie job that I never really liked. Also the pipes are a bit small in the middle so I stepped up from 2.5 to 2.75 and tucked them up higher. I only finished the drivers side, the other side is still the old stuff. I had to modify the dr. side to clear my VSS signal adapter/cable coming out of the tranny.

I had issues with it scraping behind the collector. The exhaust now runs directly up from there with nice smooth bends.

250d78a7f1b481.jpg

250d78a7ecd814.jpg

other side done also

250d88bcd92838.jpg

250d88bce670ac.jpg

250d88bcea8f49.jpg

250d88bce261b1.jpg

250d88bcdda492.jpg
 
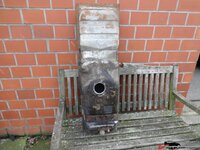
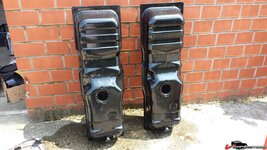
some better pics...and I took both tanks out. 1 was already leaking and the other was not far gone. Both have 1 little rust spot ion the exact same spot. It's that damned paper like isolation stuff GM put on the tank cradles & straps. It retains moisure and the side that's near the rear wheel collects sand, grime and water. Luckily the holes were small enough to be tig-ed back up. The tanks and hardware will go to the powdercoater, remainder of bolts and nuts to the plater.

250f1a6fa1b9fa.jpg

250f1ab7e03d77.jpg

250f1a9edefe01.jpg

250f1a6f93dd2a.jpg

250f1a6f983ac0.jpg

250f1a6f9cba79.jpg

250f1a6f8e9745.jpg

250f1a6f898ec1.jpg

now I'm just finishing odds and ends waiting on the container to arrive, full of parts (hasn't sailed yet due to logistical error and waiting on short block)
 
No issues on welding on a used gas tank? I need to add a sump to mine and the thought of welding on the tank makes me nervous as hell.
 
No, have done it many many times, both repairing holes, welding in new bottoms or adding sumps. Drain all the gas and then fill it for a good amount with water and rinse it out. Repeat a couple of times. Nothing blew up :D
 
Long time nothing new but I finally got my tanks back and got it all assembled again.

I had them back earlier and when I was cleaning them I found out they were coated poorly, the primer coat was showing through in some spots making for a cloudy whitish hue.
251bce29100708.jpg

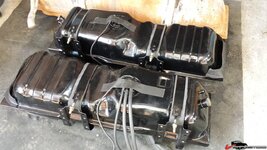
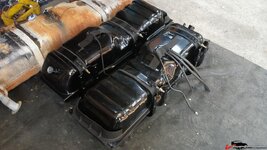
Back they went and they came back looking good...only problem..I forgot the locking rings OOPS. They were in a bucket with zinc plated parts that I didn't take with me...crap.
251bce2927079f.jpg

251bce292c5ace.jpg

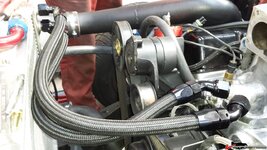
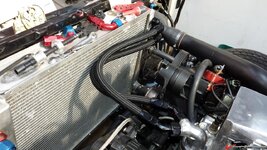
Also had to tacke the cooling system since the nifty rad I have in it has a dual -12 hookup instead of a big 20 or 24 (or a normal hose bung) so I had to fabricate something and decided to cut up and modify one of those cheap swivel neck thermostat things. Next time I'm buying a C&R billet one because this chinese POS is cast from something like bird doodoo.. I could not get a clean weld on it. The only cleanly welded part is the 2 an bungs welded together.. they are a clean aluminum alloy. The other stuff more resembles potmetal (welded that a couple of times when fixing headlight frames on C3 corvettes) what a royal pain. What left to do? Grind till it's semi clean. Hope it's not porous/leaking.
251bce29160e1f.jpg

251bce291b49aa.jpg

it even fits under the intake ducting :D

251bce2921a8b7.jpg

251bce29427f55.jpg

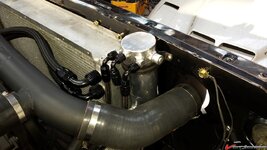
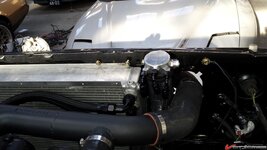
Next problem is my fuel system. Decided to put a mech pump back on the block, retain the low pressure switching valve system and have the pump fill a surge tank that will feed my aeromotive/paxton EFI pump.

This is the surge tank w/ hookups. Top most is the vent to the tank so it burps air out. The 2 others are feed from mech pump and return from EFI pump. The EFI feed is on the bottom. The large one on the top sticking out sideways will be plugged.
251bce29324106.jpg

251bce2937849a.jpg

getting fuller and fuller in there
251bce293c89b8.jpg
 
Wasn't sure anybody would powder coat a gas tank. Any special preparation?

Sent from my SAMSUNG-SGH-I747 using Tapatalk 4 Beta
 
No. All my cars have coated tanks. Just the outside though. Blast prime and top coat
 
Tanks are in. Boy what a wrestling match getting these in without scratching them uo. These things are made to go on with the cab off. Not a fun job at all. Also when I had 1 in I realized the rear brackets were not the same and sure enough I had them mixed up :(
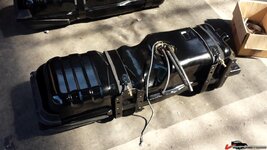
complete tank with sender retainer ring this time :)

251c0dd1739c0c.jpg

installed... glad I had them done in black and not gunmetal or argent silver like I normally do. These show and that would have messed up the blacked out look

251c0dd179225d.jpg

inner fenders back on. Soon I will fire this thing up for the 1st time

251c0dd17e4a82.jpg
 
They aren't very large. It's about 200 to fill both. Another reason for f.i. and od tranny. I care about the environment lol
 

Latest posts

Back
Top