Body work help...

This is rapidly turning to shit :cussing:

What's the problem?
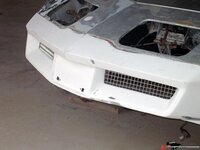
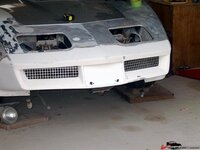
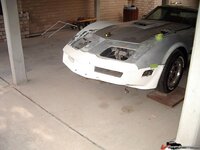
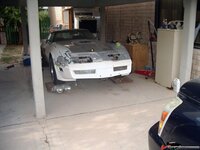
I think the car has been in a prang before and repaired with replacement panels. Then I think it's been pranged again and those replacement panels have been repaired (read filled).

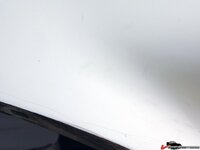
I've removed shit loads of filler that didn't need to be there. When they'd put the nose cone on, it obviously didn't line up properly with the fenders so (on the passenger side anyway) they built up a nice tapered slab of filler on the fender so it met the nose profile!

When I put my rear bumper on, it didn't line up real well either so I built up the inside with layers of glass then just filed the outside down to the correct profile. Pretty simple. It would have been just as easy to do the same thing to the nose. Before I refit the nose, that's what I will be doing - I should be able to get a nice join with minimal filler.

The passenger door skin is a replacement, the passenger front fender's a replacement and the front panel's a replacement and although I can't see a join anywhere to tell if it's a once piece front or not. The nose cone is also a glass replacement.

The forward part of the driver's front fender is definitely glass (like the passenger side) but the lower piece I removed from the rear of the front fender (for the egg crate) looks like SMC.

All very confusing and hard to work out what's been done and what they've used. Far, far more work than I thought I was going to have to do.

Tough shit I spose :lol:
 
Brief update and a question. I have the nose cone almost completely stripped back to the gel coat (it's an after market piece) and I've found some fine cracks in the gel coat. It doesn't look like the glass underneath has crack, just the gel coat.

Q. Do I just leave the cracks and spray the epoxy primer over them or do I somehow repair the cracks?
 
Sand off the gelcoat and start from there, any cracks you spray over will sink in later and show.
 
I've been tinkering with the body work when I can. I've been on late shift the last 3 weeks but I've spent a good chunk of time, every other day and the damn dentist! Crikey, aren't root canals FUN!

Busy for a while yesterday but it was a horrible day anyway with another dust storm. It was just as shitty today too...

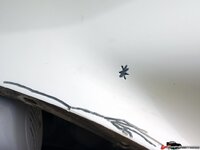
Anyway, after posting about the cracks in the gel coat, I tried rubbing it back but the cracks were there where the fiberglass had delaminated a bit from (I assume) impact damage with rocks or a kerb etc.
354a730e804c52f.jpg

I used my Dremel with a rotary burr in it and ground out the cracks (into the glass).
354a730e8151350.jpg

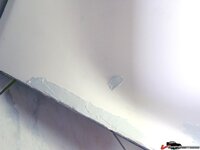
I found some expoxy bond/seal/fill paste and filled the ground out cracks with it, rather than just body filler. This stuff shouldn't shrink either.
354a730e82190fd.jpg

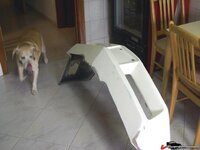
I was all set to brave the dust storm today and wear a dust mask when Christine said it was ok for me to bring the parts into the house!!
354a730e82bf13f.jpg
 
[, I'll be trimming it down a lot closer to the letters.

However, I DO like your idea of making a mold of it. It might be difficult getting in the letters properly though :crap:

If you make a mold of it, to get the letters to come out crisp and clean, use some micro-ballons or chopped fiberglass in a resin mix. Put the ballons or chopped F/glass in the resin, mix, add catylist, mix, get busy. If you use a small brush to "pack" the mixture around the letters, trying hard not to get any air bubbles, it should be OK. When that resin hardens, put at least 2 thin layers of cloth over the whole script thing, then proceed with the rest of your lay-up. I've done it, so I hope it works for you.
If you can't find chopped fiberglass or micro-ballons, send a PM with address and I'll send it to you, no sweat, I'm around that stuff all the time, everyday at my job, the boneyard!!!!

BBTank
 
Bit of an update here and maybe get your opinions. I've done bugger all on my Vette since my mate out here died in July but I started tinkering again the last couple of days.

I've pretty much finished repairing the nose cone but long ago, I decided that the original front grille/indicator setup were lame. I thought about buying a pair of earlier model ones to mess around with until I saw the prices of them! So, I found some grille material and came up with this:
354ab4d3143079e.jpg

354ab4d314cf2d5.jpg

354ab4d3137ea32.jpg

354ab4d3158ad0e.jpg

I'll (probably) paint them black. I'll sand down the "fins" on the orginal indicators and polish the surface again. To mount them, they'll basically go in the same place as original but I'll have to "shim" them rearwards a bit and I'll need to cut up the original louvers for the indicator mounting brackets.

Flame suit on... :shocking:
 
I think a little finer mesh would probably look better?

You can also form a perimiter flange on the finer welded mesh stuff over a peice of wood. That might give it a more finished look (like a perforated metal grill over a speaker).
 

Latest posts

Back
Top