You are using an out of date browser. It may not display this or other websites correctly.
You should upgrade or use an alternative browser.
You should upgrade or use an alternative browser.
Love is Blue
- Thread starter Mr.Blue
- Start date
Mr.Blue
Well-known member
Contact
Thank you. Let me know if you do. Glenn
Keep the pics coming!
I try to find you contact info for Pekka! I don't have his personal address, but I might be able to find it for you! :wink:
Thank you. Let me know if you do. Glenn
Mr.Blue
Well-known member
Hood and exhaust construction
You'll notice a year gap in the time line. I had to take it off to recover from my second open heart surgery in 1990, but it didn't keep me from continuing to build my dream once I got better a year later.
Here I took an Ecklers stock hood and promtly cut it into many pieces so it would fit around the motor, due to the extreme lowering of the front body on the tube frame!
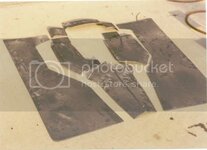
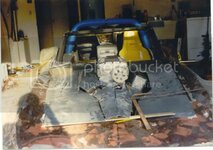
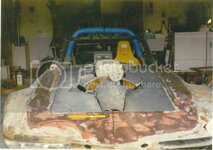
I built a new 'stinger' tip to fit the new hood.
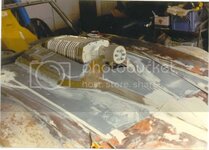
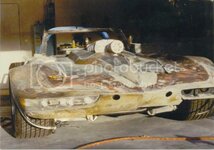
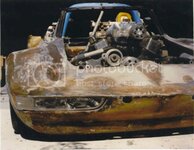
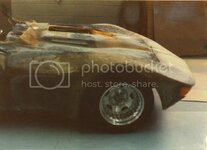
My homes garage where I built this beast. Looks like it's been snowing in there!
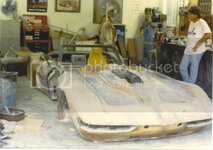
Building the stainless steel exhaust. I made a full scale 'blue print' & laid it out on the floor to built the sytem around the parts of the frame.
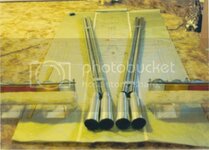
Crossover pipe connects all 4 pipes
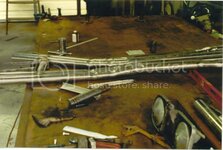
Jig made to form custom collector.
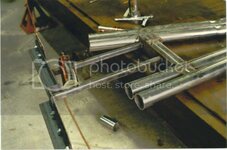
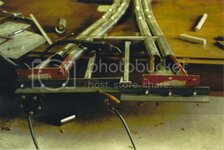
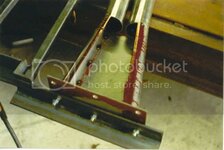
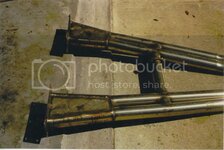
Completed 2 1/2" all stainless steel system in one piece for removal.
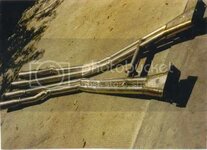
You'll notice a year gap in the time line. I had to take it off to recover from my second open heart surgery in 1990, but it didn't keep me from continuing to build my dream once I got better a year later.
Here I took an Ecklers stock hood and promtly cut it into many pieces so it would fit around the motor, due to the extreme lowering of the front body on the tube frame!


I built a new 'stinger' tip to fit the new hood.


My homes garage where I built this beast. Looks like it's been snowing in there!

Building the stainless steel exhaust. I made a full scale 'blue print' & laid it out on the floor to built the sytem around the parts of the frame.

Crossover pipe connects all 4 pipes

Jig made to form custom collector.


Completed 2 1/2" all stainless steel system in one piece for removal.

Mr.Blue
Well-known member
Not all ideas were good!
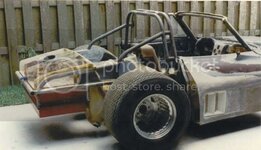
I built some fiberglass rear bumpers for the Vette, but no one liked them on the car, so they were removed and STILL sit in my tool shed unused.
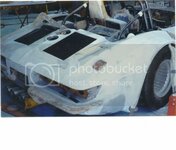
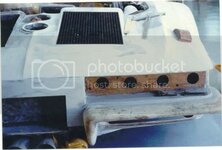
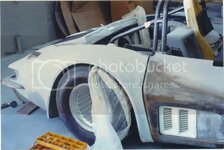
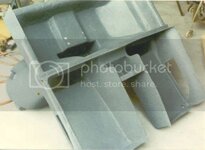
The building of the aux fan housings and air pick up tubes that feed air from under the body behind the rear axel up to the bottom of the original brass twin radiators.
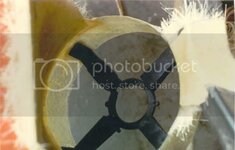
Housing viewed upside down sitting between the rear wheel wells.
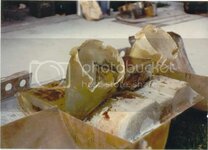
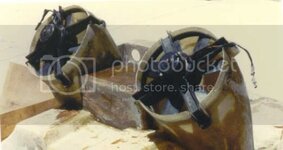
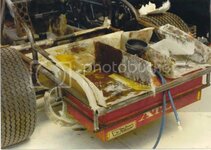
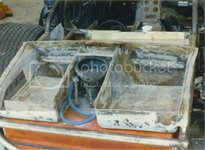
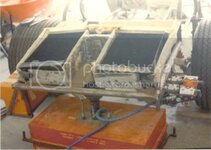
Notice the opening in the sides for air from the door air intakes that runs up over the wheel wells shown earlier in photos.
This design was recently improved (Jan. 2008) to increase the opening size up towards the front of the fuel cell by building a custom fuel cell with a slope in the upper section.
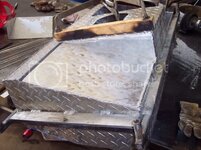
Notice the increase opening size to the bottom of the radiators by this change.
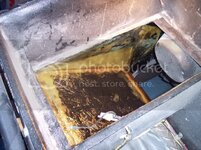
You can see the improved CFM fan hanging down at the bottom of the opening.
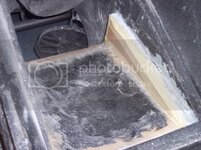
I built some fiberglass rear bumpers for the Vette, but no one liked them on the car, so they were removed and STILL sit in my tool shed unused.


The building of the aux fan housings and air pick up tubes that feed air from under the body behind the rear axel up to the bottom of the original brass twin radiators.

Housing viewed upside down sitting between the rear wheel wells.


Notice the opening in the sides for air from the door air intakes that runs up over the wheel wells shown earlier in photos.

This design was recently improved (Jan. 2008) to increase the opening size up towards the front of the fuel cell by building a custom fuel cell with a slope in the upper section.

Notice the increase opening size to the bottom of the radiators by this change.

You can see the improved CFM fan hanging down at the bottom of the opening.

Twin_Turbo
Der Maulwurf
- Joined
- Mar 5, 2008
- Messages
- 7,575
- Reaction score
- 6
The amount of work, design, planning & fabrication that has gone into this car is absolutely mind boggling!:sweat::sweat:
Mr.Blue
Well-known member
The amount of work, design, planning & fabrication that has gone into this car is absolutely mind boggling!:sweat::sweat:
Aw, shucks!:rose:
SmokinBBC
Well-known member
Thanks for posting this thread. I've seen your car on another forum and wondered what it took to giterdone.:thumbs:
dzrick
Active member
Simply amazing!
Every time I see one of these posts I wonder what DNA strand you guys got that I'm missing.
I wouldn't know where to start on a project like this and you'd end up seeing my ad " Project for sale $80,000 in receipts will sell for $15,000".
Great job, that is one beautiful machine.:1st:
Every time I see one of these posts I wonder what DNA strand you guys got that I'm missing.
I wouldn't know where to start on a project like this and you'd end up seeing my ad " Project for sale $80,000 in receipts will sell for $15,000".
Great job, that is one beautiful machine.:1st:
Mr.Blue
Well-known member
Git er done
This is just one segment of it's entire history, but it really wasn't that easy. :crutches:
There was times when I was sure I had bit off more than I could accomplish.
Glad you have appreciated this thread. Glenn
Thanks for posting this thread. I've seen your car on another forum and wondered what it took to giterdone.:thumbs:
This is just one segment of it's entire history, but it really wasn't that easy. :crutches:
There was times when I was sure I had bit off more than I could accomplish.
Glad you have appreciated this thread. Glenn
Mr.Blue
Well-known member
Just about finished building
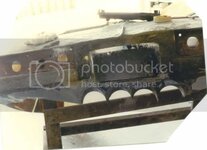
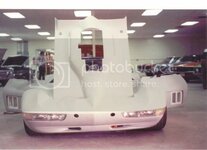
I took the rear tail light buckets from a custom Vette and put them together to make an outlet for the four SuperTrapp mufflers.
I then realized I couldn't remove the exhaust with the system poking thru the body holes, so I cut the bottom off for the design I now use.
It looked MUCH better too.
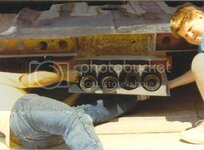
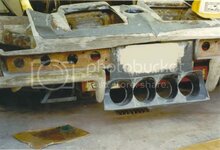
It also became clear the bumpers would not work with the exhaust openings.
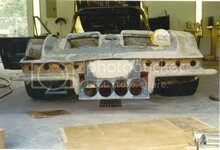
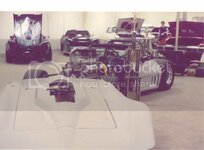
Finally the entire body is in sealer primer all one color for the first time!
Took it to it's first show, still unfinished and won "Best Engineered" tropy!! WOW.
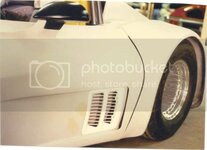
Then I began cutting it up some more. Once out in open spaces, I could see that the stock '66 side gills were too big for the rest of the side of the car and promptly cut them down.
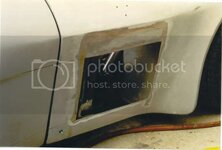
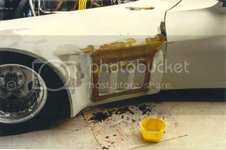
That looks better!
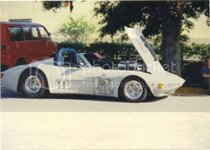
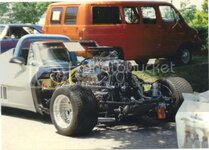
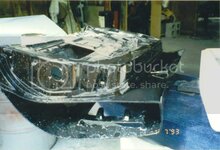
Detail photos of the added door skin I attached to the stock door.
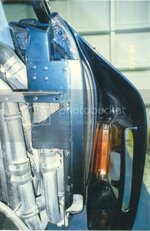
Beginning the painting process finally. Painting the inside of the doors.
Yes, that's a warning light inside the door that comes on when the door is opened.
You can also see the water lines here behind the door jam that runs to the rear mounted radiators and back up to the motor.
I took the rear tail light buckets from a custom Vette and put them together to make an outlet for the four SuperTrapp mufflers.
I then realized I couldn't remove the exhaust with the system poking thru the body holes, so I cut the bottom off for the design I now use.
It looked MUCH better too.


It also became clear the bumpers would not work with the exhaust openings.


Finally the entire body is in sealer primer all one color for the first time!

Took it to it's first show, still unfinished and won "Best Engineered" tropy!! WOW.


Then I began cutting it up some more. Once out in open spaces, I could see that the stock '66 side gills were too big for the rest of the side of the car and promptly cut them down.


That looks better!


Detail photos of the added door skin I attached to the stock door.


Beginning the painting process finally. Painting the inside of the doors.
Yes, that's a warning light inside the door that comes on when the door is opened.
You can also see the water lines here behind the door jam that runs to the rear mounted radiators and back up to the motor.
All I can do is reiterate what everyone else has already said. :thumbs:
That car IS amazing and the amount of work that went into it has
got to be 10X that of even the worse train wrecks I've had to repair.
I really enjoy seeing the build photos.........they tell the real story.
What is really impressive is the stick-to-it-ivness to see it through.
It would be very easy to Burn-Out on a project of that magnitude.

Twin_Turbo
Der Maulwurf
- Joined
- Mar 5, 2008
- Messages
- 7,575
- Reaction score
- 6
Is that tank made out of aluminium (looking at the welds, looks like it is alu), why the teardrop panels?
Mr.Blue
Well-known member
Took the weekend off, sorry.
TT,
Yes, it's made of aluminium.
What 'teardrop panels' are you talking of?
Glenn
Is that tank made out of aluminium (looking at the welds, looks like it is alu), why the teardrop panels?
TT,
Yes, it's made of aluminium.
What 'teardrop panels' are you talking of?
Glenn
Twin_Turbo
Der Maulwurf
- Joined
- Mar 5, 2008
- Messages
- 7,575
- Reaction score
- 6
The alu sheets that the tank is made of, that's teardrop plate, or diamond plate (it's called teardrop here)...guess you guys call it diamond plate then 
Mr.Blue
Well-known member
Us down here.
Yep, us simple redneck southern folk just call it diamond plate. I had never heard of teardrop plate before. :drink:Sorry.
The alu sheets that the tank is made of, that's teardrop plate, or diamond plate (it's called teardrop here)...guess you guys call it diamond plate then
Yep, us simple redneck southern folk just call it diamond plate. I had never heard of teardrop plate before. :drink:Sorry.
Twin_Turbo
Der Maulwurf
- Joined
- Mar 5, 2008
- Messages
- 7,575
- Reaction score
- 6
It's not called teardrop plate, my bad. It's literally called that here :blush::blush:
anyway, why did you use that instead of ordinary flat sheets?
anyway, why did you use that instead of ordinary flat sheets?
saudivette
Clueless In Sandland
I've always called that stuff :quote: checquer plate :quote:It's not called teardrop plate, my bad. It's literally called that here :blush::blush:
Cos it looks cool :thumbs:...anyway, why did you use that instead of ordinary flat sheets?
Mr.Blue
Well-known member
It's not called teardrop plate, my bad. It's literally called that here :blush::blush:
anyway, why did you use that instead of ordinary flat sheets?
Why not?
No really, the plate was available at the shop that built the tank. Gives a bit more durability to the fuel cell and (when polished occationally) gives a bit of a twinkle underneath. What can I say?
Twin_Turbo
Der Maulwurf
- Joined
- Mar 5, 2008
- Messages
- 7,575
- Reaction score
- 6
I thought maybe there was a specific reason for using it 
Mr.Blue
Well-known member
A step backwards
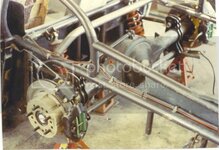
Decided to convert the rear over from IRS to a Ford 9" due to all the massive torque from the motor. Didn't feel the IRS could handle it safely.
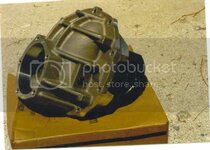
Strange Engineering nodular center section
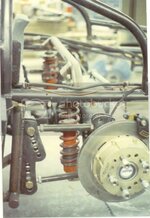
Koni and Eibach coil over set up
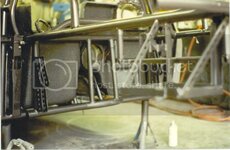
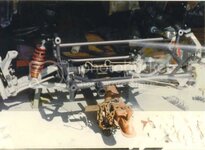
Carried painted frame home on a small trailer to mount suspension parts to get it back to a rolling chassis.
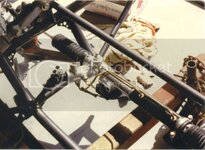
88 Vette rack setup painted and reinstalled
Built a mount for the MSD7AL2 ignition
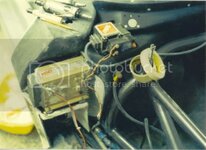
Painted firewall in the first color blue
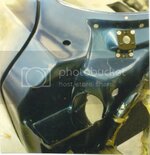
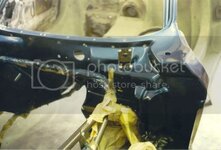
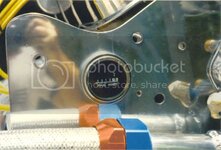
Hobbs engin hour meter on front motor plate
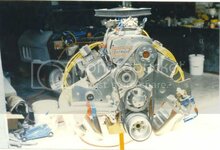
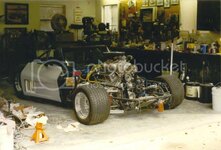
Decided to convert the rear over from IRS to a Ford 9" due to all the massive torque from the motor. Didn't feel the IRS could handle it safely.

Strange Engineering nodular center section


Koni and Eibach coil over set up

Carried painted frame home on a small trailer to mount suspension parts to get it back to a rolling chassis.

88 Vette rack setup painted and reinstalled

Built a mount for the MSD7AL2 ignition

Painted firewall in the first color blue


Hobbs engin hour meter on front motor plate


Latest posts
-
-
-
-
-
Was member years ago dropping by to say hello.
- Latest: crazyhorse
-
-
-
-
-
