You are using an out of date browser. It may not display this or other websites correctly.
You should upgrade or use an alternative browser.
You should upgrade or use an alternative browser.
polishing my 90 valve covers
- Thread starter JeffP1167
- Start date
JeffP1167
Well-known member
JeffP1167
Well-known member
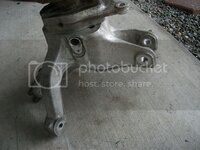
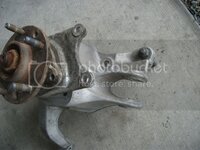
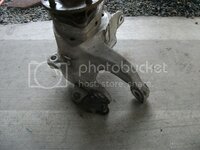
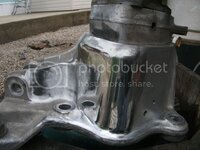
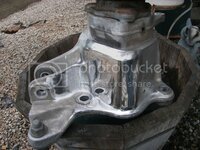
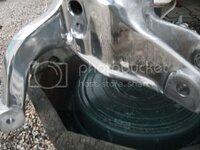
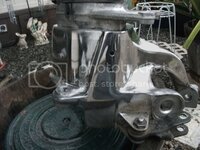
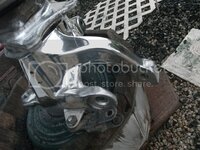
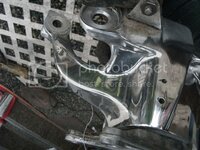
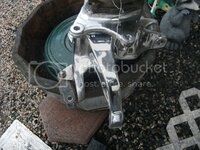
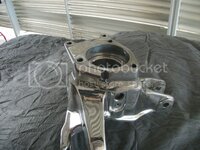
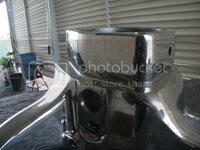
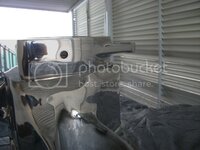
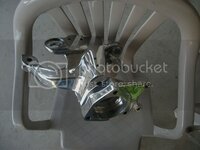
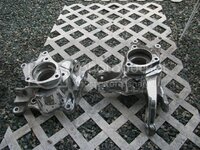
Not much progress today, was busy with other stuff. I did get the output shafts and bearings removed along with some brackets off the knuckles today.
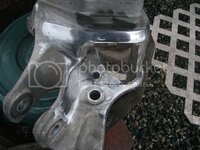
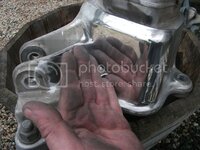
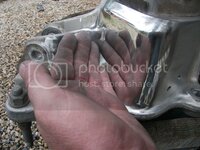
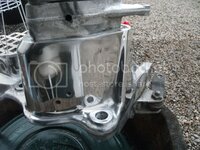
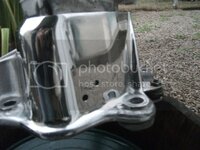
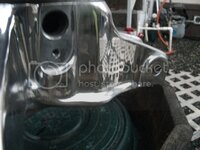
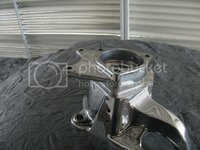
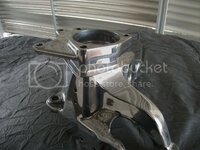
The hardest part of polishing these will be the area that the strut rods bolt too. That might need to be hand sanded. They will shine up though.
Now I can grind down the casting ridges on the hub mount/brake caliper mount.
The hardest part of polishing these will be the area that the strut rods bolt too. That might need to be hand sanded. They will shine up though.
Now I can grind down the casting ridges on the hub mount/brake caliper mount.

JeffP1167
Well-known member
JeffP1167
Well-known member
I am also starting to prep the spare TPI system I have. This is a 1990 system as well, I am going to remove all casting numbers and logo's from this plenum and polish it on all 4 sides.
I have the base manifold almost all sanded down, my only hold up to this part of the project is I need a drivers side runner.
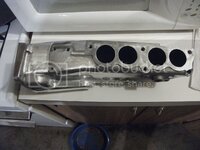
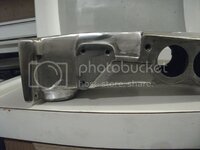
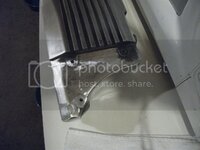
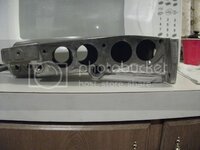
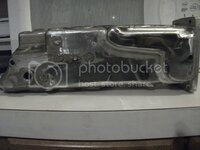
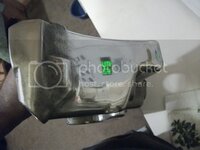
I have the base manifold almost all sanded down, my only hold up to this part of the project is I need a drivers side runner.


SuperBuickGuy
Well-known member
you do nice work, but your love of polishing makes you a sick, sick puppy :beer:
JeffP1167
Well-known member
Since I have been toying with the idea of selling this stuf, I played a bit with one of the upper control arms trying to get a nice smooth aluminum finish in case I use my other 90 vette parts to fix my 82 up.
I got this texture with 120 grit sandpaper and a BBQ grill brush haha ... But if I don't use the polished stuff I will do all my other 90 stuff like this and after maybe just clear coat it.
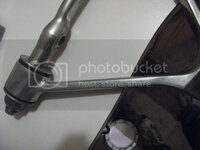
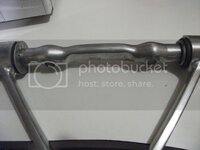
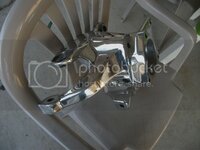
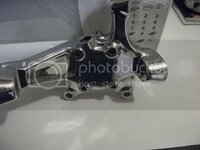
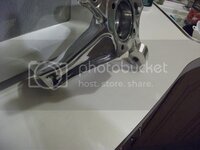
Here is the first trial polishing of my other upright
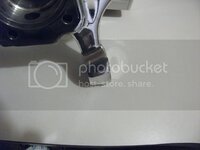
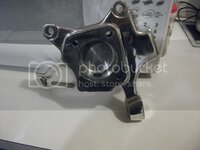
I got this texture with 120 grit sandpaper and a BBQ grill brush haha ... But if I don't use the polished stuff I will do all my other 90 stuff like this and after maybe just clear coat it.


Here is the first trial polishing of my other upright


JeffP1167
Well-known member
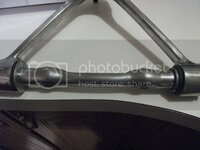
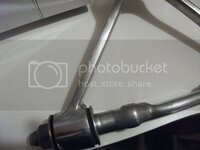
Here is my other halfshaft after 20 minutes of sanding and 5 minutes of polishing. I did this with 120grit followed by using my BBQ grill brush and it shined right up.
I am also starting on my calipers as well but they will take time since they are quite difficult to do.
Here is a test area I did on my other lower control arm. still have more sanding left to do on it but expect everything to be done somewhere middle of next month.
I am also starting on my calipers as well but they will take time since they are quite difficult to do.

Here is a test area I did on my other lower control arm. still have more sanding left to do on it but expect everything to be done somewhere middle of next month.

MYBAD79
Moderator
that's a lot of work but wow..... impressive shine .... :thumbs:
JeffP1167
Well-known member
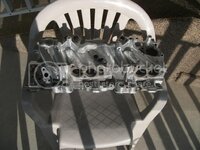
Did some sanding on my lower manifold today, these are beyond a PITA to do. But I have removed all GM logo's and casting numbers and the firing order and while I have A LOT of sanding left I have a good start on it now.
If you don't have A LOT of patience DO NOT attempt to polish a stock intake. Edelbrock base manifolds are so much easier to do. But I want to keep the stock parts on my 90 engine as well.
These are spare TPI parts I collected over the years so my motor does not have to be taken apart to get this done.
I have never liked powder coated TPI's or polished plenum and runners and painted base intake. To me if your going to polish do it all.

JeffP1167
Well-known member
Also did more work on smoothing out my plenum. The only logo that won't be removed is the year logo, these are hard to remove because they are recessed into the plenum and alot of material has to be removed to make it smooth again.
I'm stopping suspension polishing for awhile since I am burnt out doing it and moving onto the tpi intake for awhile.
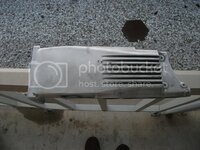
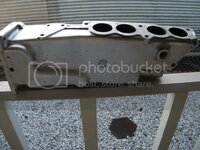
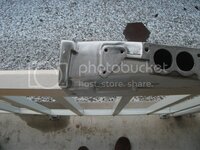
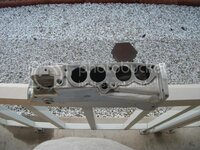
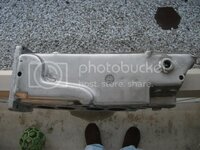
I'm stopping suspension polishing for awhile since I am burnt out doing it and moving onto the tpi intake for awhile.


JeffP1167
Well-known member
As you can see the TPI system is starting to look good, I figure maybe take me a month to do all the sanding on it.
I am still looking for a driver side runner, fuel rail setup, thermostat housing and then it will be complete.
I will just use my already polished 86 passenger side runner to cut my polishing time down. I believe they are the same but if not will just buy a 90-up runner too.
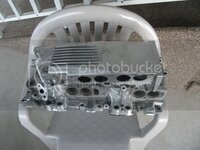
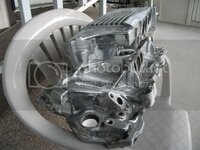
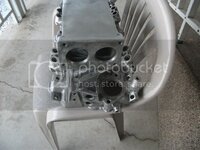
I am still looking for a driver side runner, fuel rail setup, thermostat housing and then it will be complete.
I will just use my already polished 86 passenger side runner to cut my polishing time down. I believe they are the same but if not will just buy a 90-up runner too.


bigbrother
Active member
- Joined
- Jan 4, 2013
- Messages
- 44
With that much polishing you've earned the title "king of the bling" 
Its kinda fun and i also remember the messy rouge all over my clothes... everywhere...
Hahahaha
Are you still looking for those parts?
I can probably get everything from the place im at in miami.
Its kinda fun and i also remember the messy rouge all over my clothes... everywhere...
Hahahaha
I am still looking for a driver side runner, fuel rail setup, thermostat housing and then it will be complete.
Are you still looking for those parts?
I can probably get everything from the place im at in miami.
bobs77vet
Well-known member
wow thats labor of love....looking good
JeffP1167
Well-known member
With that much polishing you've earned the title "king of the bling"
Its kinda fun and i also remember the messy rouge all over my clothes... everywhere...
Hahahaha
I am still looking for a driver side runner, fuel rail setup, thermostat housing and then it will be complete.
Are you still looking for those parts?
I can probably get everything from the place im at in miami.
The thermostat needs to be 85-92
drivers side runner 90-92 F-body only
fuel rail 89-91 corvette only
bigbrother
Active member
- Joined
- Jan 4, 2013
- Messages
- 44
Ill let you know within a week. Got a few things going on this weekend.
However, I need to ask if the runners are different in a 90-92 f body and standard issue vette
Thanks
Sent from my dumb 4g motorolly
However, I need to ask if the runners are different in a 90-92 f body and standard issue vette
Thanks
Sent from my dumb 4g motorolly
Last edited:
JeffP1167
Well-known member
JeffP1167
Well-known member
Well I was at it again with the polisher. Decided too see what my A/C compressor would look like, no sanding was done here but in some areas it would be best too.
It shined right up this took about 15-20 minutes, I am going to remove all aluminum stuff on the front of this engine and polish it. Once you start you can't stop. I figure with all stuff polished on the motor will look damn nice in my 82.
You can also see I did a small spot on it's belt tensioner.
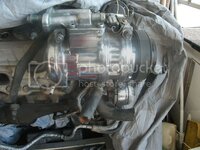
It shined right up this took about 15-20 minutes, I am going to remove all aluminum stuff on the front of this engine and polish it. Once you start you can't stop. I figure with all stuff polished on the motor will look damn nice in my 82.
You can also see I did a small spot on it's belt tensioner.

JeffP1167
Well-known member
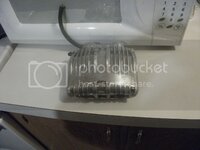
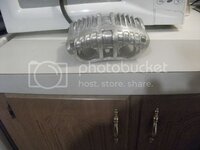
As bad as my runners are they polish up extremely nice this was after a 5 minute test. I sanded with 120grit and buffed and the super coarse texture vanished.
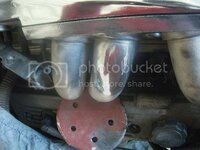
Here is a test area on my upper alternator bracket
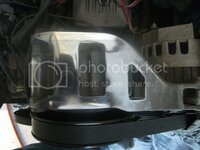
Even the distributor cover starts to shine after 10 minutes
All this stuff will need more sanding of course but it is coming out nice.
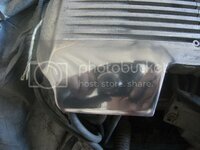

Here is a test area on my upper alternator bracket

Even the distributor cover starts to shine after 10 minutes
All this stuff will need more sanding of course but it is coming out nice.

Twin_Turbo
Der Maulwurf
- Joined
- Mar 5, 2008
- Messages
- 7,575
Jeff, F body runners are smooth, they do not have the coarse texture, much easier to polish

