Rookie's First Restoration Attempt...

Maybe it's just personal preference ? There might be some guys who think that if the wheel is 2" inside the fender it's a perfect fit. I do not like the tires to stick out past the fender lip but I do like them almost flush with the body.

Your 10" has what 3.5" BS ?? That's pretty close to my 8" rim with the 2" spacer, maybe 1/2" difference.

I'm not trying to rain on the parade but do some more research before you spend money on tires for these.

Look at Panic's '77 for example, he's using 12x15" rims as far as I remember and with the huge tires he's got it fits just right....

The 10x15 might fit the front with L88 flares ??
 
I am going to stick to my original plan and use the 10'' rims in the rear. Same size and backspace which Stan is running on his red/white road race vette. He has some pretty big meats on there and they take up a lot of room...I'm sure you've seen the pics. They fit the flares perfectly.

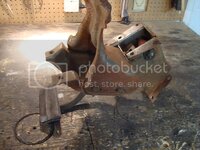
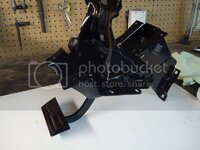
I finished the brake pedal assembly earlier today. Turned out pretty sweet.

Before...

DSC04060.jpg

After...

DSC04089.jpg
 
That brake pedal assembly looks nice, sad that it's hidden under the dash...
I agree, nice pc work, shame no one else is going to be all bent out of shape about it. I'll prolly pc mine when I get to that stage but I won't bother posting pics cos I don't rekcon anyone'll give a shit about something you'll never see again...

...unless you're NCRS
 
Started restoring the gauges for the interior today...went smoothly.

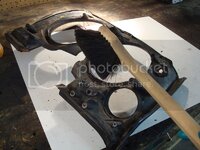
Here is a pic of the lower dash pad - I used a dry brush to get as much crud off of it that I could. I'll finish cleaning it up tomorrow with some cleaners, then I need to fix some of the seams.

DSC04112.jpg

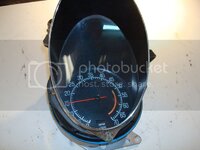
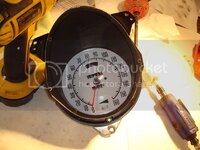
Here is the tach ready to be taken apart...

DSC04114.jpg

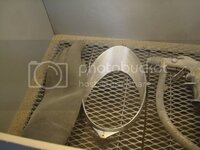
I disassembled both the tach and the speed, and sandblasted a few of the parts which I will powdercoat gloss black tomorrow evening...

DSC04117.jpg

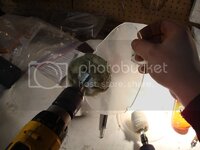
Next step was to install my white face gauges and polish the plastic lenses for the gauges. Will finish tomorrow and assemble the rest of the items.

DSC04125.jpg

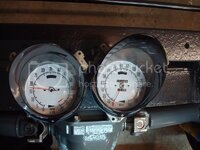
Looks brand new!

DSC04127.jpg
 
They were quite easy to install. I highly recommend them...just make sure to follow the instructions that come with the gauges. Use soap and water on the back of the gauges, then push the solution out with a bondo spreader and your fingers - a needle to let the solution out works great.
 
Stinger I got to tell you
You impress me.
Keep it up

You right, the kid is good......Question, I note from the site those overlays come from, that they dont seem to differentiate from the mechanical to the electronic tachs....

the speedo is the same, not a issue, all tat 160, and I maybe well going for the MPH/Klicks version just to help me learn a automatic translationship feel for it....
point of knowledge without some calculator....

BUT, the tach faces are in fact different from the mechanical tachs to the same bolt in tach, that comes from 75,6,7 they have the two mounting screws further apart than the mechanical tachs.....so that means the overlay pieces would be different, but I only spotted one for the 68-77 tachs.....which one do you have....?? electronic or mechanical???

:gurney::hissyfit:

I don't know the difference between an electronic or mechanical tach, I've never rebuilt these before two days ago. I think they are both mechanical, could be wrong. I did realize that the tach's white gauge did not fit perfectly over the two "rivets" in the center of the gauge...the two rivets were a bit too narrow for the holes in the decals...but it isn't that noticeable, so I just went ahead with the installation. My vette seems to be a mix of car parts from various years...its kind of odd actually.
 
Last edited:
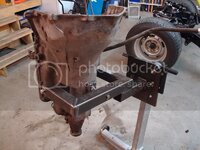
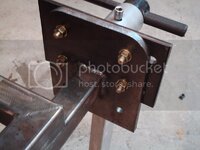
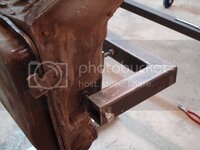
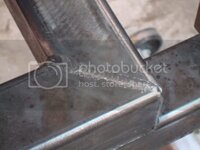
Built myself a transmission attachment for my engine stand. Works pretty good - now I can start rebuilding the TH350.

DSC04140.jpg

DSC04142.jpg

DSC04143.jpg

DSC04141.jpg
 
I HOPE THAT IS NOT A 3 WHEEL stand there, that tranny out to one side like that WILL make very tippy if so.......better stick a cross bar on it and TWO wheels up front, before you wind up wearing that tranny on your toes....

:flash::cry:
 

Latest posts

Back
Top