WHat glue to bond front bumper?

saudi:
yeah i hear ya.. im having a blast, i just hate it how time goes by so fast... and having a gf that always wants attention doesnt help either.. :confused2:

i didnt mean to make the filler dry so quick.. i just realized i was using twice as much hardener than i was supposed to.. so now that i got it down things are alot easier to work with.. i dont get any of those craters anymore, and if i do they are very small and easy to sand away with 80 grit...

eventually it will get done.. im shooting for this weekend but for sure it will be done and in primer by next sunday.... im sorda bummed that im almost done.. but i got all kinds of stuff to do to it next.. :)
 
Last edited:
Gene, in all honesty mate, if I was closer I'd come help you out. I've never really minded doing body work or paint and always have a great deal of satisfaction once it's all finished.

Shirley, they don't change after you marry them either. Maybe it's time to get a job where you work shift work so you have the days to work on the Vette before you go to work at night :lol: Sneaky, but it can have it's advantages...

Anyways, there'll be loads of little body mods you can come up with if you try - this week (maybe I'll wait for the weekend) I'll start cutting out my front louvers so I can install egg crate louvers. I have a hood scoop there that needs to be grafted on etc etc
 
haha.. thats exactly what im doing!.. i got up at 8 today to work on it before i go to my job. i just put about 3 more hrs of work right now.. this whole week will be like this so most likely ill have 3 more hrs on it tomorrow and maybe a few more on sunday since i dont have to be at work untill 2or 3..

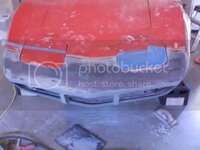
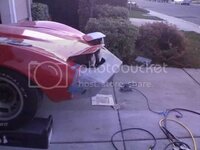
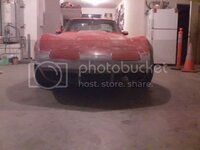
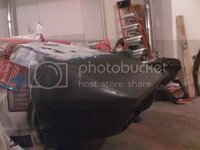
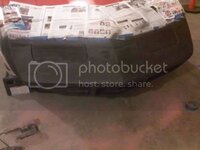
anyways heres what it looks like now..
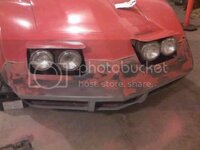
i spread the filler all the way across the bumper, i kept getting down to the bumper... ill probobly do it again 2morrow on the other side..
Feb06_0002.jpg

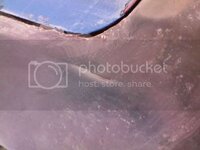
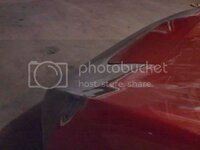
heres the drivers side of the bumper, it was about 3/8ths of an inch higher than the car so its gonna be a battle to get that side to look good..
Feb06_0003.jpg

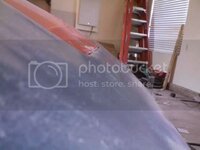
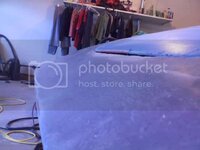
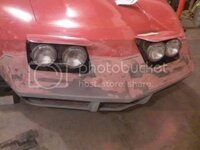
for the most part tho... everything is nice and smooth..
Feb06_0004.jpg
Feb06_0005.jpg

if there are tiny little imperfections will the primer cover them up? there are still some of those little craters, my guess is i didnt mix long enough...:flash:..
i might need something else to fill them up with, any ideas? you can see some in my last pic... its smooth to the touch, but im just making sure... im still a :noob:
 
Ha, and women think they're so clever...

Just a thought, have you been cleaning down your repair each time before you put more filler on? When you mix the filler, you'll get air bubbles in it. As you sand the filler, you'll cut some air bubbles in half and they'll fill with filler dust. If I need to put more filler on, I'll go over the previous filler with a quick scuff of 60 grit then blow the area clean with compressed air then wipe it over with Prepsol (or some sort of degreaser).

Ideally, you don't want any imperfections in the filler before you prime. Look at filling in any little imperfections with spot putty, or maybe called "cream" putty...
 
...I'll go over the previous filler with a quick scuff of 60 grit then blow the area clean with compressed air then wipe it over with Prepsol (or some sort of degreaser).

Ideally, you don't want any imperfections in the filler before you prime. Look at filling in any little imperfections with spot putty, or maybe called "cream" putty...

... well i did the sanding and compressor blow, however i wiped it down with a damp cloth rather than degreaser.. oops... guess ill do that 2morro..

also, im struggling with the drivers side a little in making it fow properly, part of the problem is i cant really tell what is low or high by just looking at it, would it be a bad idea to put on a coat of sandable primer?
 
I used 2k filler primer and then block sanded and it will fill in all those little scratches and pin holes and level the surface,sometimes you may have to go back and shoot another 2-3 coats but it works very good,look in my Avatar thats my whole car covered in it and then i used a guide coat to sand it down,the highs and lows will show up clear as a bell.
Don't ask me how to shoot paint properly,but i can shoot epoxy and primer filler with the best of them :D
 
I like to shoot the primer/surfacer over 80 grit or even 60 grit sanded filler for maximum "grip" :D
It will take an extra sanding afterwards as 60 grit scratches might show thru 2 coats of primer but you'll be sanding and shooting more primer anyways.

Most fillers are hygroscopic, means they absorb water. Make sure you give it enough time to dry before you add filler or spray primer, best is to let it sit outside in the sun (Florida, SoCal).

btw, your shirts on that rack look a lil dusty :lol:
 
Last edited:
Filler primer's good stuff but really only good for scratches and sanding marks etc. Once you start blocking back the primer, you're bound to see little low spots that you're not going to rub out easily (as an example, if you're painting over old paint with stone chips in it) then you whack a dab of spot putty in there.

As I pointed out earlier, I haven't had anything to do with body work for over 10 years now so lots will have changed and whatever I say, could be completely wrong! :D

Like Karsten says, primer absorbs water. It always makes me laugh when you see some "tappett head" cruising around for months in his primered and guide coated ride - in the pissing down rain :lol:
 
btw, your shirts on that rack look a lil dusty :lol:

lol.... too bad they arnt mine!... (im at my friends house, remember?)

Filler primer's good stuff but really only good for scratches and sanding marks etc. Once you start blocking back the primer, you're bound to see little low spots that you're not going to rub out easily (as an example, if you're painting over old paint with stone chips in it) then you whack a dab of spot putty in there.

As I pointed out earlier, I haven't had anything to do with body work for over 10 years now so lots will have changed and whatever I say, could be completely wrong! :D

Like Karsten says, primer absorbs water. It always makes me laugh when you see some "tappett head" cruising around for months in his primered and guide coated ride - in the pissing down rain :lol:
HAHAHA... true.. but i didnt know that about primer..
yeah, not sure what im going to do, ill try some things out today and see how it goes...
 
things are starting to shape up!

did some work today again, i was on a role but when i got this glance as i was walking out of the house... i had to take pics
Feb07_0001.jpg
Feb07_0002.jpg
Feb07_0004.jpg

matching the body line, this side was cake..
Feb07_0003.jpg

this side however, was NOT!... OMG this thing took alot of planning
Feb07_0005.jpg

heres that beast sanded down a few minutes later..
Feb07_0007.jpg
Feb07_0008.jpg

done for the night.. im satisfied..
Feb07_0006.jpg
 
Looks good :thumbs:

BTW, nothing wrong with getting the primer wet - as long as you give it time and temperature to dry before applying the next coat.
 
Looks good :thumbs:

BTW, nothing wrong with getting the primer wet - as long as you give it time and temperature to dry before applying the next coat.
You're right Karsten but I had metal cars in mind. Primer over bare steel then driven around for a few months in all weather - not big or clever...

I guess it's not that big of a problem with plastic cars :lol:
 
Feb12_0002.jpg
Feb12_0001.jpg
Feb12_0005.jpg
Feb12_0008.jpg
Feb12_0010.jpg
....its alive!!!!!!


:bounce:
Feb12_0011.jpg

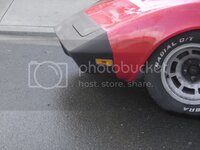
sorry for the crappy pics. i havent bought batteries for my camera, these are off my phone, ill get some outside pics if the whether permits 2morro..
 

Latest posts

Back
Top