You are using an out of date browser. It may not display this or other websites correctly.
You should upgrade or use an alternative browser.
You should upgrade or use an alternative browser.
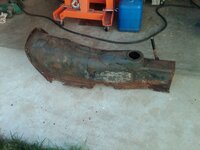
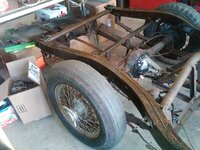
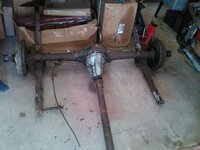
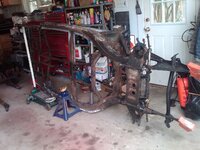
1958 MGA Coupe
- Thread starter bobs77vet
- Start date
1Michel
Well-known member
What a project LOL
And some tought that my birdcage was bad....
Keep it up Bob.
Tell me, are you putting the suspension, brakes etc original?
Or you gonna Vettemod it?
And some tought that my birdcage was bad....
Keep it up Bob.
Tell me, are you putting the suspension, brakes etc original?
Or you gonna Vettemod it?
bobs77vet
Well-known member
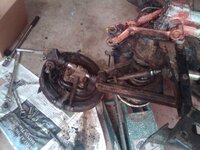
all original this time, i got absolutely hammered when i sold the vette
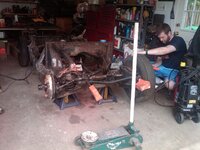
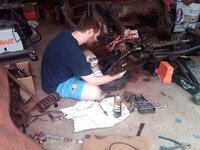
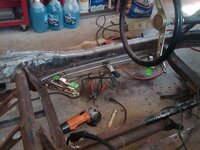
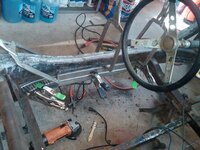
about 3 hrs today
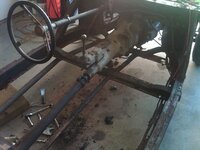
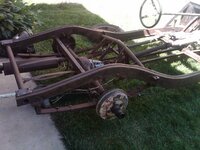
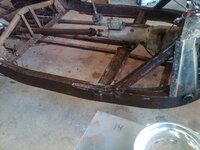
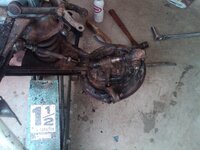
removed engine and power washed the rest of the frame
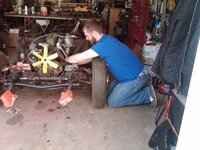
if you have an engine stand that fights getting the legs pinned let the leg hangs over the garage apron so the wheels dont touch
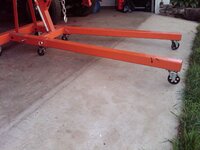
little joe
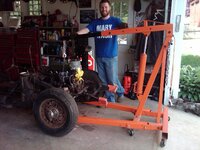
yours truly
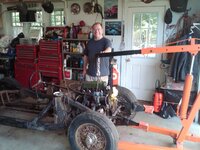
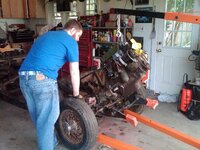
grab the beast by the tail
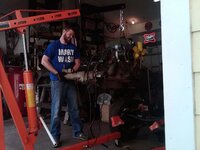
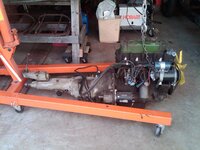
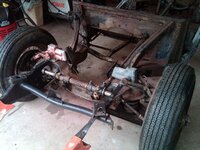
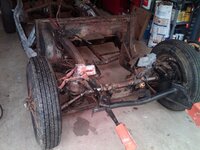
about 3 hrs today
removed engine and power washed the rest of the frame

if you have an engine stand that fights getting the legs pinned let the leg hangs over the garage apron so the wheels dont touch

little joe

yours truly


grab the beast by the tail


bobs77vet
Well-known member
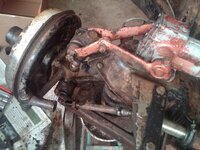
well as you know I am tearing away at the frame and thinking about what I am going to do to the engine while I have it out....so the car sat for 35 yrs....and the engine did not rotate when I got it. so last summer/fall I soaked the cylinders in trans fluid for a week and then got it to rotate by hand and then later I started it up . it has run maybe 45 mins-1hr total, it ran well and didnt burn oil. the first two tests were before the engine ever started. three and four were done today and the engine hasnt run in 6 or 7 months I would guess
first test (cold) results after the engine rotated #1 # 2 #3 #4
90 60 110 90
second test (cold) after doing the first test 105 105 130 115
third test (cold) after about 45mins -1 hr run time 163 160 140 162
fourth test immediate following third test 165 160 140 162
fifth test with some oil in #3 155
so the first two tests arent really worth beans because I could see the PSI increase with every compression stroke. I recall # 3 had the exhaust valve open and I know I saw some "seeds and nuts" in there. so I guess probably some mouse pee has fouled the cylinder walls. the question is will they repair them selves from the engine running??? what do you think?
heres some info if you ever wanted to know more about compression tests results
http://www.gregsengine.com/cylinder-compression-testing.html
bobs77vet
Well-known member
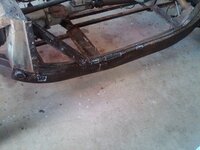
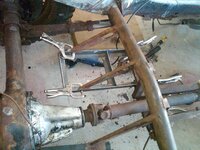
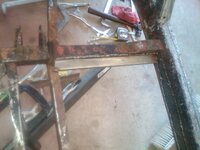
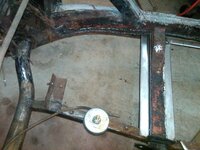
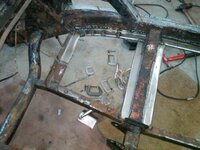
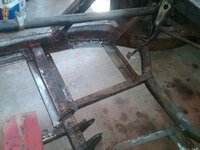
about 90 minutes tonight and most of it was just standing and looking....finally i said screw it and just started cutting
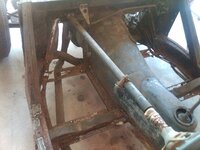
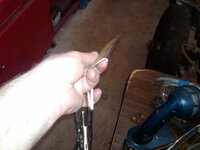
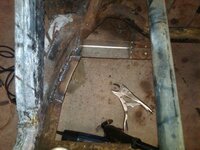
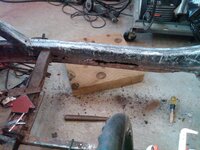
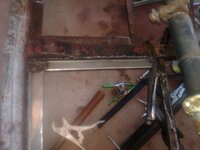
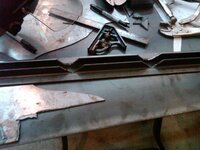
fitting an inside curve is tricky..... so use the sacrificial tab as a part of a lever with the needle nose pliers , on the outside tabs grab on and put the nose on the frame and then pull towards you. you get more leverage then just straight on pulling. this is 14 ga and doesn flex much. the black you see on the far left is the marking line. the middle tab gets welded first being pulled towrds you then you move to the ends
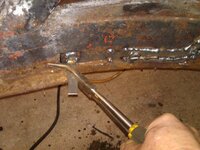
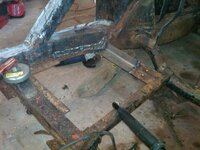

fitting an inside curve is tricky..... so use the sacrificial tab as a part of a lever with the needle nose pliers , on the outside tabs grab on and put the nose on the frame and then pull towards you. you get more leverage then just straight on pulling. this is 14 ga and doesn flex much. the black you see on the far left is the marking line. the middle tab gets welded first being pulled towrds you then you move to the ends


Last edited:
bobs77vet
Well-known member
bobs77vet
Well-known member
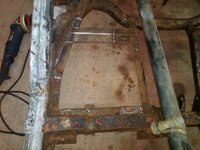
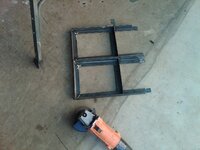
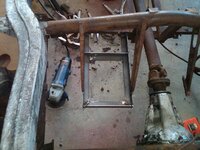
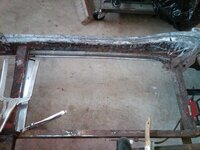
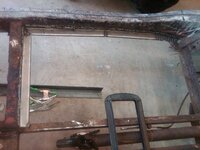
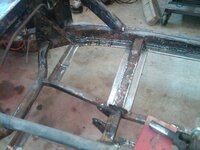
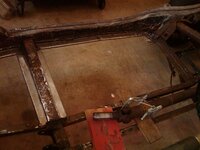
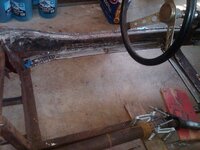
about 2.5 hrs tonight with my son helping not all of it was work though
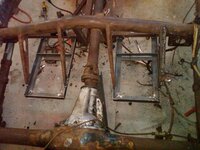
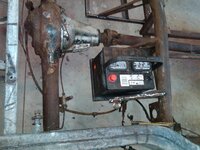
going to make two of Barneys battery trays one for each side for symmetry sake
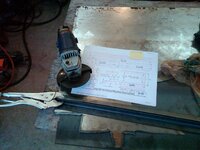
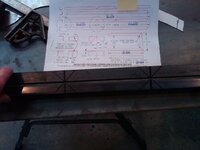
it would have been easier for me to have cut it on a 45* angle all the way through, i wasnt able to bend it tight enough, so after bending it i then cut it
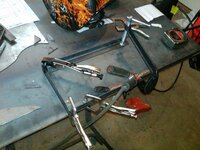
number 1
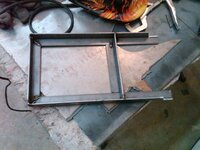
number 2
this is sitting on the cord and it makes it look out of square
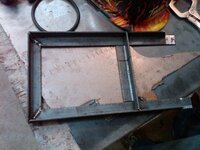
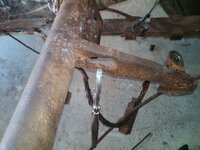
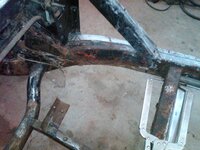
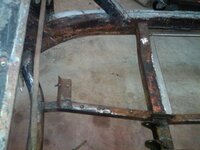
and this is tomorrows work, the brace on the right is sitting about 1/2" up higher then the others, i need to look at that more closely and see if it was welded wrong right from the start or if it is bent out of alignment
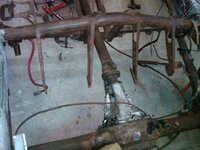
going to make two of Barneys battery trays one for each side for symmetry sake


it would have been easier for me to have cut it on a 45* angle all the way through, i wasnt able to bend it tight enough, so after bending it i then cut it

number 1

number 2
this is sitting on the cord and it makes it look out of square

and this is tomorrows work, the brace on the right is sitting about 1/2" up higher then the others, i need to look at that more closely and see if it was welded wrong right from the start or if it is bent out of alignment

SuperBuickGuy
Well-known member
unless you have a press brake, those 90* corners are a pain to make straight when you bend them.... so you're right, cutting them all the way through then rewelding is actually easier.
bobs77vet
Well-known member
bobs77vet
Well-known member
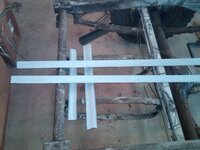
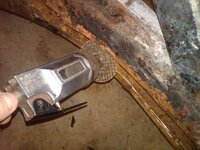
a cool 95* out side and lots of humidity.....73* in the garage...the ac is nice but this inexpensive window unit doesnt have an out side circulation feature so between plasma cutting, grinding wire brushing and welding it can get kind of hazy inside so its time to stop
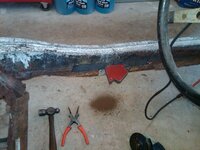
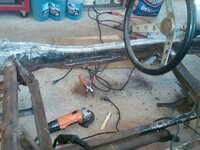
i made my brakdets with the 90* up not down
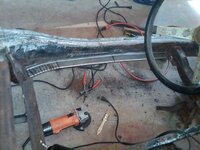
use some angle iron to make sure it stays horizontal
tack it in place....i am down to 500 lbs of shielding gas so we are only tacking non essential stuff in place this weekend
the plasma cutter works best with a guide
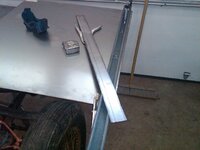
the bends are simple and with a piece of angle iron. 16 ga this long is too much for my metal break
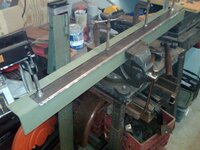
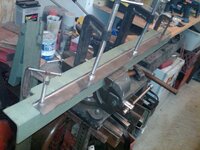
and the bottom piece
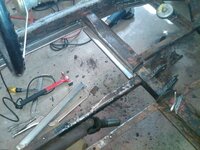


i made my brakdets with the 90* up not down

use some angle iron to make sure it stays horizontal

tack it in place....i am down to 500 lbs of shielding gas so we are only tacking non essential stuff in place this weekend

the plasma cutter works best with a guide

the bends are simple and with a piece of angle iron. 16 ga this long is too much for my metal break


and the bottom piece

Last edited:
bobs77vet
Well-known member
bobs77vet
Well-known member
bobs77vet
Well-known member
bobs77vet
Well-known member
bobs77vet
Well-known member
MYBAD79
Moderator
looking great, you're getting better and better with this..... keep the updates coming !!!!
bobs77vet
Well-known member
bobs77vet
Well-known member
SuperBuickGuy
Well-known member
Is this your next project?


bobs77vet
Well-known member
now thats funny!!!!!!
i have never done an airplane.......
i have never done an airplane.......
Latest posts
-
-
-
Was member years ago dropping by to say hello.
- Latest: crazyhorse
-
-
-
-
-
-
-
-

