You are using an out of date browser. It may not display this or other websites correctly.
You should upgrade or use an alternative browser.
You should upgrade or use an alternative browser.
1958 MGA Coupe
- Thread starter bobs77vet
- Start date
MYBAD79
Moderator
Is this your next project?

now thats funny!!!!!!
i have never done an airplane.......
well..... I guess that Dornier is now owned by the Brits... now that they pulled it from the north sea or the "channel" ..... would go very nicely with the MG.... lol....
bobs77vet
Well-known member
bobs77vet
Well-known member
bobs77vet
Well-known member
Twin_Turbo
Der Maulwurf
- Joined
- Mar 5, 2008
- Messages
- 7,575
- Reaction score
- 6
Why didn't you have it blasted and powdercoated? A lot less messy. Does look good though. Are you going to wax coat the inside?
MYBAD79
Moderator
That frame looks good but it sure was a lot of work. I bet it was some quality time in the garge too. :thumbs:
bobs77vet
Well-known member
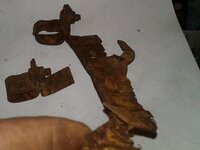
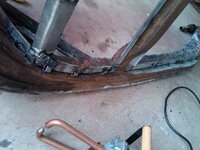
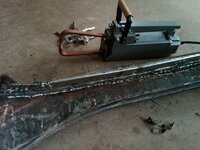
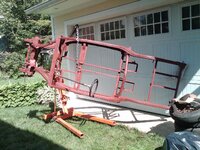
this area really sucks for anything car related, finding places to get stuff sand blasted is a real chore and its never close, so this build is just going to be an easy on the wallet build, and i dont mine the labor its my form of exercise. as for the rust inbitor in the frame, when i cut the rust out some of the inside of the frame was still bare metal....all of the rust was from the outside . there are several drain holes in the frame i could use to spray stuff up in there if i want to.
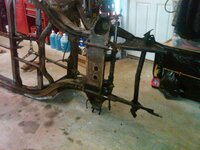
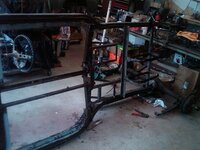
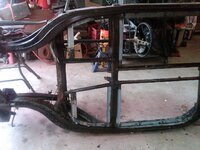
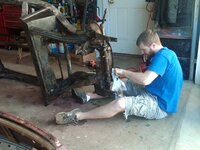
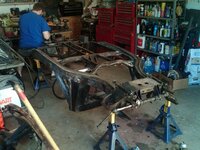
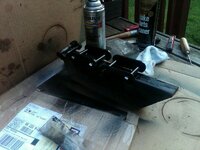
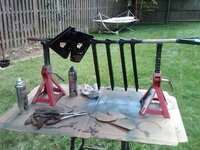
about 2.5 hours today painting the frame, frame extension and cleaning the front spindles again.


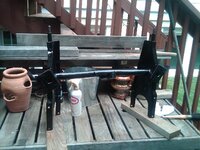
this gave little better pivot point then yesterdays set up
about 2.5 hours today painting the frame, frame extension and cleaning the front spindles again.


this gave little better pivot point then yesterdays set up

bobs77vet
Well-known member
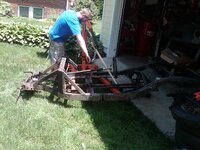
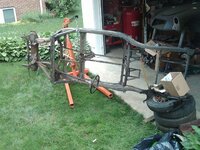
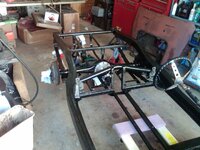
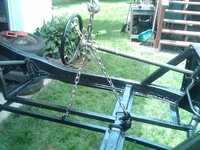
i figure the frame weighs some where in the 300-350 lb range with the steering rack and steering wheel on it. easy enough for the young bucks to pick up one end by themselves but a little heavy for dad...
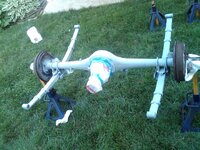
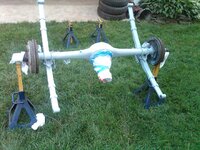
this will allow us to move it out of the way easy enough so i can paint the rear end and reattach it. that is about exactly where the center of balance is for the frame.
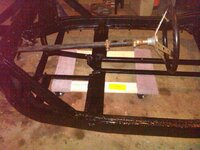
this will allow us to move it out of the way easy enough so i can paint the rear end and reattach it. that is about exactly where the center of balance is for the frame.

bobs77vet
Well-known member
SuperBuickGuy
Well-known member
emergency brake cable? what's that do? :quote:
bobs77vet
Well-known member
bobs77vet
Well-known member
MYBAD79
Moderator
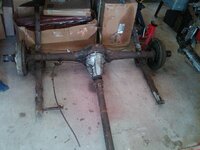
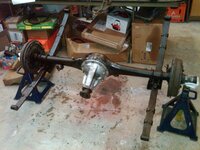
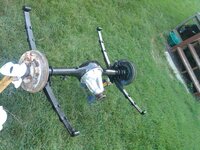
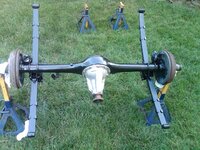
easy 45min tonight, so little joe and i go to pick up the rear end assembly and it seems a little heavy to me so we put it down again....so little joe says "dad let me do it" and he wraps his 37" arms around it and picks it up and puts it out side on the jack stands....young bucks.
I'm 40 and my gym buddy is 26 ..... I think I know what you're saying...... lol
Just put this add up on Craigs list a few weeks ago for a friend of mine, maybe some parts you might need.
http://chambana.craigslist.org/pts/3858527754.html
http://chambana.craigslist.org/pts/3858527754.html
Last edited:
bobs77vet
Well-known member
bobs77vet
Well-known member
i didnt expect a loyalty test today, i thought that was only for work. about an hour today
removing the front ww hub

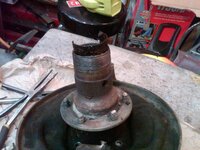
oh yeah that cotter pin is fun thing to remove...i would like to meet the sick bastard that thought that one up, here i am prying it out the last 1/8"
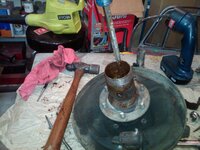
took a few fittings to get the corrects parts for the puller set up
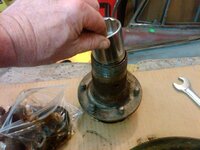

the orientation of the 1/4" hole towards the steering arm
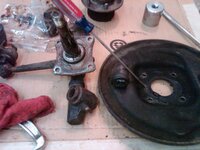
and i win

removing the front ww hub


oh yeah that cotter pin is fun thing to remove...i would like to meet the sick bastard that thought that one up, here i am prying it out the last 1/8"

took a few fittings to get the corrects parts for the puller set up


the orientation of the 1/4" hole towards the steering arm

and i win

Last edited:
bobs77vet
Well-known member
well the other side is done, also what a PITA those cotter pins were
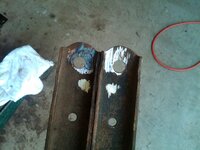
this is the new challenge
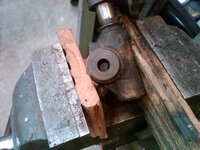
lets see what 12 tons of pressuere will do
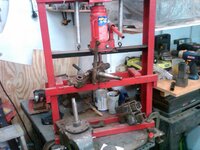
i win!!!!!
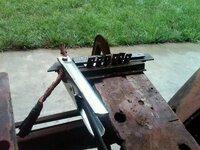
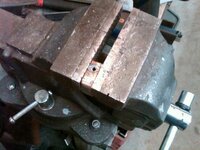
just propane heat until the grease was bubbling out and then lots of pressure, even after the first pop of a 1/4" I had to reheat it go the rest of the way.....and if you are wondering thats a pitman arm off of a corvette and those are main caps of a SBC. I seem to have misplaced my blocks for the press

this is the new challenge

lets see what 12 tons of pressuere will do

i win!!!!!
just propane heat until the grease was bubbling out and then lots of pressure, even after the first pop of a 1/4" I had to reheat it go the rest of the way.....and if you are wondering thats a pitman arm off of a corvette and those are main caps of a SBC. I seem to have misplaced my blocks for the press

Last edited:
SuperBuickGuy
Well-known member
hmmm, I need a just a bit more blocking for my press - and there's a 400 in my shop that the block absolutely toast... hmmmm :suspicious:
bobs77vet
Well-known member
hmmm, I need a just a bit more blocking for my press - and there's a 400 in my shop that the block absolutely toast... hmmmm :suspicious:
those main caps are sweet....nicely machined with a decent span, thick as shit, and have that nice radius open end. and you could bolt them together for a large hole
Latest posts
-
-
-
-
-
Was member years ago dropping by to say hello.
- Latest: crazyhorse
-
-
-
-
-

