You are using an out of date browser. It may not display this or other websites correctly.
You should upgrade or use an alternative browser.
You should upgrade or use an alternative browser.
1958 MGA Coupe
- Thread starter bobs77vet
- Start date
bobs77vet
Well-known member
MYBAD79
Moderator
Great work, as always......when do you think yo'll be driving ??
bobs77vet
Well-known member
Great work, as always......when do you think yo'll be driving ??
I am not sure I guess it depends if we sell the house and down size.....if we go down this path then the car gets mothballed until we are settled....if we dont down size then maybe next summer/fall
those hubs just didnt clean up like I wanted them to so i painted them with an engine enamel, i focused mainly on the areas that werent threaded.

bobs77vet
Well-known member
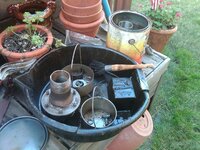
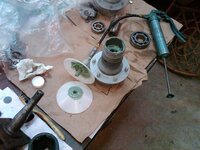
time for the very gooeey job of packing wheel bearings, i am a big fan of the green synthetic water proof grease this stuff is sticky and its a pain to clean off of tools......all the things you want in a grease.
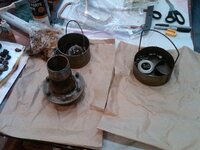
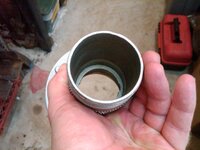
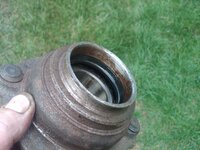
this is the inside of the hub and you can see the shoulders the bearings stop at

you can pack them by hand but i have the packing tool and it works pretty well
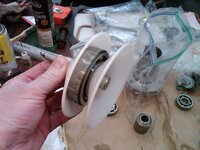
notice no old grease coming out of the bearing thats becasue i cleaned them very well
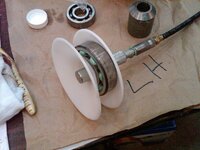
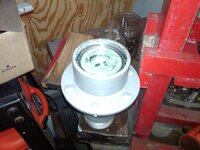
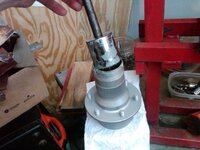
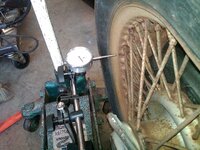
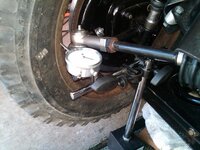
i measure the distance down to the bearings to make sure they are fully seated
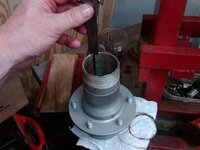
done!!!

this is the inside of the hub and you can see the shoulders the bearings stop at


you can pack them by hand but i have the packing tool and it works pretty well

notice no old grease coming out of the bearing thats becasue i cleaned them very well


i measure the distance down to the bearings to make sure they are fully seated

done!!!

bobs77vet
Well-known member
bobs77vet
Well-known member
SuperBuickGuy
Well-known member
I so love this project - thanks for the updates
bobs77vet
Well-known member
thks
i now have a rolling chassis again....until tonight when i start on the rear hub seals
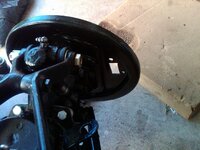
i figured out the backing plate orientation like it was when i took it off although i am not sure it makes a difference

to install the new seals push the seal down with your hand and use the puddy knife to roll around the circumferemce of the seal this stops the rubber from bunching up...these two photos i did in one motion
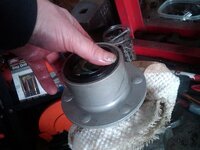
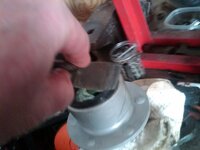
seal driver for seating the seal after its in place
one big one for the out side diameter and smaller one to locate the driver

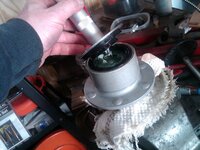
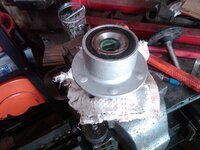
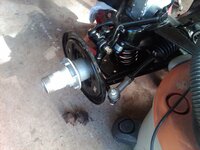

i now have a rolling chassis again....until tonight when i start on the rear hub seals
i figured out the backing plate orientation like it was when i took it off although i am not sure it makes a difference


to install the new seals push the seal down with your hand and use the puddy knife to roll around the circumferemce of the seal this stops the rubber from bunching up...these two photos i did in one motion


seal driver for seating the seal after its in place
one big one for the out side diameter and smaller one to locate the driver


bobs77vet
Well-known member
so the "5" th hole on the backing plates faces forward on the rear backing plates. i put the ice pick through the hole for reference

driver side slipped right off, both side were missing the screw that holds the splined hub to the bearing hub
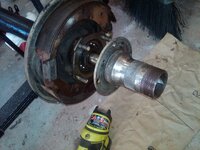
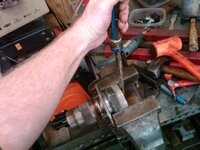
this side i pryed with the pry bar and light tapped on the bolts with the nuts on them and just kept rotating it unitl it popped off.
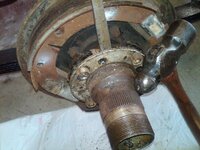
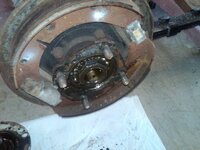
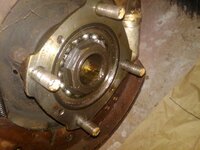
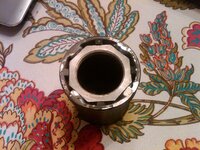
2 1/4" socket for 4whl drive vehicles $15 from advance auto. turns out my 49mm socket was a 6 sided one and did not work.

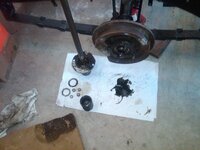
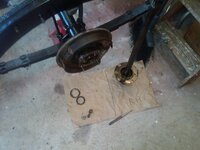
time to start reading about pulling the rear hubs....

driver side slipped right off, both side were missing the screw that holds the splined hub to the bearing hub

this side i pryed with the pry bar and light tapped on the bolts with the nuts on them and just kept rotating it unitl it popped off.


2 1/4" socket for 4whl drive vehicles $15 from advance auto. turns out my 49mm socket was a 6 sided one and did not work.


time to start reading about pulling the rear hubs....
bobs77vet
Well-known member
done with the reading and had a few extra minutes......i use the clamps to keep the puller locked in place or else when the bearing loosens they go falling away and you have to start all over again
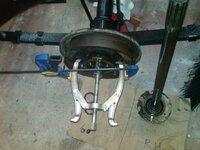
i use a shoulder socket that will allow the bearing to slip over it
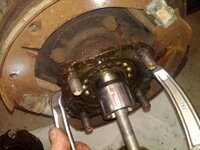
and they are both pulled off maybe 20 mins total

the bearing surface look nice no scoring at all and no evidence of the rear seal leaking at all

i use a shoulder socket that will allow the bearing to slip over it

and they are both pulled off maybe 20 mins total

the bearing surface look nice no scoring at all and no evidence of the rear seal leaking at all
MYBAD79
Moderator
I have to say: from the pics I've seen you're about 15 years older than I am, you're married with kids and you're getting way more work done than me .... Lol.... That's impressive ..... Do you sleep every now and then ??????
bobs77vet
Well-known member
I have to say: from the pics I've seen you're about 15 years older than I am, you're married with kids and you're getting way more work done than me .... Lol.... That's impressive ..... Do you sleep every now and then ??????
turned 56 yesterday whick makes be eligible to retire with 33yrs woo hoo KMA we call it. i nibble at the elephant a little bit at a time and it has a cululative effect
3 hrs of easy work mostly cleaning parts
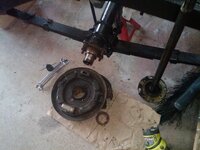

conpressed cylinder to take it out
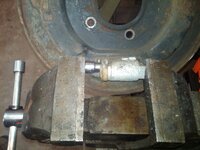
i think recall the brake componets are whitworth any way it was a good fit
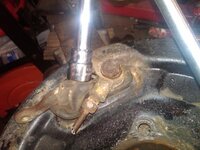
these are inexpensive from HF and they get used a bunch, i followed Barneys write up
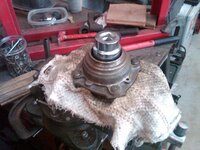
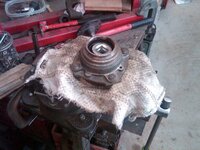
you can see that the the bearing and rubber seal are seperated
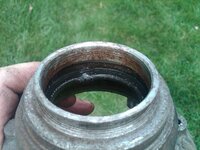

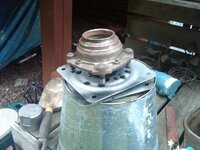

a side by side
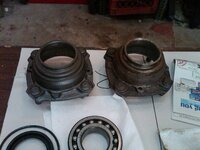
just like the front hubs
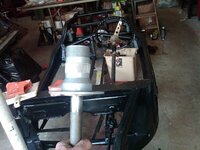
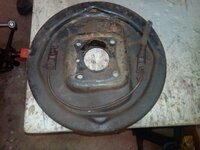
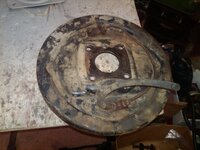
and the backing plates
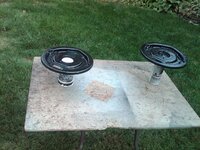
Last edited:
1Michel
Well-known member
turned 56 yesterday
Well Happy birthday my friend....:drink:
bobs77vet
Well-known member
bobs77vet
Well-known member
1 hour this am real easy work
test fitting the bearing/seal tool the bottom piece was a perfect fit and the bearing seals went in easier then the front ones.

I polished the inner hub you can see where I have marked the hub if you look closely LH with a sharpie so i didnt get then confused
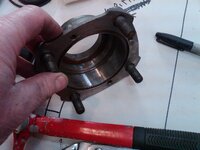
getting the hub nice and warm and the bearings got placed in the freezer after they were cleaned
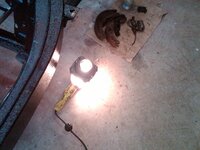
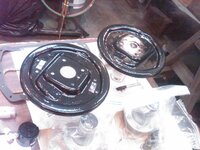
backing plate is installed and I polished the axlehub while the bearing hub is getting warm
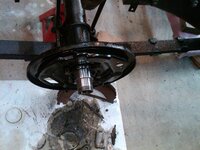
well the -1* degree bearing and the light bulb hot bearing hub slipped together very easily
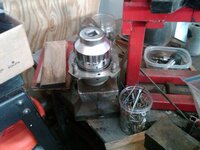
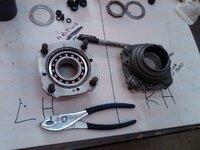
test fitting the bearing/seal tool the bottom piece was a perfect fit and the bearing seals went in easier then the front ones.

I polished the inner hub you can see where I have marked the hub if you look closely LH with a sharpie so i didnt get then confused

getting the hub nice and warm and the bearings got placed in the freezer after they were cleaned

backing plate is installed and I polished the axlehub while the bearing hub is getting warm

well the -1* degree bearing and the light bulb hot bearing hub slipped together very easily


bobs77vet
Well-known member
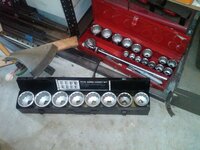
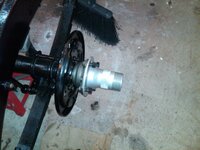
and putting them on was pretty simple I put some oil on the axle stub and the bearing race and then just used a big socket from those jumbo sets that had a greater diameter then the threaded area and some whacks with a big hammer drove it home. my torque wrench only goes to 150 ft lbs so i will see if i can use a loaner tool from an auto parts store. and then i will go back and do a final tightening and bend the locking tab over. overall it was a very succesfull weekend.


bobs77vet
Well-known member
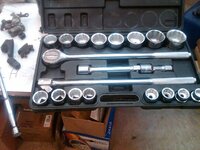
after reading Barney's website info on the real axle bearing retaining nut it became pretty clear to me that more tightness was a good thing and that there was almost no humanly way possible that I could break anything except for hurting myself. so I took this as a challenge. Eric got me thinking about leverage and I pulled out the big breaker bar. the thought here was less effort translates into more torque and a compromised tightening position would be necessary while i was to try and keep the socket on the narrow bearing axle nut while torqueing on it. I went to HF and bought the jumbo metric socket set and it had a 48mm 12 point socket and it was a good fit and it needed to be tapped on. I knew that the one I cobbled together would slip off with the big breaker bar because it was last night when i was just over 150 lbs. so my plan was from a kneeling position to lean up against a board resting on the ratchet and socket set with my hip keeping lateral pressure on them and then lean over on the breaker bar with everything else i had.
for a sense of scale
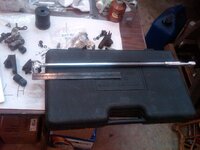
the set up.
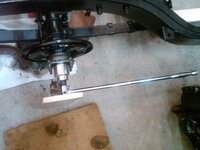
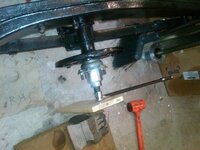
well it worked I am way past 150 ft lbs not really sure how much past but i only stopped when the torque was so much that i couldnt keep the socket on the nut, so my entire upper body was leaning on the 24" breaker bar and it only slipped off after i tried to get even more of my body weight on it, it has to be over 250 ft lbs. just for fun i swung the handle around on the breaker bar and I was pulling up on it and I was picking up the frame.
for a sense of scale


the set up.


well it worked I am way past 150 ft lbs not really sure how much past but i only stopped when the torque was so much that i couldnt keep the socket on the nut, so my entire upper body was leaning on the 24" breaker bar and it only slipped off after i tried to get even more of my body weight on it, it has to be over 250 ft lbs. just for fun i swung the handle around on the breaker bar and I was pulling up on it and I was picking up the frame.
bobs77vet
Well-known member
brake time
so we take a fine wire wheel to these brake parts
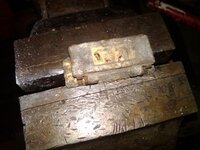
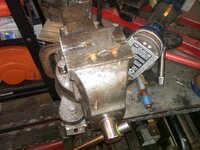
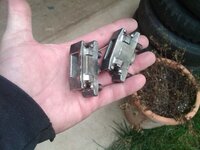
its like Christmas morning
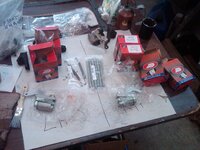
clean up the adjusters
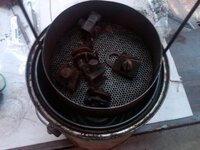
while they are soaking put on some parts

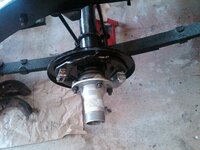
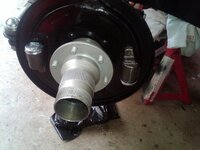
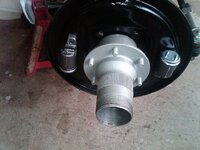
clean these up and scotch brite the parts as well as i can
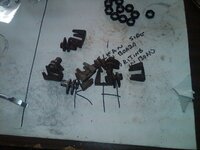
use an awl to make sure the retaining springs will line up for the rear brakes
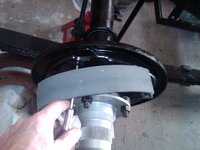
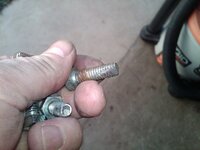
since the springs are on the back side to make the springs stay in place i ground off the sides of some bolts to push into the hole,
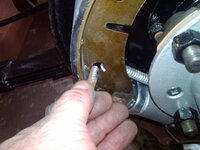
so it looks like this on the ground (note the spring is in the wrong hole it needs to be on the second holes)

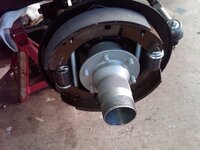

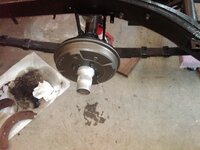
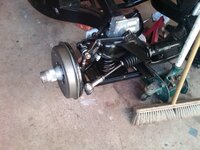
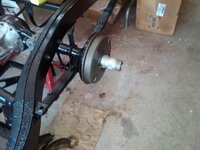
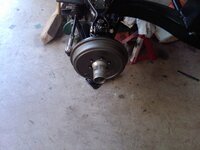
so we take a fine wire wheel to these brake parts


its like Christmas morning

clean up the adjusters

while they are soaking put on some parts


clean these up and scotch brite the parts as well as i can

use an awl to make sure the retaining springs will line up for the rear brakes

since the springs are on the back side to make the springs stay in place i ground off the sides of some bolts to push into the hole,

so it looks like this on the ground (note the spring is in the wrong hole it needs to be on the second holes)


Last edited:
bobs77vet
Well-known member
Latest posts
-
-
-
-
-
-
-
-
Was member years ago dropping by to say hello.
- Latest: crazyhorse
-
-
-
-
-

