Bigbrother

My only comment about the 700 trans is to use the BRUTE sunshell, and then there is a mod to IT also....a Torrington thrust bearing instead of a bush bearing in there....supposed to be the bees knees on fixing that issue....I am a believer in the Trans Go shift kits.....been good to me over the years.....I built my own 700 in a motor home some time ago....

Did it for the overdrive....4 grand at 60 was a bit much, .....
 
Camaro transmission? not a big deal other than the extra bit to attach the torque arm (they used the same internals).

Did they upgrade the transmission?

I was told it was from an 88 vette... I can't tell the difference.

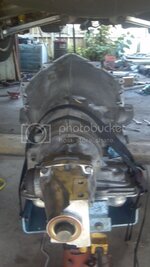
The old one has a K stamped on the housing.
2013-01-04_11-04-54_693.jpg
This one has a V.
2013-01-08_14-09-10_321.jpg

Reason i wanted it was for the abuse valve so it wouldn't kick when i drop it in gear.


My only comment about the 700 trans is to use the BRUTE sunshell, and then there is a mod to IT also....a Torrington thrust bearing instead of a bush bearing in there....supposed to be the bees knees on fixing that issue....I am a believer in the Trans Go shift kits.....been good to me over the years.....I built my own 700 in a motor home some time ago....

Did it for the overdrive....4 grand at 60 was a bit much, .....

Agreed. 4k@60 is a bit much.
I coulda woulda gone with the brute shell and thrust bearing. Im going to mention it to angel.

I took a lil break... everything is so damn annoying to work on with the tiny space between parts.

To all commenting... a heartfelt thanks... I mean it. The info and tips are a big assist! Big up!


Sent from my dumb 4g motorolly
 
Last edited:
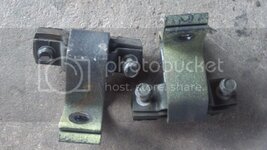
So far i only got the old muffler hangers unbolted. Im looking thru the parts garage for the longer hangers.
2013-01-08_14-08-30_757.jpg

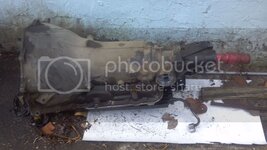
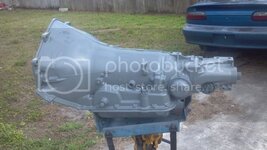
The trans was placed on a dolly so i can clean and prep for paint before mounting it.
2013-01-08_12-02-13_229.jpg

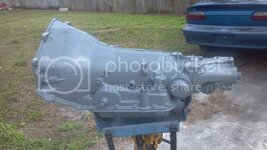
And after its all said and done...viola!
2013-01-08_14-09-10_321.jpg

Hopefully this will be done and mounted in an hour or so.

Im gonna replace the detent cable now since the old one is sticking.

Sent from my dumb 4g motorolly
 
I want to completely polish my 700r4 before I do my C3/C4 conversion on my 82.

Can't blame ya... i was sooo ready to do this one.
I do love that there's so many aluminum pieces we can polish on these vettes.
Keeping it polished is a whole other story. I think theres a sealant avail to keep things shiny for a while. :confused::confused:

Sent from my dumb 4g motorolly
 
My only comment about the 700 trans is to use the BRUTE sunshell, and then there is a mod to IT also....a Torrington thrust bearing instead of a bush bearing in there....supposed to be the bees knees on fixing that issue....I am a believer in the Trans Go shift kits.....been good to me over the years.....I built my own 700 in a motor home some time ago....

Did it for the overdrive....4 grand at 60 was a bit much, .....

I was told he used a beast sunshell and a torrington thrust bearing. Angel now wants me to ask if you could please tell me about the differences between a brute sunshell and a beast sunshell.
Thanks.

Sent from my dumb 4g motorolly

OK, the old OEM sunshell was a stamped out looking thing, thin in the neck area that slid over some shaft or other, the neck had inner splines to engage the other shaft....where the neck was bent/stamped/whatever was not too strong, and so the thing would sheer at that point, leaving the outer rim to turn nothing on the following shaft/gear cluster/whatever.....

and then the BRUTE sun shell had another problem from heat, and traced down to the thrust bearing, and so another mod to put a Torrington on it....

Been too long now since I built that 700, but so far it's hanging in there.....

even under a 8000 lbs GVW Motor home...course it is just a 350 chebby engine good for only ~300 ft lbs too.....

really would like to see higher line pressures, but don't want to pull out all the stops on that one, YET....
 
Last edited:
OK, the old OEM sunshell was a stamped out looking thing, thin in the neck area that slid over some shaft or other, the neck had inner splines to engage the other shaft....where the neck was bent/stamped/whatever was not too strong, and so the thing would sheer at that point, leaving the outer rim to turn nothing on the following shaft/gear cluster/whatever.....

and then the BRUTE sun shell had another problem from heat, and traced down to the thrust bearing, and so another mod to put a Torrington on it....

Been too long now since I built that 700, but so far it's hanging in there.....

even under a 8000 lbs GVW Motor home...course it is just a 350 chebby engine good for only ~300 ft lbs too.....

really would like to see higher line pressures, but don't want to pull out all the stops on that one, YET....


That's great info there...
I was trying to find the brute shell. After a quick search, cant find anywhere offering a "brute" sun shell for sale or any info. Maybe the brute sun shell has a better quality so we asked.

However "the beast" sun shell was easy to find. Theres some info here: http://beastsunshell.com/

I suspect both are comparable in quality. However the beast already comes with a thrust bearing. No mod needed.

Sent from my dumb 4g motorolly
 
Last edited:
I want to completely polish my 700r4 before I do my C3/C4 conversion on my 82.

Can't blame ya... i was sooo ready to do this one.
I do love that there's so many aluminum pieces we can polish on these vettes.
Keeping it polished is a whole other story. I think theres a sealant avail to keep things shiny for a while. :confused::confused:

Sent from my dumb 4g motorolly

I am almost done polishing all my suspension parts. I did a thread on them.
 
Check your 3 letter spring codes.

FHC spring code.

Chart lists that as a FRONT 88-91 93.1 spring.

I looked at the spring today and although marked "FHC" it has the square rubber pad blocks on the ends of the spring and the rest of the front assembly from a later car, at least a 91 or newer. I'm not sure which year the design changed.


Sent from my dumb 4g motorolly
 
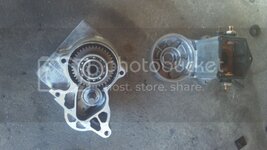
For starters...
2013-01-15_14-10-59_120.jpg
Went by the local vatozone and seen a starter rebuild kit. That got ne thinkin... jeez, id hate to pull the damn starter anytime soon. I wonder if its worth it to check it out.

Sure enough, when i opened it up i could see that the contacts were going bad. The darn thing still worked, but i knew it could be a problem in a matter of months not years.

So... we rebuilt it.
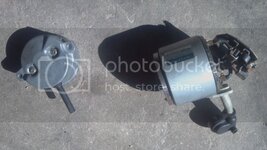
First we tried to find a replacement plunger. Their available online, but not locally. I seen the copper contact disc is still thick, so it got emory cloth to smooth out the pits and lines.
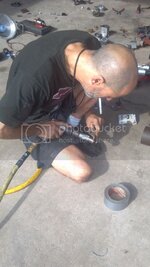
2013-01-15_14-12-32_38.jpg
2013-01-15_15-40-28_552.jpg
The armature got a cleanup on the contact too.
I also cleaned up the housing, bearings, drive assembly, and made sure all moving parts moved freely.
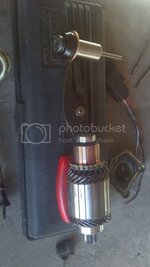
2013-01-15_13-57-53_308.jpg
2013-01-15_13-58-13_250.jpg
2013-01-15_13-58-31_617.jpg
Next i wire brushed the 2 copper bolts and leads we were reusing
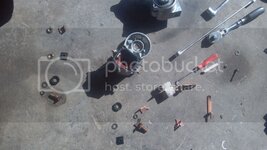
2013-01-15_13-58-51_720.jpg
All we had left were the plunger contacts to replace which came with the rebuild kit
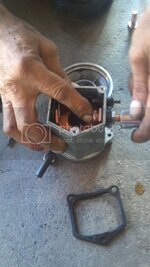
2013-01-15_15-41-11_862.jpg
We made sure the contact ends laid flat in the housing to prevent premature fails.
It didnt take long and was easy enough.
I am impressed by the ministarter and would recommend anyone to use one instead of the behemouth starter which comes stock.
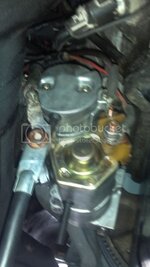
2013-01-16_11-48-27_673.jpg
The starter cable is too short now. I am going to have to fab up an extension later.

Meanwhile i rerouted the harness a final time.
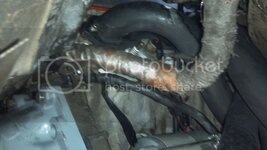
2013-01-16_11-49-10_549.jpg
I went behind the a/c airbox and avoided the exhaust a bit better than before.
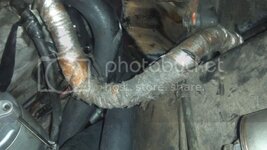
2013-01-16_11-49-03_102.jpg
Ill need some heat shield tape and it should be fine.
What didnt look good was my washer bottle. I went ahead and replaced it now while the access was available.
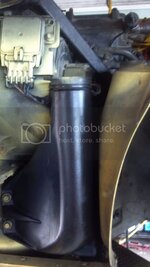
2013-01-16_11-48-47_272.jpg

All i need now is to solve the starter cable problem, install the new detent cable, and install the transmission dipstick tube to be done with this troublesome episode... that is till i have to connect the exhaust lol!
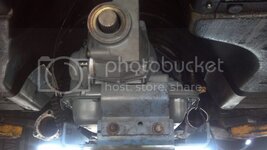
2013-01-16_11-47-56_812.jpg

Later!
 
Last edited:

Latest posts

Back
Top