Body mounts replacement

the rears have regular nuts as well (the ones behind the rear wheel).

Not from the factory. Originally they had the same caged nuts as the #2 and #3 mounts, riveted to the fiberglass body. They can be installed with regular nuts, but it requires someone inside with a wrench. The body mounts were all designed so they could be installed by one person on the line.
 
ok thks i got the caged nuts , but how do you access the interior cavitity(sp?) for the number 4 body mount caged nut?
 
I guess Mr Coors and I have to look at these tonight .......from below it seemed like it was a lot lower then the deck floor.
 
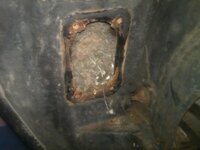
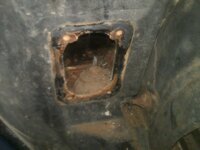
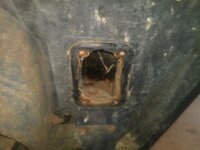
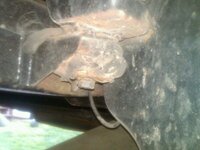
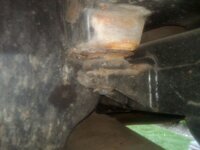
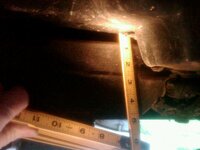
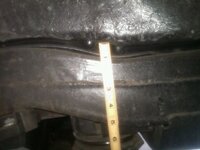
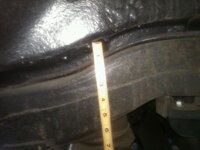
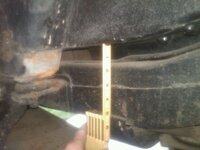
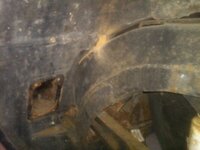
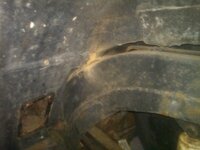
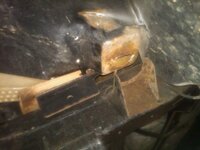
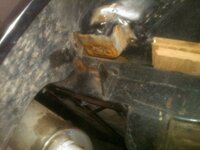
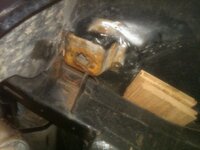
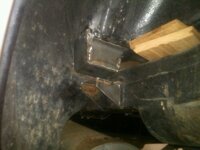
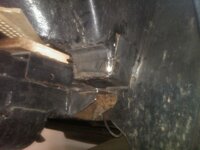
well Aldophus and I are getting along quite smartly tonight......the number 1, 2 and 3 body mounts are not an issue. looks almost like one of the front body mounts bolt was replaced at some point. it would have been easy for me to do when i replaced the engine years ago i just cant remember doing it though. the outer metal sill that the fiber glass rocker sill sits on looks pretty rough but i can see or feel all the bushings and i will be leaving them alone....something like not poking a sleeping bear. number 4 is a diiferent issue though and it definitley is my problem and i can see where the fiberglass body is bouncing against the frame over a wash board type bump. the drivers side is definitely sitting 1/2-3/4" lower then the pass side


its hard to see but on the drivers side the body is actually resting on the frame where the rear kickup starts, on the pass side it is 1/2" off. i have temporaily jacked up the drivers side rear and the body is not resting on the frame and the funky door gap issues have gone away.....time to eyeball it some more and come up with a plan


a nice home for someone
IMG00622-20120413-1815.jpg

IMG00624-20120413-1818.jpg

IMG00627-20120413-1822.jpg

IMG00625-20120413-1821.jpg

the bad one

IMG00628-20120413-1823.jpg

IMG00629-20120413-1824.jpg

the good side

IMG00631-20120413-1828.jpg


the bad side

IMG00632-20120413-1828.jpg

IMG00630-20120413-1828.jpg

IMG00641-20120413-1834.jpg

the bad side
IMG00636-20120413-1831.jpg

the good side
IMG00637-20120413-1831.jpg


IMG00633-20120413-1829.jpg
 
Last edited:
done for the night....

body sitting on frame that brown dust you see is very fine dirt from the body rubbing on the frame

IMG00643-20120413-1836.jpg

there is a gap now of about 1/4" and the back still needs to go up another
1/2" but i am going to let the body destress overnight at the 1/2 way mark

IMG00644-20120413-1852.jpg

IMG00645-20120413-1853.jpg


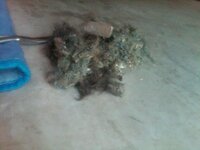
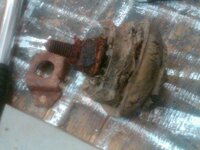
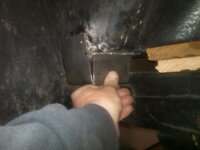
look what i took out.....the cage was sitting loose in the cavity. i soaked the pass side with PB blaster and will try getting that out tomorrow

IMG00647-20120413-2157.jpg

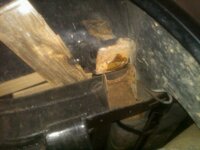
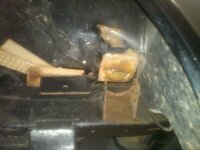
and this is what i am left with

IMG00649-20120413-2200.jpg

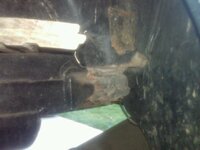
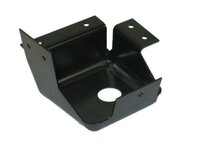
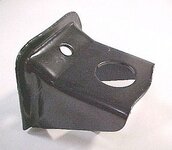
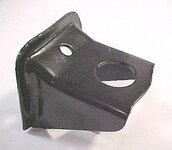
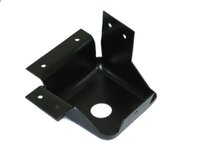
i can easily make a new drop in caged nut...but what about the out side metal bracket? this is what it is suppose to look like but unless i take the body off completely i can not get that in place. i am thinking a 4 sided mount that i can slip into place and maybe use a structural adhesive to secure it. i can make a base plate and then weld sides to it so i get the angles right.....any other thoughts?


4.jpg
 
The inside edge of that reinforcement is pretty short - it's the side with the single rivet hole. I think I had my body lifted about 2" when I slid them in. I used a chunk of 6x6 on top of a floor jack to raise it up by the floor pans. Leave the bolts on one side loosely in place while tipping it. The cushion under there is about 1.5" high, so it doesn't take much to get the bracket around the mount point.

I'd replace the reinforcement on the other side while you're at it. The new ones are made from better steel, and that way you don't have to worry about hidden rust on the inside.

On that (driver side) mess, it looks like you're going to need to re-glass the bottom of the mount bucket and weld in a new perch. Both are seriously messed up.

I've never seen a mouse nest in the #3 hole. I wonder how it even got in there? That space is closed, unless it chewed a hole through the 'glass.
 
Last edited:
the number 3 mount has 3/4" hole in the side of the frame that was the access for the mousie.

the pass side bolt just deteriorated apart when i went to turn it.....so i will be fiddling out there today looking at this coming up with a soloution.
 
Wow. Looks like you have some 'glass work to do on both of those #4 mounts, along with welding in new perches on both sides. I don't think I've seen one that bad without significant frame and birdcage problems, though mice could certainly do it. If memory serves, I had to cut both of my #4 bolts due to mouse-derived rustwelding of the bolts and capture nuts.

Have you ever thought about getting a cat?
 
11 ga steel slips right over the old horn

the bird cage is solid i spent so much time with the dash out of the car i have gone over every inch of that area...the frame on the car is very solid i have been all over that also, i am guessing this rusted out from the road salt of being up north. now i have to figure out what i am going to do with the body mounts ssif i fabricate them or buy them....at $50 a pop i am inclined to make them. i dont care about originality just functionality.

23.jpg

IMG00656-20120414-1213.jpg


IMG00657-20120414-1244.jpg

IMG00658-20120414-1244.jpg
 
Last edited:
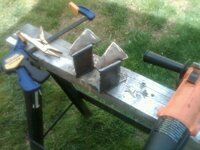
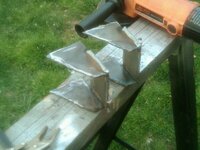
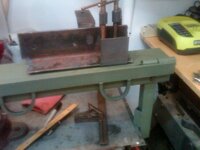
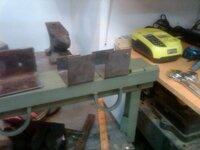
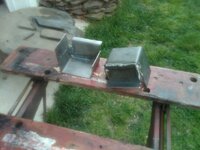
$100 was for the body mounts above the frame horn , i dont recall what the frame horns cost, here is my version of the $100 ones....i measured some of the remants of the old ones and they were 14 gauge steel . these are also 14 ga steel, i still have some more to do with them but you get the idea, and i like metal working so i view this as fun.....that was the primary reason i bought the 37 ford many years ago so we could weld up a storm...the reality is for the last so many years i havent had any metal supports back there so anything i do moves me in the right direction. one of the design criteria is that it has to be able to slip in place, so it may not have a back side at all.

4r.jpg


IMG00660-20120414-2236.jpg


IMG00661-20120414-2259.jpg

IMG00663-20120414-2349.jpg
 
Last edited:
well just need some holes for the bushings and some final grinding and painting and welding of the frame tabs and we are done...maybe 1-2 hrs of work if i take lots of pictures.....i actually like metal working

IMG00666-20120415-1759.jpg

IMG00672-20120415-1803.jpg

IMG00671-20120415-1803.jpg
 
they are just tapped in place now the fit is really good. after i get the bushings i am going to use i will take them out and cut the bottom hole and the other 4 bolt holes that match up to previous rivets, the inside most rivets are going to be skipped and there is no back section. i wonder why i shouldnt just prep the the fiber glass on the body by sanding it and then goop up the inside of the metal bracket with fiber glass and then put it in place and let the gooey fiberglass do its thing and bond with the body?

the question now is do i only get the two bushings i need Energy suspension 9.4101g $26.99 or get the whole kit 3.4126g $52.99. i know i have no intention of putting the other ones in.....

i did check the cost and the frame horns and the body brackets were each like $45....see now i can tell my wife all that welding equipment, plasma cutter and shop stock i keep actually saves me some $$$....maybe i should leave that alone.
 
You're going to need to lift the body a bit to get those bushings in there, I'd recommend changing all of them to ES poly at the same time.
 
You're going to need to lift the body a bit to get those bushings in there, I'd recommend changing all of them to ES poly at the same time.

no doubt the other six won't look much better...

fibrglass should work but add mat, not just the resin...

my real fear is the #2 and 3 body mount debacle I could start with screwing with them....the driving season is starting and i dont want the car dissassembled, maybe that should be a winter project. so i guess i will buy the whole kit and see if can get them in there, if not i will tackle #3 next and see if that gives me the movement i need and go from there. having the lower mount be able to slip in should help out some and i can weld that in with short bursts of the Mig and let it cool down between "stitches" so it doesnt melt anything.

i think i will use the gorilla hair mixed resin with long hair strands as the adhesive for that body mount along with the 4 exterior mounted bolts


how does that outer metal rocker sill attach to the frame? that is my real fear in screwing with the inner body mounts, that this sill just dissolves in my hands. is it part of the frame or the body? and how high up do you have to get the body off of the frame car to replace it?
 
Last edited:

Latest posts

Back
Top