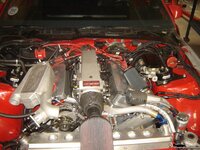
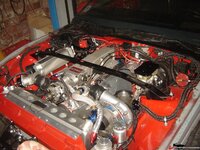
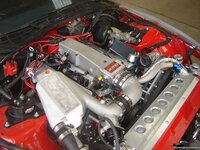
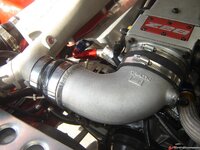
Redoing that old Camaro

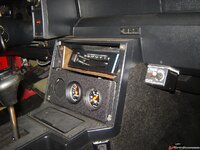
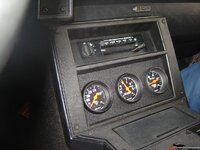
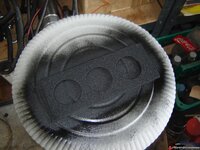
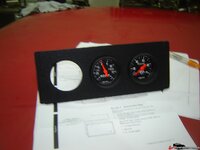
Some more done, fabbed a mounting face for 3 gauges to go where the radio was. The power and illuminatiion for the gauges is pulled off the radio harness so no loose wires or scotch blocks anywhere. I like my wiring clean.

I have 3 gauges but decided that the wideband commander 2 has to go on the a pillar because the gauge doesn't match the other 2. I'll get an oil temp gauge instead and wire it w a switch so I can switch between engine and tranny temp.
24c6849d50d2a8.jpg

24c6849d61e460.jpg

24c6849d75b511.jpg

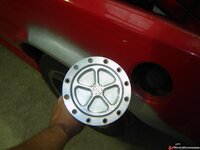
This is going to be my filler cap. Needs a custom ring machined and some cutting & welding to the quarter panel.
24c6849d873bc8.jpg

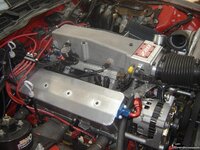
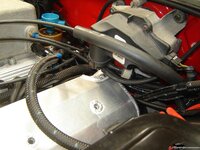
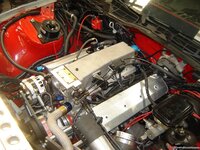
Got the valve covers on. Took a bit of modifying to fit. These are the only covers I have that fit without hitting the rockers or guide plates. i did have to trim the manifold side inside edge of the covers to get them to sit square, they were hitting the guideplates. Also had to notch the dr. side to be able to move it under the washer pump and not break off the pump pipe
24c6d9ba451825.jpg

24c6d9ba567782.jpg

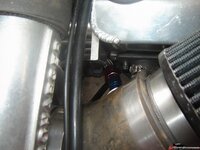
Mounted the 2 bar map sensor here (it's for the boost retard):
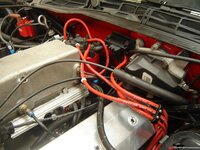
24c70104ced4d6.jpg

Wrapped the exhaust pipe that runs past the sump & starter
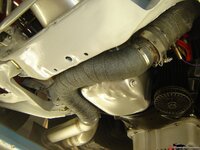
24c70104b1b553.jpg

and..it's running :D :D still NA as I don't have the intercooler piping finished yet but still, it's a big step that it at least runs :)

[ame]http://www.youtube.com/watch?v=-KOpmXbppjc[/ame]
 
I'll be able to drive it today, bleeding the brakes is all it needs.. who needs sheet metal :D
 
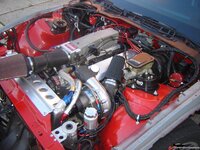
Well, it runs under it's own power :) still NA taking it a bit easy, only 1/4 or so throttle since nothing is dialed in and it still goes a tad lean on the WBO2 w/ 30# injectors @ 55psi at that throttle setting.

The neighbors loved it ahum ;)

[ame]http://www.youtube.com/watch?v=kI8gCyji0ZQ[/ame]
 
Jeff, yes the hood should close. The fitting doesn't stick up that much...in either case it's nothing a little notching the hood won't fix
 
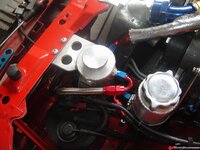
Fabbed a little reservoir to be hooked up to the SC inlet side for crankcase evacuation, an evac line is running to the pass side VC. Need to put a cap on the reservoir, it's there to inspect if there's excess oil in there.

24c7428543287e.jpg

24c74285696a58.jpg

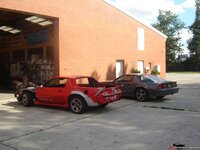
and since it's now moving under it's own power, brakes all bled, fays 2 watts linkage dialed in I did some driving around and shot a pic w/ it's brother ;)

24c7428587e3fb.jpg

Having 2nd thoughts about the wheels. A buddy of mine showed me some wheels and I think they might go better with the car overall. If I tint the windows (side & rear) replace the silver iroc decals w/ black ones and maybe keep the black lower stripe it would look awesome with all the other black stuff like the hood inserts, the door handles, the interior, the front grille openings & headlamp buckets and so on..... hmmmm

quick photoshop

24c76d6b7b4555.jpg

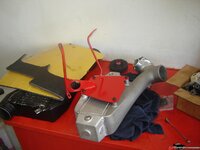
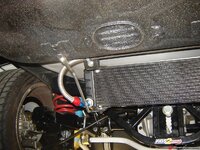
I fabricated a mount for the intercooler today. Since I hate drilling holes I used the factory support bracket between the fender and front lower frame rail and a hole that was once used for an AC line.

24c7d4ff2f403a.jpg

24c7d4ff413ecc.jpg

24c7d4ff541d06.jpg

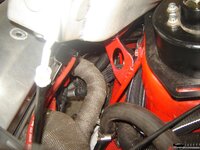
I made a quicky rod ended bar to stabilize the setup. Didn't have the material for a threaded sleeve so I welded some nuts to a piece of solid round bar for now. Will replace it with something proper later on

24c7d4ff670331.jpg

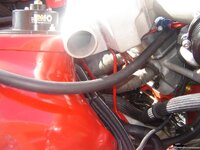
It's all real tight over the valve cover. A little foam helps it from scratching/rattling. Good thing I have solid motor mounts and nothing moves there

24c7d4ff770341.jpg

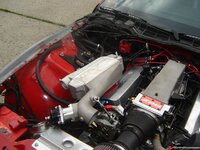
Now all I need is a custom super short MAF and an elbow to the TB and the other side of the piping fabbed.

This is a neat and tight package like this.

Fits like a glove, just needs a reducer to hook the 2 together. I may stick a custom maf inside the elbow since I want it between the cooler and the TB

24c7eb8021ce1a.jpg

installed a 3rd gauge
24c7eb80317ff7.jpg

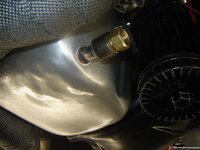
and then realized I forgot to put a bung in the pan for a mech gauge and the canton adapter that I had apparently is for an LT1...oops!!

I hope this will do the trick. Made this adapter, the mech gauge bulb screws in the brass end.
24c7eb804bb971.jpg

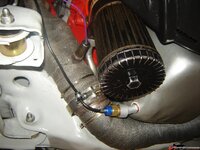
Also hooked up the crank case ventilation to the suction side of the SC. The can is an oil seperator to keep oil out of the SC.
24c7eb7fe1f4b0.jpg

24c7eb7ff1f4c9.jpg

24c7eb80126a24.jpg

This is my finished oil temp bulb setup and it works like a champ. The exhaust protects it from getting ripped right off

24c83e16b22f33.jpg

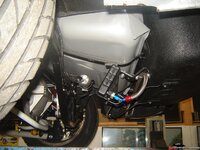
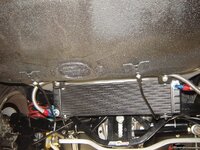
Also finished the lower support rods for the tranny cooler, this keeps it from flopping around and hammering against the tank straps

24c83e169bf357.jpg

24c83e168b7de7.jpg

I made them from round stock and welded tabs to the end, looks pretty oem compared to the other braces on the car w/ the stamped flats

24c83e1679821d.jpg

Again I used factory holed on the rear tub, these are the ones originally for the muffler heat shield

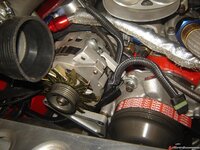
Well, turned out my alt was sticking up too far and interfering with the ducting from IC to TB, had to modify the linkage so I could swing it further inboard and down. This little alu adapter piece did the trick

24c9e739891ce1.jpg

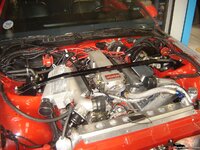
Also, the edelbrock STB still fits! woohoo! That's a big bonus, I was already thinking I had to fab something myself.

24c9e7399bdc58.jpg

It's tight but with solid motor mounts and the IC mounted solid, nothing is going to move

24c9e739b0b93d.jpg

24c9e739c0b967.jpg

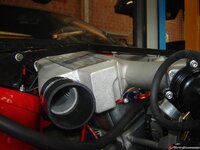
I finished welding an extension/adapter ring to the elbow so I can more easily slip the coupler over it. It also needed it because it was too short. Helps pull the intercooler straight too, I tossed the rod ended link, not needed now. Much cleaner Eventually I'll probably weld the elbow to the TB front adapter.

24c9fa941a9b9e.jpg

24c9fa942cbe7b.jpg
 
Stop it already, your making me feel lazy:wink:

Nice job and nice fab work, I'm so jealous of your skills. I'm working on fabbing a rad support like you did but I don't have the dimple dies, so I'll have to see what I can rig to make something similar.
 

Latest posts

Back
Top