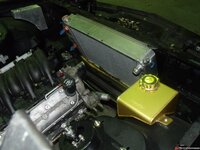
Redoing that old Camaro

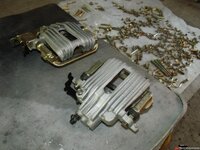
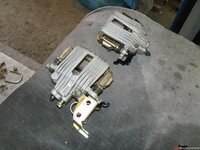
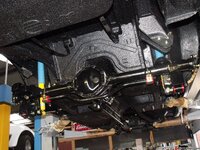
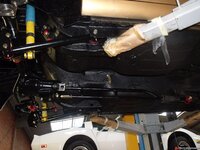
Well, got more bolts in from the platers and decided to (partially) assemble the rear suspension & axle on the 82 TA. I still have to get a Fays2, a TA rear cover, brackets for 12" rear brakes and a bunch of other stuff. I also rebuilt the pbr calipers but I'm missing one parking brake cable bracket. It looks like the plater lost it as it was there before. Seriously pissed about that and hope I can find a replacement without having to buy a whole caliper.

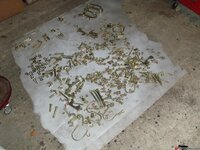
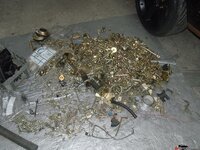
More gold bolts and nuts (there's more than of this car, I always throw in all my spare bolts and nuts that come of various projects)

24ed287eb2d4a6.jpg

the calipers
24ed287ebe6d2e.jpg

24ed287ec9732d.jpg

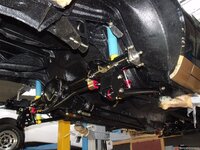
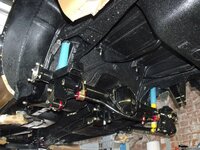
rear susp, finally starting to look like something again
24ed287ed4bc55.jpg

24ed287ee111f5.jpg

24ed287eeb7229.jpg

24ed287ef6c641.jpg
 
I'm fairly positive the trans am has a 1984 4 wdb proportioning valve on it. Because it had a 373 posi disc rear in it. Well unless you changed that.
 
I have a 1LE prop valve for it, it's the aluminum one in the pics. The old one in there was cast iron.
 
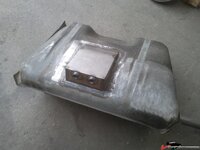
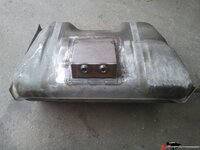
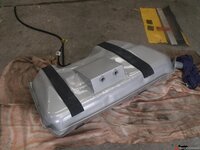
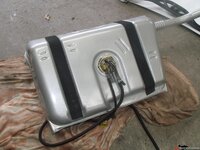
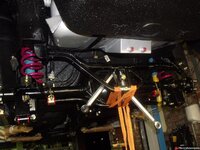
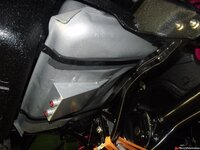
Decided to get another tank so I could weld in a sump, would be a shame to cut up the already powdercoated one. This one, being from a TPI car has an internal plastic baffle that caught fire when I welded the tank. Took some grief getting it out completely since one can't reach in there with a hand to pull it out.

Had to mod the sump to angle the back side so it would fit the tank

24f13032b94732.jpg

24f13032be9e7c.jpg

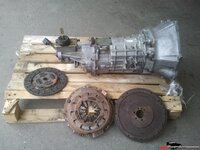
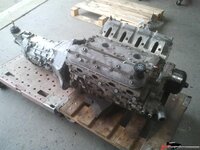
Also got my LS T56 in, swapped it with a guy in the UK who needed an LT unit. Along with my mockup LS I'll be able to get a good bit of stuff done soon

24f13032c4173d.jpg

24f13032d39dd0.jpg

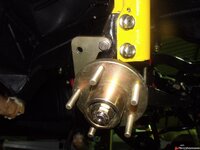
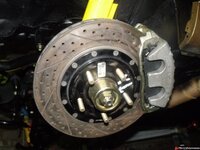
The hubs for the C5 brake conversion were bare, I hate bare metal so...I had it plated :) While I was at it, I installed longer ARP studs. I thought I had ordered dog/quick start ends... I got these. Oh well...

24f1334737de4a.jpg

now I'm not feeling the rough finish on the calipers. They have dents and scratches.... and "corvette". I'm leaning towards painting them

24f133472c3f53.jpg

More progress got the tank back from the coater and a bunch of bolts and misc parts back from the platers.

I stuck some heavy duty foam rubber to the tank, much better than the paper like factory stuff

24f1b266298f5f.jpg

Welded the unused lines on the sender unit closed, the hose is for the pressure valve.

24f1b2663583dd.jpg

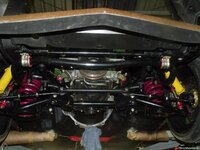
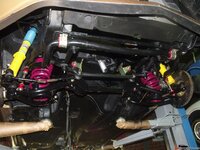
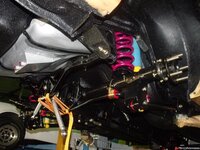
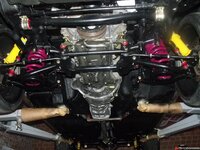
front suspension all together. Had to shim 3 of the 4 a arm munt pockets because of play on the bushing. Also used washers on the bolts and nuts, I hate to scratch the coating with bare bolts and nuts

24f1b2664076bb.jpg

24f1b2664ac71e.jpg

24f1b26655ed9f.jpg

Fays2 watts linkage for the rear, still need that 9 bolt girdle cover and some caliper brackets to complete it. I did install the arp studs on the axles now too.

24f1b266612d62.jpg

24f1b266772fa0.jpg

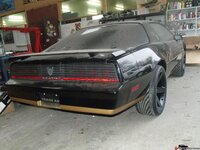
and the tank in place The sump isn't even visible from behind the car

24f1b2666ba0b2.jpg
 
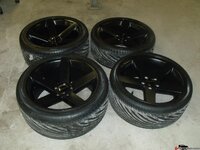
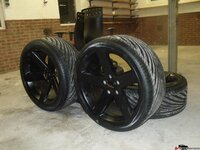
These wheels are for my camaro, gonna try them on the TA, they make look good on there.

24f1dd420072f2.jpg

24f1dd420d2288.jpg

24f1dd421894fb.jpg
 
OK more progress on the 82 TA. I was going to install the mockup LS1 and T56. Didn't quite get it done.

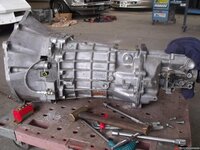
First I installed a remote bleeder setup on the T56. This is from speedwaymotors. Also plugged the reverse lockout hole and the cags solenoid hole. Don't need that stuff
24f380a0444a02.jpg

Then I found out that some of the bolt holes on the T56 bell are stripped and the others aren't perfect either. I may have to get a quicktime 8020 bell. Crap!

Well, let's install the motor first then... OK, trans dapt 1" offset mount plates. They come with bolts and nuts, the nuts are for on the back of the plates to provide more "support". What a load of hoohah.... they only fit in 1 of the locations. In the bolts bin with that stuff then. Also had to notch the dr. side a little or it wouldn't even fit the motor because of a casting bulge with a machined flat (most likely for maching track system)
So, the plates are mounted...time to stick it in. Batwing pan won't fit, next to impossible to install. Need new pan too then. Crap!
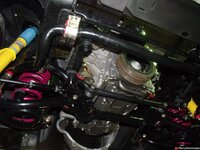
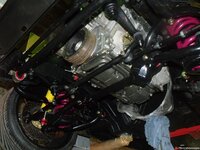
So let's just lower the engine in place... Pass side bolt goes in, nice...over to drivers side.. CRAP!!! again!!!!! This stuff doesn't fit. The motor mount adapter plates are probably made incorrect with the mounts sitting too high, spreading them apart. The engine also sits pretty close to the center link. I couldn't even get a thinner bolt in there properly. Crap crap crap...more problems, last thing I need is more probs. I'll have to do some grinding on the moroso solid mounts, I had to modify the 3 holes on them already to be able to bolt them to the trans dapt plates. Should have been worried with these plates since they came with a cheap rattle can paint job. I had them plated. Next time I'm using a different brand, that's for sure.
24f380b2a194c5.jpg

24f380a07cf2fe.jpg

24f380a8910886.jpg

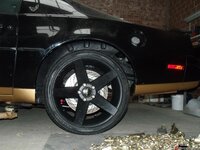
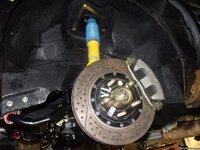
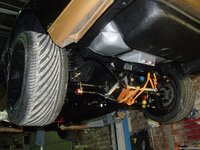
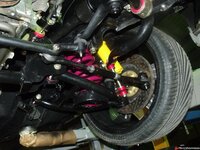
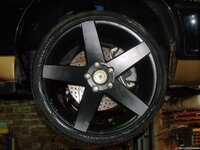
I installed some 14" rear discs, I'm not 100% sure I like having larger rear rotors than fronts.... hmmm....


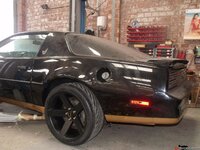
The black wheels from my iroc fit with a small spacer for added clearance
24f380a0937c80.jpg

front

24f380a89b4935.jpg

rear

24f380b29662d8.jpg

The rear springs I got from Vogtland are probably wrong... they have pigtails on both ends, are pretty short and don't sit tight around the puck on the axle. Something is not right. Haven't gotten confirmation off the part # yet. I do know that my old set that I put on my buddies car because mine was up on the lift and his needed work anyway...they were different. They were pigtailed on one end.

the front now has me worried too, the others didn't have so many progressive coils up top and on these the upper 4 coils almost touch and the springs are now very stiff. I had to really squeeze them to get 'em in. Let's install wheels then and see where it settles. There's no engine or trans in the car but it sits ridiculously high. I don't see it coming down all that way. I stuck the LS long block in and it only dropped a little. CRAP!!! Looks like even more trouble. :(

Yuck!!!

24f380b2abb922.jpg

Something must be wrong about these springs. I can probably cut 2 coils off the top. I'll check w/ all the weight on the car and will determine what to do then.
24f380a885fa76.jpg

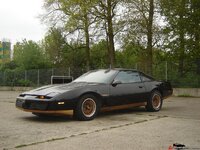
This is the rear with some cut stock springs, the same that were on there in this pic
24bef38ce15ba0.jpg

compared...the rear will settje like it did with the black springs.. The vogtlands are shorter and because of the 2 pigtails can not use the isolator. Ugh...
24f380a050946d.jpg

24f380a05b3aa1.jpg

24f380a0727811.jpg

I think I will have some bolts left over when done LOL
24f380a066e0fe.jpg

Now a photoshop of the wheels with a low car..

This is how it should look, not the gasser look above

24f38144a1ce7a.jpg
 
this is going to be one sweet ride !!! I really like these wheels but try a photoshop with these rims in gold... it would look even better IMO...

hey, wait a second, don't these Fbodies have front coilovers since 82 ??? or did the front susp change with the 93 model ???
 
Last edited:
Gold rims

24f38dc1c38fb3.jpg

No coil overs, they use a strut but a normal spring. The coil over conversions are all juk, they out spring pressure on the body sheetmetal, fenders. They are not designed for that. The caps are spot weded on, you'll blow one out eventually. i would never install that, ever.

jeff, you are a little short there

Definitely better with gold rims! How about 1001.00 that seems like a happy medium! I actually miss the car, but the vettes keep me busy enough!
 
The lug nuts are for those factory black plastic caps. Just didn't install them. The center caps are black with gold script.
 
Before you mess with the motor mounts to solve the center link to oil pan clearance I would let the suspension settle. I remember when I pulled the 305 and put the 350 in it it had clearance issues as well but as the springs settle down again space was created.
 
Settling the suspension does not lower or raise the center link, that's determined by setting the pitman arm height and the steering box. Steering box isn't adjustable and the pitman is already set so the center link is horizontal.
 
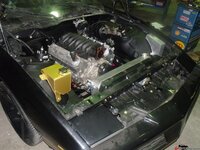
LS1 is in after grinding the moroso mounts.

24f3ffa1925fba.jpg

24f3ffa19d5f82.jpg

24f3ffa1a89888.jpg

24f3ffa1b45a4a.jpg

This is with 1" set back, plenty of room but the driveshaft is a little right so instead of 41.5" I'm getting a 41" one.

Ignore the quickly hacked/welded crossmember. It's non functional. I'm going to get some alston inboard SFCs and fabricate a mount off them. The way it's now I don't have exhaust clearance and I want it to run besides the tranny.

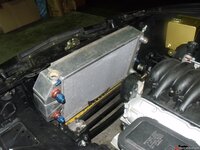
Rad fits too...well..almost LOL. Need to cut that large bulge off the steering box so I can get a hose end on the oil cooler part and I need to cut and angle the lower rad hose connection

24f3ffa1bec9cf.jpg

24f3ffa1ca25fc.jpg
 
You get thicker radiators than i have ever seen. Mine is a 2 row 1.25 tube Griffin and it looks like a pancake compared to that. How many rows and what is the tube size. How many gallons does it hold.

Isn't that a huge weight penalty to have all that fluid? They say going more than 2 rows has a huge drop off in efficiency.

I like the look of the gold rims better. Have you thought about taking the ding preventer off the side of the car?
 
Last edited:

Latest posts

Back
Top