You are using an out of date browser. It may not display this or other websites correctly.
You should upgrade or use an alternative browser.
You should upgrade or use an alternative browser.
Rookie's First Restoration Attempt...
- Thread starter stinger12
- Start date
stinger12
Well-known member
- Joined
- Mar 28, 2008
- Messages
- 832
- Reaction score
- 0
My computer was busted the past week. Sorry for the delay guys...my dad finally had a chance to fix it the other day.
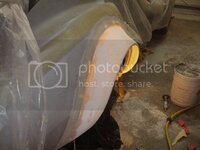
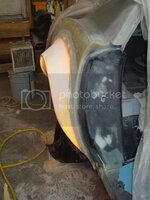
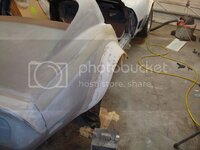
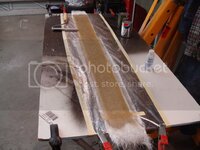
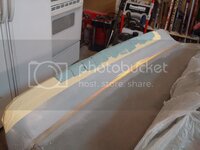
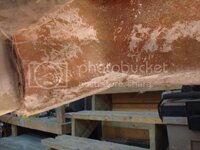
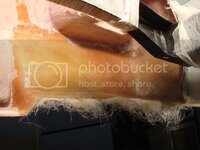
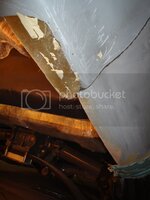
Here is part of the rear bumper glassed. I still have a long ways to go.
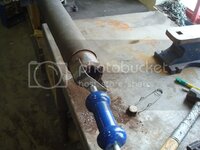
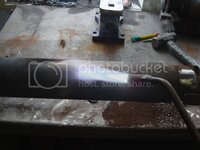
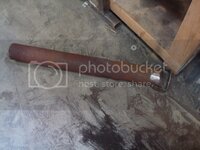
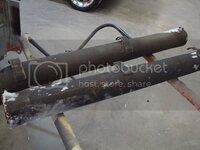
I finally removed the mufflers from the sidepipes on Saturday. You wouldn't believe how much work it took to get these things out. I had to practically get half the sidepipe glowing orange with heat to get these things to break free...and even then it was tough removing them. I used a giant slide hammer to assist the heat. Unfortunately, the amount of beating I had to do on these things caused some flat dents. Hopefully you won't see them once they are painted and on the car. If they are noticeable, then I'm going to have to replace them eventually. Right now I don't have the funds to get new ones. Oh well.
Here is part of the rear bumper glassed. I still have a long ways to go.


I finally removed the mufflers from the sidepipes on Saturday. You wouldn't believe how much work it took to get these things out. I had to practically get half the sidepipe glowing orange with heat to get these things to break free...and even then it was tough removing them. I used a giant slide hammer to assist the heat. Unfortunately, the amount of beating I had to do on these things caused some flat dents. Hopefully you won't see them once they are painted and on the car. If they are noticeable, then I'm going to have to replace them eventually. Right now I don't have the funds to get new ones. Oh well.


js292
Well-known member
There's nothing special about that pipe, I'd just go to a place that does big rig exhaust and buy new pipe from them and weld on the brackets.
00fxd
Well-known member
1Michel
Well-known member
I'm so jalous
Get your ass out in the garage and forget the big picture. Focus on one project at a time. People always tell me I will never get this thing done. Wrong. Little do they know that I am getting something done everyday...then BAM...it all comes together and they say WTF?
Thats something you cant say about Denpo, he's in the garage allright, pretty darn focused if you ask me LOL
You both are inspiring, good work guys.
Now that I'll be home more often, I guess I should get my ass in the garage. LOL
mrvette
Phantom of the Opera
I'm so jalous
Get your ass out in the garage and forget the big picture. Focus on one project at a time. People always tell me I will never get this thing done. Wrong. Little do they know that I am getting something done everyday...then BAM...it all comes together and they say WTF?
Thats something you cant say about Denpo, he's in the garage allright, pretty darn focused if you ask me LOL
You both are inspiring, good work guys.
Now that I'll be home more often, I guess I should get my ass in the garage. LOL
My ass has been in the garage for OVER 1/2 a century.....
whipper snappers....
:gurney::gurney::hissyfit::ill::banghead:
MYBAD79
Moderator
My ass has been in the garage for OVER 1/2 a century.....
Time to tear it down and rebuild.... Fabreeze is not going to do it....
I finally got my a$$ in the garge and glued the front flares in place... I really need a few nice shade trees, got sunburn on arms and neck :ill:
mrvette
Phantom of the Opera
My ass has been in the garage for OVER 1/2 a century.....
Time to tear it down and rebuild.... Fabreeze is not going to do it....
I finally got my a$$ in the garge and glued the front flares in place... I really need a few nice shade trees, got sunburn on arms and neck :ill:
Hey, every time I fart, the engine revs a bit...
:hissyfit::hissyfit::drink::club:
stinger12
Well-known member
- Joined
- Mar 28, 2008
- Messages
- 832
- Reaction score
- 0
Progress seems to have slowed.
Stinger12 must have picked up a girlfriend.:friends:
Progress killers I tell ya...
Nah, just been extremely busy with work lately! One thing I have noticed when it comes to the restoration and hotrod business - your own projects get put on the backjburner sometimes, because you are always working on other people's projects! I haven't been working on the vette. But that doesn't mean I can't post an update for you guys. The vette project will get underway again shortly. I took a break from it for a few weeks to relax. Its almost time to start hustling again!
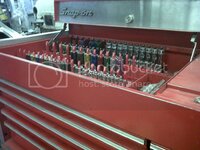
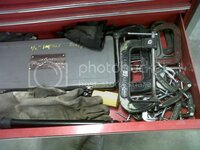
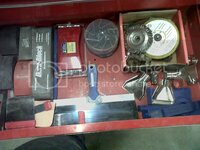
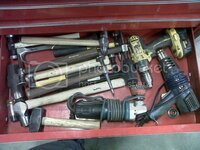
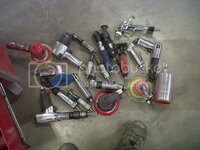
Here are some pics of the tools I have collected the past year (after all...lots of you did help me purchase some of them)...
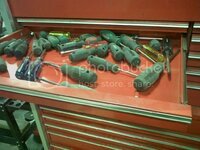
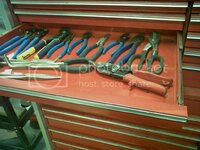
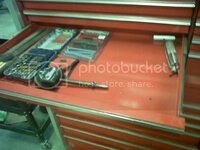
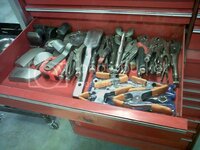
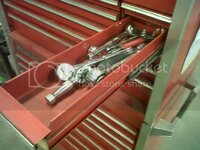
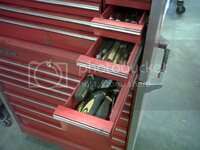
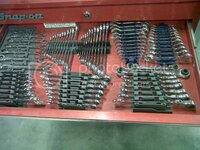
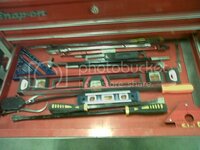
And, here is something I made out of sheet metal the other day (just messing around after work learning how to bump metal)...
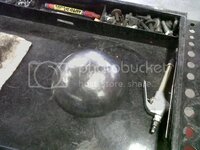
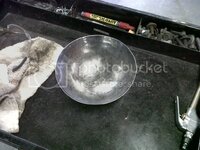
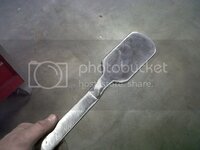
I also made this beating spoon out of a scrap piece of leaf spring. This tool is 5/16" thick of hardened steel. I wasn't able to find anyone who made one like this...so I just made it to my liking.
stinger12
Well-known member
- Joined
- Mar 28, 2008
- Messages
- 832
- Reaction score
- 0
Sorry for the lack of updates. I lost the memory card to my camera, so I haven't been taking too many pictures lately.
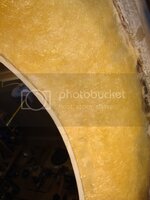
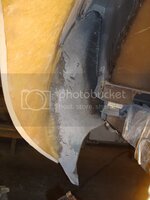
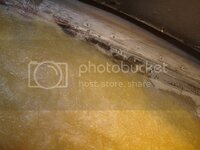
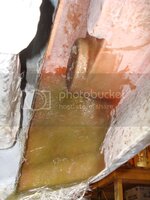
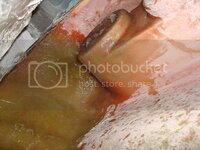
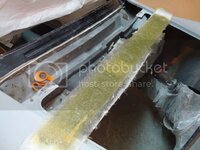
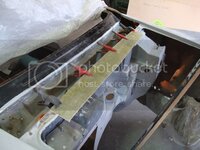
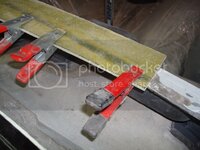
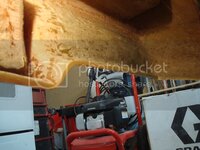
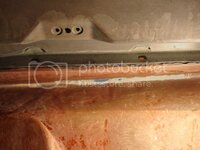
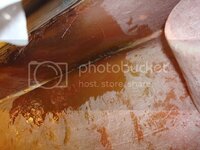
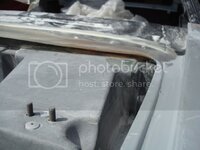
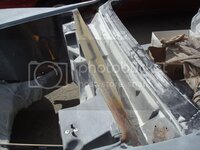
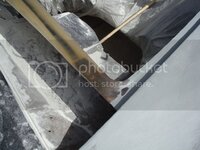
Here are some pics of the rear bumper getting reinforced.
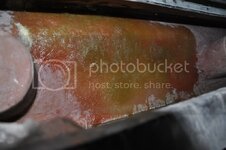
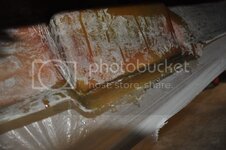
This is probably the 20th fiberglass session I have done on the inside of the rear bumper. I am a little over half way done with the inside of it.
Here are some pics of the rear bumper getting reinforced.


This is probably the 20th fiberglass session I have done on the inside of the rear bumper. I am a little over half way done with the inside of it.
00fxd
Well-known member
You may want to consider modifying a shot gun for the application of fibreglass/resin/hardener ... We once had a drinking session with the objective of modifying a shot gun for the quick application of lots of bondo :bonkers: Ahhh the good old days, we got nothin done ....
Last edited:
stinger12
Well-known member
- Joined
- Mar 28, 2008
- Messages
- 832
- Reaction score
- 0
stinger12
Well-known member
- Joined
- Mar 28, 2008
- Messages
- 832
- Reaction score
- 0
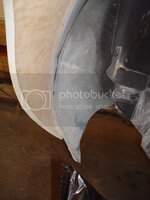
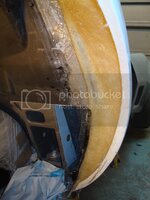
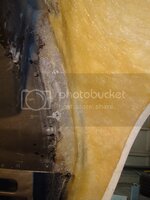
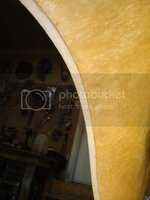
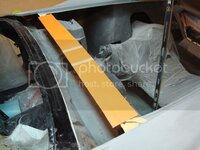
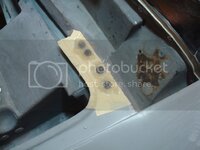
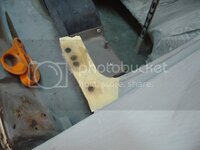
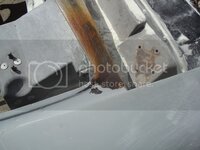
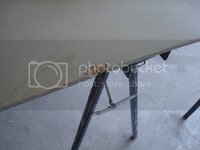
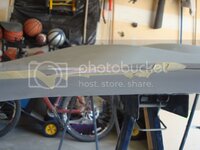
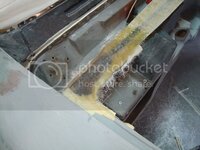
I started connecting the fenders to the drip rail I made.
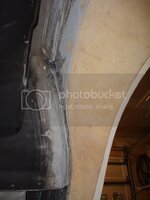
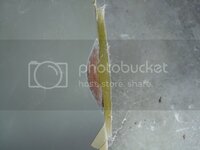
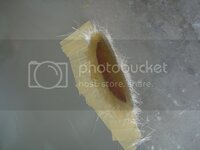
First I laid tape on the underside of the old lip, and then bondo. This allowed me to grind the old lip away, still leaving me support to glass on top of something. The reason I did this was because I want the lip on the new piece I made to be physically part of the old lip on the fenders' drip rails (which will be made of fiberglass). I v'd out the seam between the homemade part and the drip rail, making it paper thin.
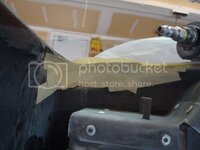
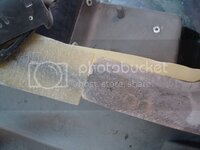
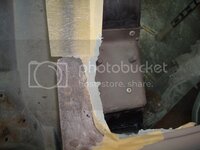
Here it is glassed together.
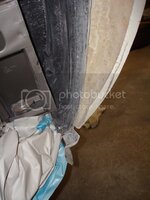
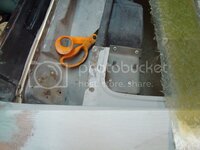
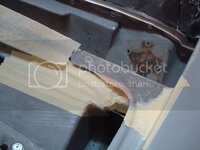
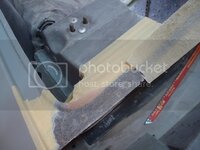
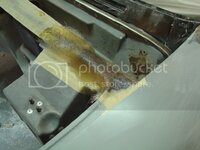
The other side was a bit trickier, since I couldn't use the bondo trick because there was no room. What I did instead was I taped off the cover on the firewall, and just kept laying glass until I reached the approximate height of the drip rail lip. I'll cut off the excess before I start sanding.
First I laid tape on the underside of the old lip, and then bondo. This allowed me to grind the old lip away, still leaving me support to glass on top of something. The reason I did this was because I want the lip on the new piece I made to be physically part of the old lip on the fenders' drip rails (which will be made of fiberglass). I v'd out the seam between the homemade part and the drip rail, making it paper thin.


Here it is glassed together.

The other side was a bit trickier, since I couldn't use the bondo trick because there was no room. What I did instead was I taped off the cover on the firewall, and just kept laying glass until I reached the approximate height of the drip rail lip. I'll cut off the excess before I start sanding.


stinger12
Well-known member
- Joined
- Mar 28, 2008
- Messages
- 832
- Reaction score
- 0
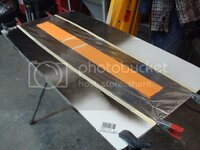
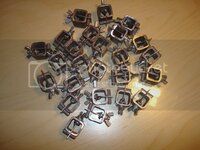
Check out these clamps I made for work...
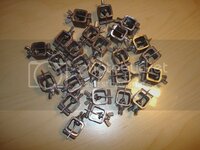
Eastwood sells them too...but they are a fortune.
I'm challenging the first year autobody technician exam (there are a total of four years, but if I pass this test, I don't have to go to school for the first year...I just move on up to a second year apprentice) on May 12th:rock:
Later.

Eastwood sells them too...but they are a fortune.
I'm challenging the first year autobody technician exam (there are a total of four years, but if I pass this test, I don't have to go to school for the first year...I just move on up to a second year apprentice) on May 12th:rock:
Later.
Stpman
Well-known member
Check out these clamps I made for work...
Eastwood sells them too...but they are a fortune.
I'm challenging the first year autobody technician exam (there are a total of four years, but if I pass this test, I don't have to go to school for the first year...I just move on up to a second year apprentice) on May 12th:rock:
Later.
Looks good, I made a bunch of those as well out of unistrut
Latest posts
-
Was member years ago dropping by to say hello.
- Latest: crazyhorse
-
-
-
-
-
-
-
-
-
-

