Rookie's First Restoration Attempt...

I know the aerodynamic reasons for the back end of the Shelby Daytona Coupe, but it always looked a bit unfinished to me. Some decent-sized brake/stop lights and turn indicators, along with a decent license mount would probably go a long way to giving it a more integrated look. Other than that minor quibble, IMHO it's one of the most beautiful sports cars ever built, right up there with some of Ferrari and Jaguar's best. Can't wait to see how that build turns out!
 
I know the aerodynamic reasons for the back end of the Shelby Daytona Coupe, but it always looked a bit unfinished to me. Some decent-sized brake/stop lights and turn indicators, along with a decent license mount would probably go a long way to giving it a more integrated look. Other than that minor quibble, IMHO it's one of the most beautiful sports cars ever built, right up there with some of Ferrari and Jaguar's best. Can't wait to see how that build turns out!

We finished it yesterday!

Got more pics?!? :thumbs:
 
Those things must be a blast to drive.
but that rear end????
Just can get it.

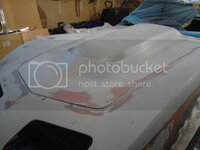
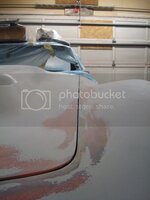
Nice work on the paint

I originally thought they looked funny too. But after working on it day after day, it really grows on you...I actually think it suits the car perfectly. I love it now.
 
I wonder what it would look like to take that basic shape, push the cab forward enough for a mid-engine mount, stretch the butresses to keep the same flowing lines, etc. Basically stretch the upper cab section out to where the windshield base would be about where the first carbs sit on the engine. If I'd kept my drawing skills up, I might try to sketch one.

I really like the deep blue on that car. Lovely piece of machinery.


The only thing I don't care for is the bug eyed look on the front due to those antiquated headlights, a hole about 1/2 that size and modern bulbs are just yelling out LOUD for a home, snug as a bug in a rug.....:smash::thumbs::twitch:

The owner is spending a zillion dollars to re capture the apex of muscle car tech from the day. Any modification would destroy that moment in time.
If you ever have a spare zillion dollars, I bet you would do the same thing.

At least someone gets it!

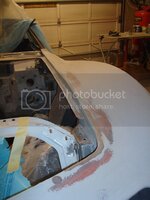
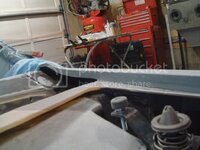
Yes, the owner did ask us to do a few custom touches to personalize it to his taste...like glass the spoiler in, paint it a specific blue which he thought suited the car...stuff like that.

If I ever have the money, I want to build one of these. I love it!
 
Okay, here is an update.

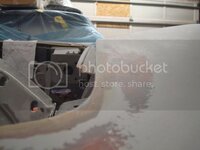
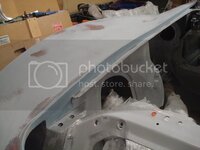
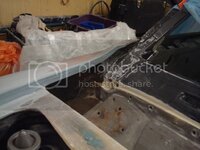
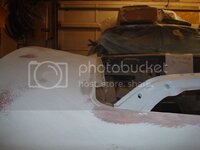
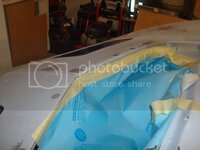
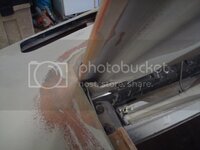
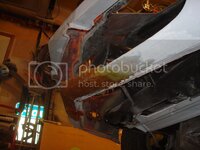
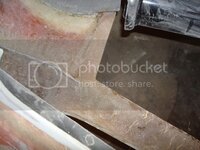
Byron has taught me a lot about fitting parts which I didn't know of before. First thing you have to do is square up all of your edges, and fit your panel to those edges. I got it close with glass, and finished it with everglass. He also taught me how to check gelcoat for cracks, which needs to be done before any filler work. Wipe your panel with wash 'n wipe and use compressed air to blow it dry. The solvent will be soaked up by the cracks and dries slower than the solvent on the top surface of the gelcoat, revealing your cracks. All gelcoat cracks must be glassed to prevent paint failure - grind them out, and glass them in.

DSC09236.jpg

DSC09238.jpg

DSC09237.jpg

DSC09239.jpg

DSC09241.jpg

DSC09240.jpg

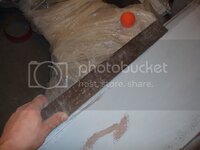
Use a straight edge for reference to make the edges perfectly straight.

DSC09242.jpg

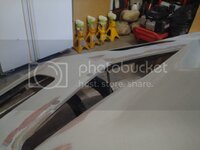
Here is something else he taught me. Always make your "lips" equal side to side. The one on the right was too skinny and needed to be glassed and blocked flat.

DSC09243.jpg

DSC09244.jpg

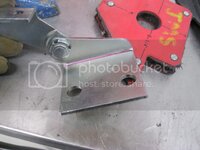
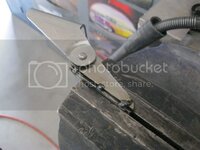
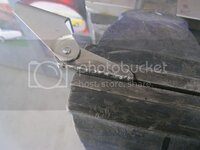
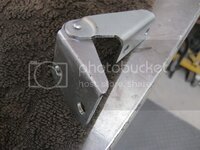
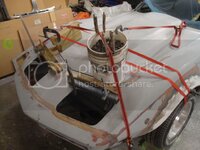
The next step was to mock up my crash bar to support the corners of the bumper. Once that was done I mounted the hood with the new hinges I purchased. I should have fit the hood with these at the beginning, because I ran into a problem (I wasn't planning on replacing them but decided to last moment). The edge of the hinge had no clearance underneath the hood, if you tightened the bolts down it would crush the fiberglass hood skin. I didn't want to grind the edge of it - it would have looked bubba if I did that. This needed to be fixed. The hood was also too high where the hinges bolted to the inner fenders, which is common. I fixed all these issues by modifying my new hinges by cutting both the top and bottom pieces, removing some material, and welding them back together.

IMG_2400.jpg

IMG_2399.jpg

IMG_2401.jpg

IMG_2402.jpg

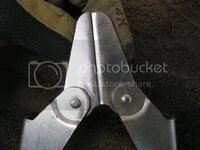
The modified one is on the left.

IMG_2404.jpg

More than enough clearance underneath the hood skin now.

DSC09266.jpg

I did the same to the bottom part of the hood hinges, but didn't take any pictures of that...but you get the idea. I mounted the hood and did a little more finesse work over the course of the week using straps and weights to reshape the fiberglass.

DSC09255.jpg

Here is what it looks like right now, with all the latches in place and the hinges modified.

DSC09257.jpg

The edges of the hood were now squared to the perfectly straight edges I made on the fenders. They need to be opened up more to allow for primer and paint.

DSC09258.jpg

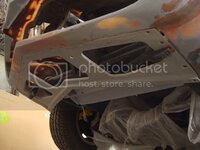
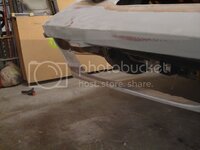
And here is the progess on my front bumper.

DSC09228.jpg

DSC09233.jpg

DSC09234.jpg

DSC09229.jpg

DSC09230.jpg
 
Still here guys...sorry for the lack of updates! Been extremely busy lately. Tomorrow is our annual bbq at Alternative Restoration, and we have been working VERY hard to make it happen this year. My computer is finally up and running again so I will update some photos of the bbq on Sunday. Things are going great at work...couldn't be happier, learning a ton, both on old vehicles, as well as on new vehicles doing collision work. I love it.
 
Your car is looking really good, I haven't had time to check out all your recent updates but since I have a unwanted month off work decided to check it out.

Very nice work to say the least
 

Latest posts

Back
Top