You are using an out of date browser. It may not display this or other websites correctly.
You should upgrade or use an alternative browser.
You should upgrade or use an alternative browser.
1958 MGA Coupe
- Thread starter bobs77vet
- Start date
MYBAD79
Moderator
Wow...... Now I really can't wait to see it running.... You'll be driving by next week???
bobs77vet
Well-known member
yes!!!!
so i started her up tonight.....i have a massive intake leak i am thinking that when I mocked everything up i didnt torque down the exhaust/ intake nuts .....and i have an oil leak in the line from the engine to the union.
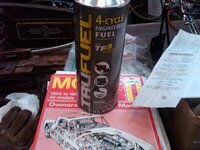
for initial start ups like this i like the engineered fuels they are really good and burn really well and if you have never used them you can actually here them clean up the carb orifices and the engines run better, especially generators and lawn mower engines. i only use this type of fuel in my weed whackers. it is expensive fuel though.
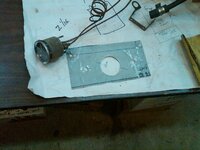
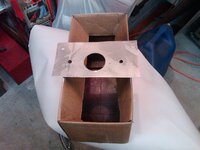
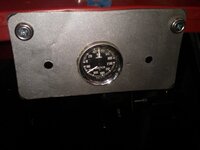
my make shift panel with out the choke or starter cable installed.
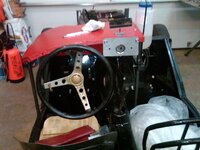
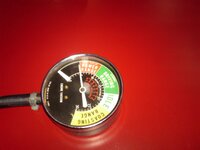
50 psi at 900 rpm
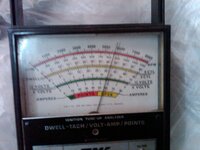
yikes 5".....this must be the intake not being torqued down
make that 850 rpm
and heres the video, click on picture and it takes you to the photobucket website and then it plays
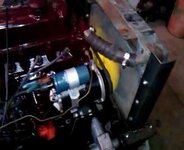
so i started her up tonight.....i have a massive intake leak i am thinking that when I mocked everything up i didnt torque down the exhaust/ intake nuts .....and i have an oil leak in the line from the engine to the union.
for initial start ups like this i like the engineered fuels they are really good and burn really well and if you have never used them you can actually here them clean up the carb orifices and the engines run better, especially generators and lawn mower engines. i only use this type of fuel in my weed whackers. it is expensive fuel though.

my make shift panel with out the choke or starter cable installed.

50 psi at 900 rpm

yikes 5".....this must be the intake not being torqued down

make that 850 rpm

and heres the video, click on picture and it takes you to the photobucket website and then it plays

Last edited:
denpo
Carburated Nihilist
Major milestone reached.
Congratulations!
Congratulations!
SuperBuickGuy
Well-known member
congrats!!!!
Congratulations on the startup and the tip on the engineered fuel. I had never heard of it.
bobs77vet
Well-known member
Congratulations on the startup and the tip on the engineered fuel. I had never heard of it.
if you have a weed wacker that keeps screwing with you change to this fuel it comes in 40:1 and 50:1 and life will be good.
the problem.....
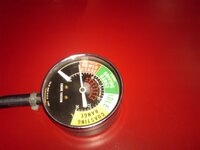
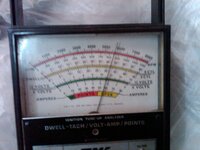
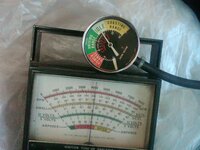
basically at 1800 rpm (you double the readings for 4 cyl)
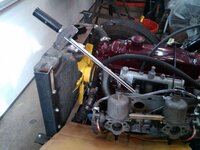
that bar i put across holds everyting together this is so i can torque down the manifolds
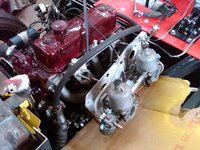
done
new gaskets
i even torqued and measured the carbs, i have never done this before.
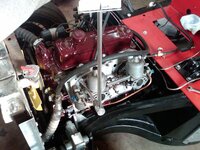
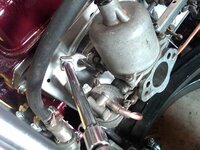
still leaking but i wrapped it with JB weld and paper
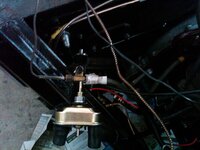
so after all that still haveing the same problem??????????????
i did notice that the exhauxt sounded really wierd and i also noticed when i put the unisyn gauge up to the right side the car would lose rpm but on the left side nothing would happen???/and when i gave it gas the car would die????
WAIT A MINUTE HERE....................why are those bubbles in the front gas line not moving????
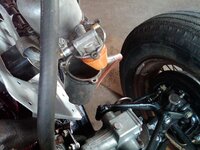
imagine that a stuck needle and voila....
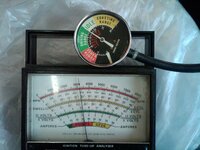
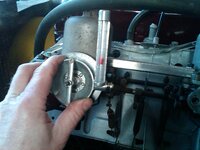
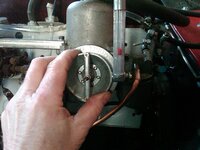
were getting there 1300 rpm 19"
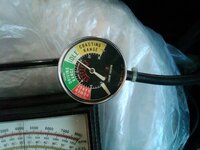
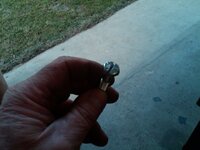
not possible to find a button heads cap screw locally
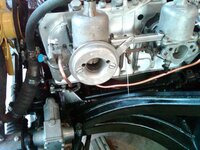
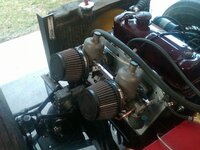
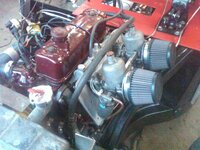
final reading for the day
1200 and 19"
heres a video click on the picture

Last edited:
MYBAD79
Moderator
Congrats !!! I know how awesome that feeling is when it finally comes to life 
SuperBuickGuy
Well-known member
I hadn't realized the benefit of clear fuel line until I was trying to fix the carb on my CR 500 af.....
nice work!
nice work!
GoVetteGo
Well-known member
Congrats Bob!!! Music to your ears I bet (once the Gremlins were figured out!!).
How big was the smile on your face???? :drink: :drink:
How big was the smile on your face???? :drink: :drink:
bobs77vet
Well-known member
thks it was fun today, pulled the starter cable and it rumbled to life
ok a little more fine tuning today using the "lift the inner cylinder" for adjusting the mixture. this is the best i can do unitl i get a distributor that pulls in advance
first to fix the oil leak....cut the flexible tube in half and dump my magical bag of fittings
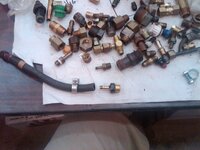
two fittings one with a barbed nipple and then another to match things up....and yes i do sometimes go to HD and just buy these brass fittings because you always need them.
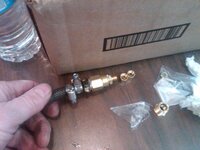
added some cables and a new oil pressure gauge it was just easier to buy one then to try and figure out the British fittings
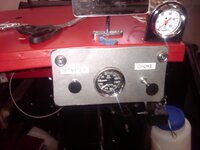
pull choke out and voila it works
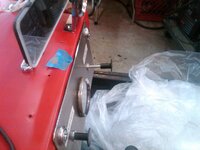
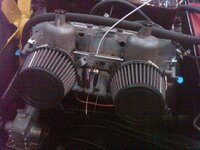
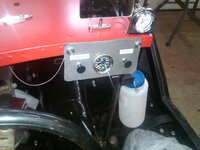
now to find some foam for my temp seat cushion and then adjust the brakes and do a final bleeding
ok a little more fine tuning today using the "lift the inner cylinder" for adjusting the mixture. this is the best i can do unitl i get a distributor that pulls in advance
first to fix the oil leak....cut the flexible tube in half and dump my magical bag of fittings

two fittings one with a barbed nipple and then another to match things up....and yes i do sometimes go to HD and just buy these brass fittings because you always need them.

added some cables and a new oil pressure gauge it was just easier to buy one then to try and figure out the British fittings

pull choke out and voila it works


now to find some foam for my temp seat cushion and then adjust the brakes and do a final bleeding
bobs77vet
Well-known member
Sam Cogley
Well-known member
When you said "pull the starter cable," I was half-expecting a lawn mower cord sticking through the dash. :devil:
bobs77vet
Well-known member
When you said "pull the starter cable," I was half-expecting a lawn mower cord sticking through the dash. :devil:
now thats funny.....but this is one car if you have small kids you dont want to leave in gear, or you need to disconnect the battery....otherwise they pull a knob on the dash and the car moves unitl they let go.
SuperBuickGuy
Well-known member
When you said "pull the starter cable," I was half-expecting a lawn mower cord sticking through the dash. :devil:
now thats funny.....but this is one car if you have small kids you dont want to leave in gear, or you need to disconnect the battery....otherwise they pull a knob on the dash and the car moves unitl they let go.
or people like me around (I refuse to grow up)
GoVetteGo
Well-known member
or people like me around (I refuse to grow up)
You are not the Lone Ranger there!!! SBG - I think we have Peter Panitis!!! Grow up - WHY???
Great work you are doing Bob - I still envy your picture taking skills. even with my iPhone by my side - I get into something and never take the PIX I should!! :thumbs:
bobs77vet
Well-known member
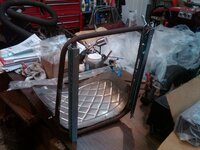
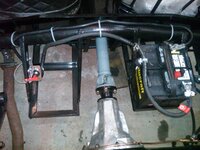
put the T nuts under the front seat so the rails are fastened down and it slides pretty nicely, adjusted all the brakes and discovered my left front rubber hose was seeping at the copper washer so gave that another 1/5 turn. adjusted the M/C free play, still need to do final bleeding. also I added a battery cut off switch just using extra cables I had, I did not cut these cables just used them as they were and I will probably reuse them on the next project. also added a switch for the coil but ran out of time to wire it.
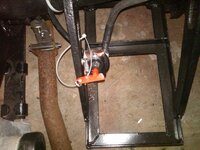
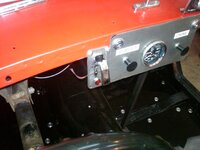


bobs77vet
Well-known member
well my desire to drive the car to the top of the street this weekend has been delayed by the weather. I think I got the brakes squared away but the clutch is not up to snuff. I can get the car in gear with some grinding and when I put the brakes on it stalls the car, so the take away is that the brakes are close to being perfect but I need to bleed the clutch some more. I wired up the coil switch but the led light fell apart oh well that was just for fun.

we will keep this our little secret
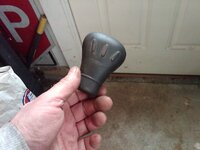
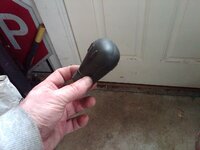
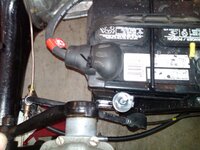
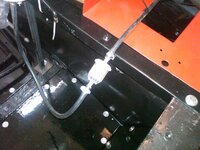
heres a view of the ground cable
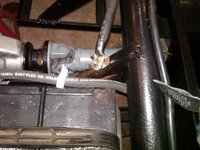
I may not be able to drive the car out of the garage but I can put it up on stands and check the clutch operation and brakes
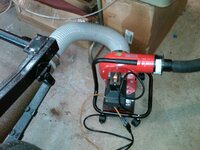

just crack the big door and we are good to go

we will keep this our little secret


heres a view of the ground cable

I may not be able to drive the car out of the garage but I can put it up on stands and check the clutch operation and brakes


just crack the big door and we are good to go

Last edited:
bobs77vet
Well-known member
what another day chasing my tail.....at one point out of frustration with trying to bleed the clutch with the slave cylinder disconnected and hanging down so I could push the piston up I went up top and pumped the clutch pedal...that wasn't one of my finer thoughts....so I can definitely say the the innards of the clutch slave cylinder look fine and it has a steel piston.....you would have thought I learned a lesson from that one....oh no I just doubled down....this next moment of genius came with the motive pressure bleeder up top and creating pressure and I disconnected the clutch slave and pressed the piston up with a screw driver and bled the line, the thought was when it expanded back it would fill up with brake fluid....and yes it did expand all the way out of the cylinder....
trying the motive as a pressure bleeder through the nipple just didn't give me anything.
so after those less successful attempts I went back to the old method with the pressure bleeder up top and now if I pump on the clutch pedal about 20 times and hold it down while the engine is running and I have it in gear and I apply the brakes there is some clutch disk slippage and the car doesn't stall just shakes.....wow an accomplishment.
SuperBuickGuy
Well-known member
did you set any records for the "piston pop" - I've gotten a good 5 feet of air followed by at least 5 feet of roll... I say "at least" because I never did find the rod again :flash:

