You are using an out of date browser. It may not display this or other websites correctly.
You should upgrade or use an alternative browser.
You should upgrade or use an alternative browser.
1958 MGA Coupe
- Thread starter bobs77vet
- Start date
bobs77vet
Well-known member
.
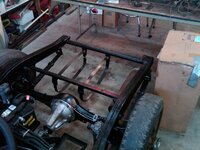
well the cleaning up the garage went well and one of the big initiatives was to get rid of boxes....starting with the box that goes here
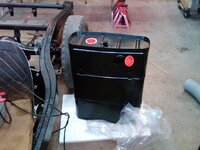
this looks like a pretty nice quality tank from Moss
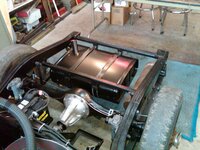
I used inner tube sections from a Motorcycle tube for the barrier inbetween the tank and the brackets and used electrical tape to hold it in place every 12" or so, remember I am not going for a concours quality restoration just a nice quality driver quality restoration
this is the last step before I can start doing the seats which will be an inside job, remember I have been having the seat bottoms sitting on the seat foam now for several months in the basement.
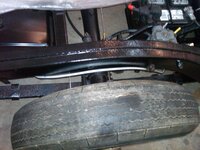
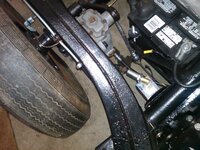
I didn't want to being drilling any holes around the leather seat kit. and remember before you drill any hole to look below.....there are brake lines there and the battery cable
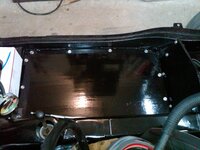
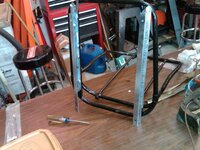
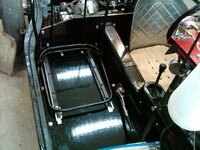
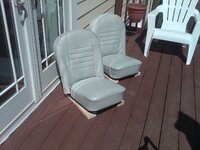
so after that I promtly uninstalled that side and took both seats to the basement I think now I will start on the seats...this is where we left off with the seats in December
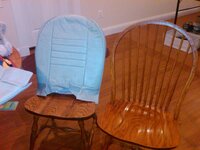
well the cleaning up the garage went well and one of the big initiatives was to get rid of boxes....starting with the box that goes here

this looks like a pretty nice quality tank from Moss

I used inner tube sections from a Motorcycle tube for the barrier inbetween the tank and the brackets and used electrical tape to hold it in place every 12" or so, remember I am not going for a concours quality restoration just a nice quality driver quality restoration

this is the last step before I can start doing the seats which will be an inside job, remember I have been having the seat bottoms sitting on the seat foam now for several months in the basement.
I didn't want to being drilling any holes around the leather seat kit. and remember before you drill any hole to look below.....there are brake lines there and the battery cable


so after that I promtly uninstalled that side and took both seats to the basement I think now I will start on the seats...this is where we left off with the seats in December


bobs77vet
Well-known member
well in my mind I always thought I would do the seats on a snow day....
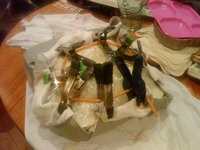
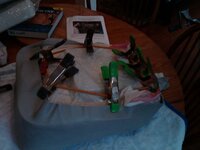
lets start by unstuffing the seats and letting it get use to the foam and the plywood bottoms, 35 yrs old is along time for the leather to have taken its own shape and we don't have to rush anything
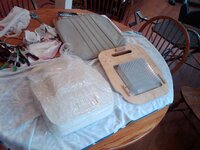
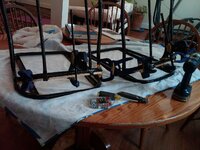
same strategy to use the clamps and bungie cord to put some tension on the seat bottoms
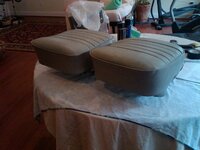
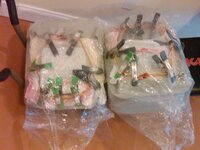
two of them done and wrapped up in plastic so I don't get them dirty
so we take the bottom wood strips and use some adhesive sealant to go along with the screws
screw them in
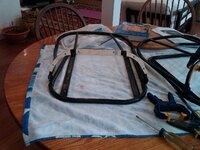
add the clamps back in the middle and lets do some reading on how to do the backs
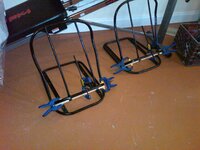
lets start by unstuffing the seats and letting it get use to the foam and the plywood bottoms, 35 yrs old is along time for the leather to have taken its own shape and we don't have to rush anything

same strategy to use the clamps and bungie cord to put some tension on the seat bottoms

two of them done and wrapped up in plastic so I don't get them dirty

so we take the bottom wood strips and use some adhesive sealant to go along with the screws

screw them in

add the clamps back in the middle and lets do some reading on how to do the backs

bobs77vet
Well-known member
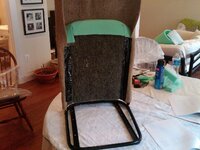
so lets start to form the back board, this is cut for a roadster so i will need to do some trimming. i flipped the backboards over on each other and transferred the low side on each one to the other by tracing it. this will give me a reference mark but i will trim it in place after its glued in place.

those dark colored markings are from me getting a paper towel moist and running it over the bends, not soaking wet just moist about 4 times to release some of the tension in the paper fibers. i will do this several times over a couple of days unitl the back board is rigid in its new form
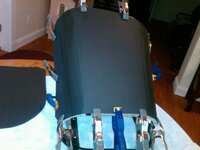
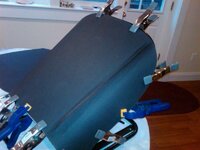

those dark colored markings are from me getting a paper towel moist and running it over the bends, not soaking wet just moist about 4 times to release some of the tension in the paper fibers. i will do this several times over a couple of days unitl the back board is rigid in its new form


bobs77vet
Well-known member
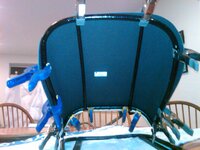
i moved on to the other seat with the same technique, slightly dampen the back board where the bends will occur clamp in place, you can see the fit which will need to be trimmed. last time I did this I bought backing board for mounting pictures and cut it out myself , this time i wanted to try the premade backing board, i am not sure its any better and i still have to trim it.

bobs77vet
Well-known member
lets do some work....I have used ideas from all the info on this that is on the web, not a single original thought on my part just a lot of stealing....
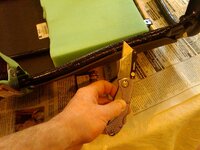
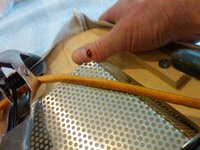
used some batting to cover the sharp metal ends
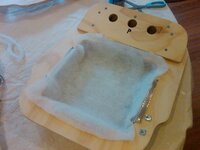
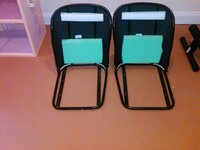
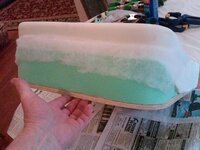
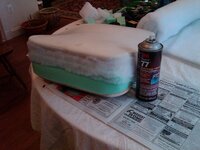
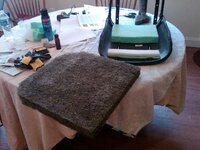
glued the foam to the seat bottoms. I guess the clamping is my original thought to this
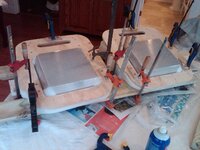
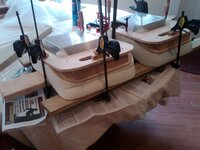
I used an adhesive from a tube for this it has a 6 hr set time for full cure
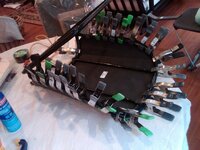

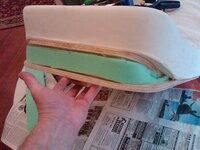
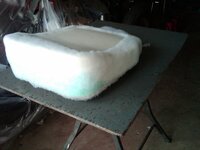
I used 2" foam for the bottom support and 1 stiff batting and 1/2 foam for the top. I decided to go a little bigger on the bottom piece for some additional comfort. it seems that these pieces for the coupe seats are all different sizes maybe they were left over materials
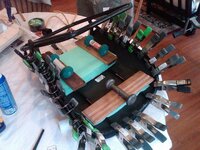
lets play around with the stapler and batting and make a cover for my temporary seat.....this is just for fun and to play around with stapler depth settings and to get use to working with batting and foam

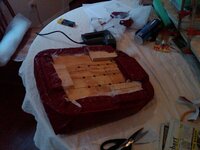
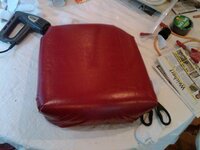
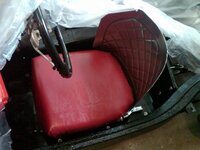
used some batting to cover the sharp metal ends

glued the foam to the seat bottoms. I guess the clamping is my original thought to this


I used an adhesive from a tube for this it has a 6 hr set time for full cure


I used 2" foam for the bottom support and 1 stiff batting and 1/2 foam for the top. I decided to go a little bigger on the bottom piece for some additional comfort. it seems that these pieces for the coupe seats are all different sizes maybe they were left over materials

lets play around with the stapler and batting and make a cover for my temporary seat.....this is just for fun and to play around with stapler depth settings and to get use to working with batting and foam


Last edited:
bobs77vet
Well-known member
bobs77vet
Well-known member
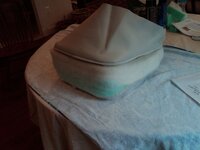
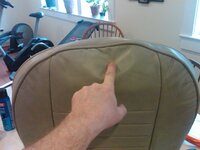
so lets work on these some more and see if we can take the looseness out of the top of the seat. I don't know why that is there, it could be my home made coupe seat is just off a little bit or it could be the leather and vinyl aged and shrunk differently who knows but I am still only interested in slowly stretching it to shape....
this is the issue
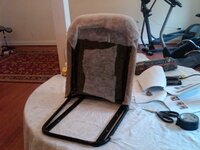
this is the cure, currently I have a kitchen trash bag over the seating material so it slides on and off easily, and when you pull down on the trash bag that new foam just compresses away
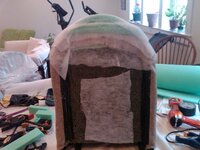
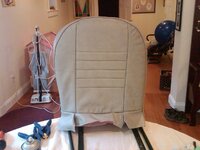
so the cover is twisted a little so I add some more heat to the back and pull it in to compliance
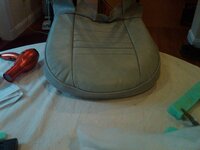
last step is to pull the back tight after hitting it with a hair dryer and clamp it in place to stretch the material and on the top lets add some compression to help stretch things
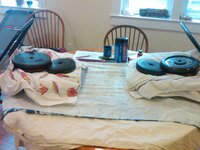
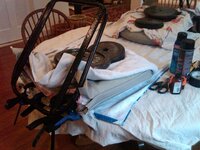
I will let this stay like this for at least two weeks and let the fabric slowly come back to shape. if I knew what I was doing or the material was new I may be more daring, but I don't want to rip the seams, no big deal if it does I will just have a new panel sewed in but if don't have to take it to a shop that would make me and my budget happy
this is the issue


this is the cure, currently I have a kitchen trash bag over the seating material so it slides on and off easily, and when you pull down on the trash bag that new foam just compresses away


so the cover is twisted a little so I add some more heat to the back and pull it in to compliance

last step is to pull the back tight after hitting it with a hair dryer and clamp it in place to stretch the material and on the top lets add some compression to help stretch things


I will let this stay like this for at least two weeks and let the fabric slowly come back to shape. if I knew what I was doing or the material was new I may be more daring, but I don't want to rip the seams, no big deal if it does I will just have a new panel sewed in but if don't have to take it to a shop that would make me and my budget happy
SuperBuickGuy
Well-known member
one of those "talents I'd like to have" is upholstery. In my Corvette, I'd like to replace the seat foam; then remake the uppers to have side bolsters.... just a bit of stitching...
you make it look too easy, and I don't need another project or talent
you make it look too easy, and I don't need another project or talent
bobs77vet
Well-known member
if I had the $$$ I would buy an industrial sewing machine and play around with making upholstery, so I think that's off the table for the short term!
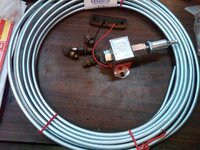
tonight lets play around with the fuel line, this thread helped me out and of course Barneys write up on it. http://www.mgexp.com/phorum/read.php?2,2183428 Dave Dubois fuel line fitting picture schedule is great! Dave thank you.
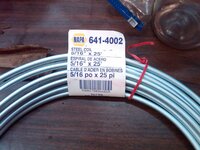
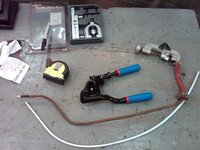
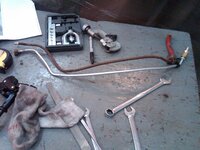
all the ugly parts
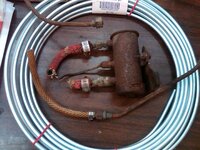
propane didn't do squat.....so we move up to the OA rig
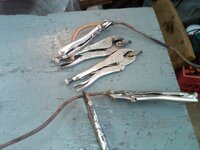
and the new setup
and some paint for the lower bracket

tonight lets play around with the fuel line, this thread helped me out and of course Barneys write up on it. http://www.mgexp.com/phorum/read.php?2,2183428 Dave Dubois fuel line fitting picture schedule is great! Dave thank you.

all the ugly parts

propane didn't do squat.....so we move up to the OA rig

and the new setup

and some paint for the lower bracket

SuperBuickGuy
Well-known member
Your vise grips look too new
bobs77vet
Well-known member
well that one in the fore ground has been with me for a while....the others around Christmas when they go on sale in a pack I buy the kids and myself some....you can never have too many vise grips
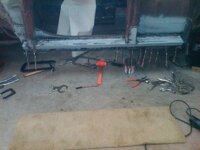
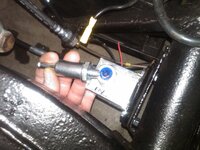
I have a plan.....I mocked up the cube fuel pump now to find some fittings
I will use the original mounting bracket under the cube pump so the next guy or me has the original bracket if they ever need it
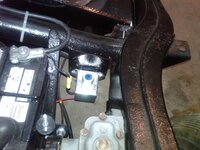
I will use the ground wire off of the battery terminal with an enclosed spade connector to the fuel pump ground
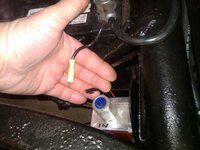
I will use a 90* fitting here and point the filter out to the frame
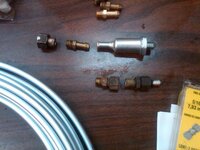
this is what the fittings will look like
the original fitting to the gas tank, a 5/16 compression fitting with a 5/16 barbed nipple for the hose connection to the fuel filter ( I will see if any of the local stores has a filter that is threaded on both ends), the fuel filter gets a 1/8" NPT female 90* male fitting, the fuel pump outlet gets a 1/8"NPT 5/16" compression fitting, and the engine end gets the original fitting.
tomorrow I look for fittings!!!

I have a plan.....I mocked up the cube fuel pump now to find some fittings
I will use the original mounting bracket under the cube pump so the next guy or me has the original bracket if they ever need it

I will use the ground wire off of the battery terminal with an enclosed spade connector to the fuel pump ground

I will use a 90* fitting here and point the filter out to the frame

this is what the fittings will look like
the original fitting to the gas tank, a 5/16 compression fitting with a 5/16 barbed nipple for the hose connection to the fuel filter ( I will see if any of the local stores has a filter that is threaded on both ends), the fuel filter gets a 1/8" NPT female 90* male fitting, the fuel pump outlet gets a 1/8"NPT 5/16" compression fitting, and the engine end gets the original fitting.

tomorrow I look for fittings!!!
Last edited:
Sam Cogley
Well-known member
You don't need an industrial machine to do upholstery. A Singer 201-2 or 15-91 will do it, as will a Pfaff 130. I have all three of them, but I keep the 15-91 set with the proper lower tension for heavier upholstery thread. The Pfaff is basically a small industrial machine sort-of made for home use. They sold it in an industrial table with the same sort of motor that would drive a purely industrial machine, as well as home cabinetry with smaller motors.
bobs77vet
Well-known member
thks Sam for the info
this is a fuel pump I was using on the 37 ford and it was too much so I had to get one with even lower pressure for the 37 ford but I think it should work on the MGA
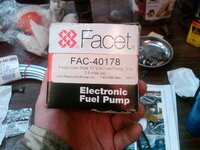
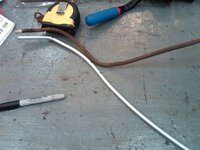
lets make a fuel line
this is the old one and the new one
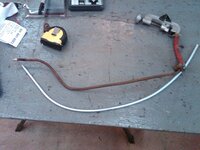
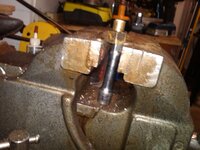
start marking out bends
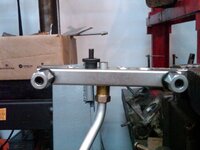
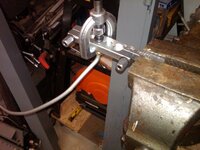
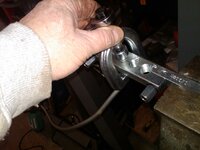
double flaring the line
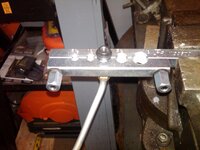
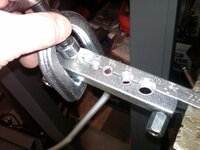
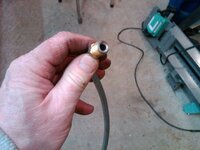
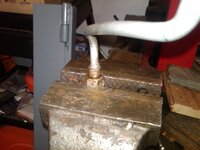
this is so the inner flare doesnt fall out when I sweat it
add some flux, heat and apply solder
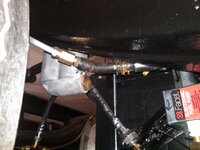
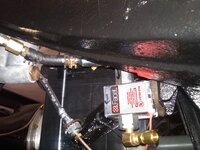
this is a fuel pump I was using on the 37 ford and it was too much so I had to get one with even lower pressure for the 37 ford but I think it should work on the MGA

lets make a fuel line
this is the old one and the new one

start marking out bends


double flaring the line


this is so the inner flare doesnt fall out when I sweat it

add some flux, heat and apply solder


Sam Cogley
Well-known member
One word of warning with the Singers - they didn't mark anything with model numbers, but there are good serial number cross-reference databases out there. I can usually identify most common models on sight, but I still check to verify. Pfaff marked theirs with huge decals. Any of them can pop up at thrift stores, I got my 130 in a thrashed cabinet at the DAV for $60 - 25% off coupon, but that was more than a bit lucky.
bobs77vet
Well-known member
thks Sam for the info
first let me say thks to every body for reading the thread I never thought so many people would be following this, I guess I will have to up my worksmanship ......
lets finish the fuel line.... this was not hard but it was work
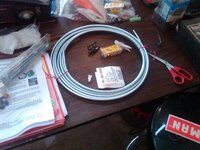
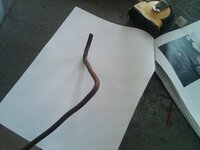
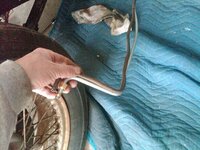
I will use the old fuel line to make a mock up of the correct bends this is how I mark where the 90* lines up

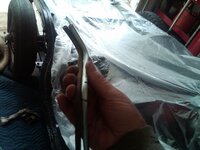
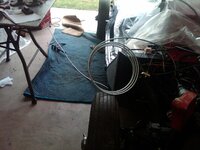
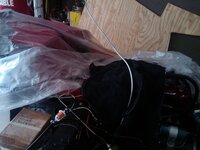
I covered the engine in towels so I didn't scratch things while I was wrangling the fuel line
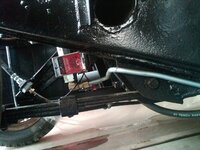
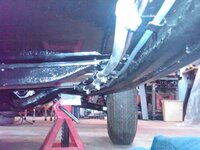
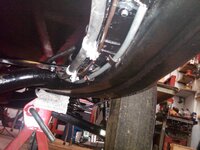
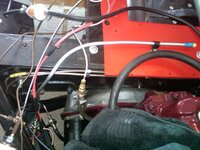
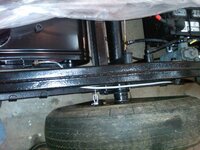
that took about 2 hours, all I can think of that I have left on the chassis is to put in the fuel sender and make the new P brackets for the bigger welding battery cable
first let me say thks to every body for reading the thread I never thought so many people would be following this, I guess I will have to up my worksmanship ......
lets finish the fuel line.... this was not hard but it was work

I will use the old fuel line to make a mock up of the correct bends this is how I mark where the 90* lines up


I covered the engine in towels so I didn't scratch things while I was wrangling the fuel line


that took about 2 hours, all I can think of that I have left on the chassis is to put in the fuel sender and make the new P brackets for the bigger welding battery cable
denpo
Carburated Nihilist
Thanks YOU for keeping us entertained, nice work as always.
Given your (pretty constant) pace, do you have a ballpark idea when you gonna be done?
Given your (pretty constant) pace, do you have a ballpark idea when you gonna be done?
bobs77vet
Well-known member
Thanks YOU for keeping us entertained, nice work as always.
Given your (pretty constant) pace, do you have a ballpark idea when you gonna be done?
thks , i see painting in October and interior next winter
we will do the seats today!!!! my oldest son is helping me
we started with taking the temporary seat apart and added the left over foam to it, mostly so I didnt have any left over material and more importantly we could get the hang of doing this again and figure out how to make the stapler be our friend.
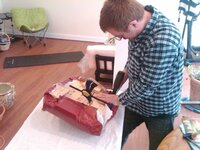
its great to be able to practice on something that doesn't matter.

we pull it taught to see what it looks light and make some sacrificial staples
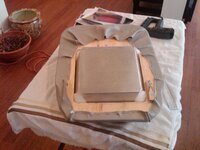
use some blue tape to get straight lines
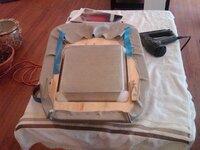
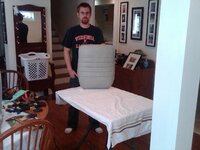

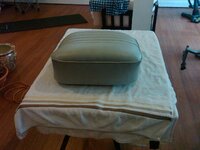
we go back and clean everything up

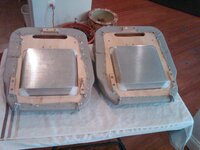
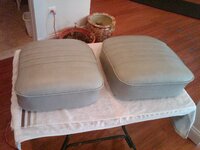
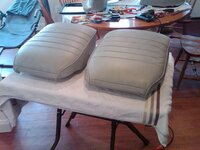
now to the backs!!!
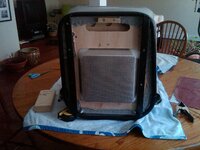
we pulled the seat backs down tight clamped them and then and went and did taxes to lt them stretch while we figured out what my son owed uncle sam, after that back to the seats
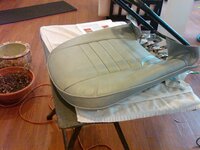
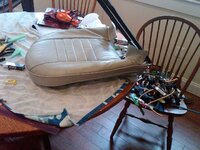
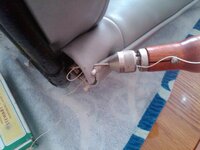
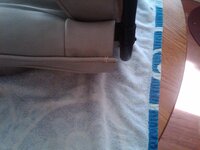
we pulled them tight and stapled them and then tucked the sides in a glued them
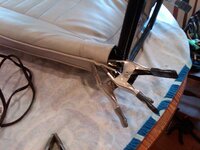
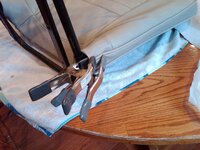
then to the other side
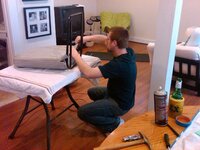
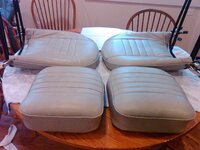
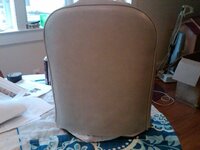
so these are the 35 year old leather seat kits on the roadster seats I made into coupe seats finished, I think the vinyl shrunk differently then the leather did but all in all I am pleased with the end result
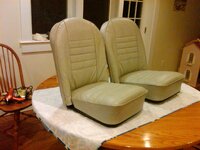
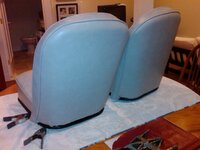
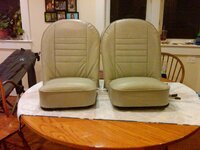
35 yrs is along time to sit in a box
Last edited:
bobs77vet
Well-known member
bobs77vet
Well-known member
lets start warming up some body working skills again....
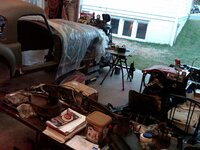
that's no place for doors
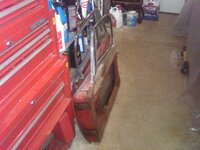
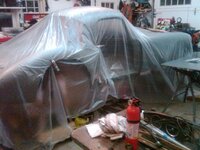
it looks like a ghost
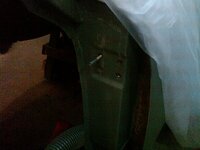
I do this one handed so I cut the head off of a bolt as an aide and I use a punch

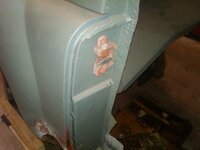
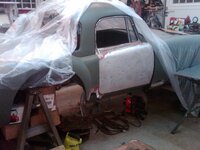
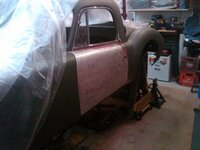
after hanging the doors I can definitely see where fitting the doors, rocker panel, fenders all need to be done with the body sitting on the frame...so I guess I will pick at all the low hanging body work fruit for a while and get that squared away before I tackle the fender repair panels and the rocker panel
that's no place for doors

it looks like a ghost

I do this one handed so I cut the head off of a bolt as an aide and I use a punch


after hanging the doors I can definitely see where fitting the doors, rocker panel, fenders all need to be done with the body sitting on the frame...so I guess I will pick at all the low hanging body work fruit for a while and get that squared away before I tackle the fender repair panels and the rocker panel
Latest posts
-
-
-
-
-
-
-
Was member years ago dropping by to say hello.
- Latest: crazyhorse
-
-
-
-
-

