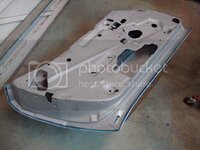
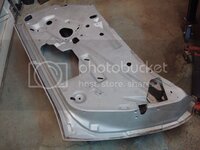
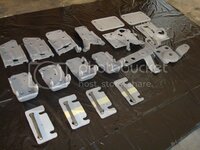
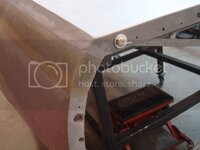
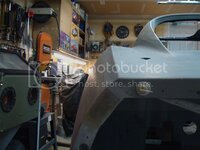
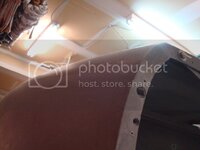
Wow that is an incredible amount of work and the results are self evident. Nice job!
You are using an out of date browser. It may not display this or other websites correctly.
You should upgrade or use an alternative browser.
You should upgrade or use an alternative browser.
Rookie's First Restoration Attempt...
- Thread starter stinger12
- Start date
SmokinBBC
Well-known member
Nice job on the doors. How's the door hardware?
stinger12
Well-known member
- Joined
- Mar 28, 2008
- Messages
- 832
- Reaction score
- 0
Nice job on the doors. How's the door hardware?
The internals look good. One of the doors from this car was friggin spotless inside - I was amazed. Mike did an great job making sure I was getting a good body. I just placed another order with him last week...don't know where I would be without his guidance!
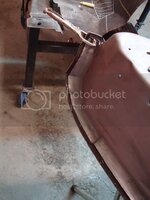
I cut the floorpan out of my old body last night. I will be welding it into the new body later on today. I'm trying to make some progress everyday so I can get this thing finished, or at least ready for primer, within a year. I keep seeing restored cars drive by my house now that the weather is nice here in Calgary - and that is a big motivation to get this thing on four wheels again.
Last edited:
stinger12
Well-known member
- Joined
- Mar 28, 2008
- Messages
- 832
- Reaction score
- 0
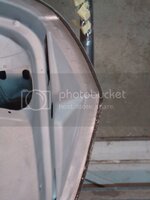
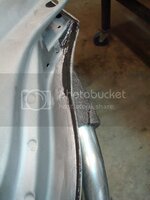
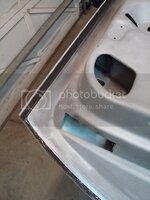
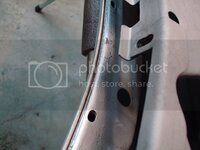
Mike told me to remove all the old crap around the edges of the door which I previously had masked off. It has taken me 15 hours to get them cleaned, and I still have a lot left. I will be bonding this area using Marinetex around the inside of the door (the areas where I removed the old junk). It will look nice and smooth when completed, and the inner doors will look perfect. You need to use a hacksaw blade to get under the edge of the metal frame, where the door skin is bonded too. You need a little bit of a lip underneath the metal, so the Marinetex has strength and durability. You need to use the side of the teeth on the hacksaw blade to roughen the metal you can't get too, and also to roughen the fiberglass. It needs a rough surface for a good bond.
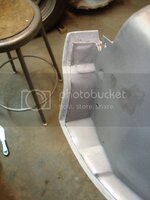
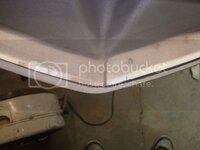
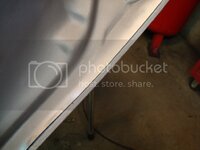
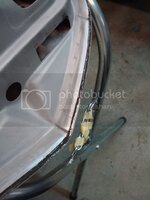
Another tip to make the door frames look pretty - cut off this little edge using a dremel and a cutting wheel. Mike gave me this tip. This little edge is not bonded to the fiberglass underneath, and it is just excess. The area I cut off will be packed with Marinetex. Lots of work.
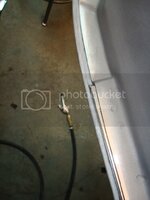
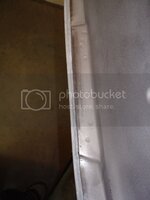
The areas of the door skin which have separated from the inner door frame have been cleaned out using a hacksaw blade with a point on both ends. It takes lots of time to scuff and score areas you can't get to with your bare hands. they need to be roughened up, or else the bonding adhesive won't adhere and form a strong bond. It'll be worth it in the end though. More later:beer:


Another tip to make the door frames look pretty - cut off this little edge using a dremel and a cutting wheel. Mike gave me this tip. This little edge is not bonded to the fiberglass underneath, and it is just excess. The area I cut off will be packed with Marinetex. Lots of work.


The areas of the door skin which have separated from the inner door frame have been cleaned out using a hacksaw blade with a point on both ends. It takes lots of time to scuff and score areas you can't get to with your bare hands. they need to be roughened up, or else the bonding adhesive won't adhere and form a strong bond. It'll be worth it in the end though. More later:beer:
stinger12
Well-known member
- Joined
- Mar 28, 2008
- Messages
- 832
- Reaction score
- 0
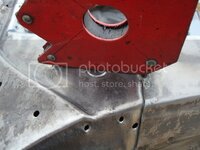
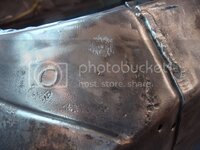
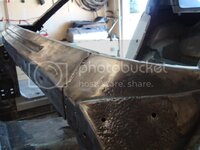
I made my first repair yesterday. Turned out great...nice and strong. Now I need to bond the perimeter of the door with marinetex, then smooth it all out with my finger. Both for strength and looks. Gonna look perfect. Then I have to grind the front of the door that I bonded yesterday, and fix the cracks with 6 layers of matt and resin. Still waiting on supplies from Mike though, so that will have to wait. In the mean time, I am going to start welding up any holes in the birdcage which GM used for alignment in their jigs - this will prevent water from ever entering the channels. The engine has been taken to the machineshop, and has been diassembled. That project will take off shortly, as soon as the internal parts are inspected. ITS A 383 BOYS, AND ITS GONNA HAVE A TON OF TORQUE:evil:
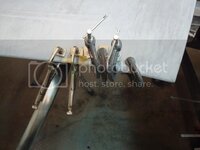
Here are a couple pics of the repair. This thing is solid now...it ain't going anywhere! I have 45 hours into these damn doors now...
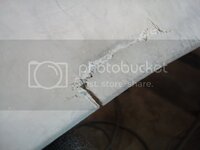

Test clamping the panel before applying the adhesive...
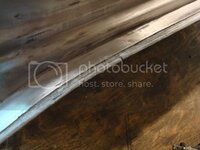
Here are a couple pics of the repair. This thing is solid now...it ain't going anywhere! I have 45 hours into these damn doors now...


Test clamping the panel before applying the adhesive...


stinger12
Well-known member
- Joined
- Mar 28, 2008
- Messages
- 832
- Reaction score
- 0
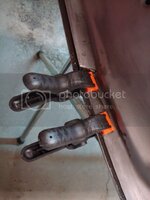
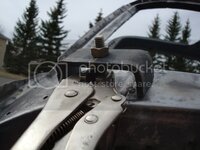
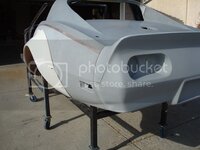
I pretty much have the left side of the bumper fitted to the body. There are about 20 vise grips holding it in place now, I will let it sit for a couple of days to let the bumper form to its new shape. Lots of work pushing/pulling on the rear deck/bumper to get them to line up...takes forever. Now I have to work on the right side. The right fender needs to be pulled down, so that's going to take some work. Once I pull the fender down, and bond it back in place, the next step will be to finish clamping the right side of the bumper, letting it sit for a few days, then drilling alignment holes through the rear deck lip and bumper lip. I'll remove the bumper, glass the factory bonding seams, then bond the bumper on for good after one more test fit. The bumper is low in a few spots on the left fender, but that will be fixed after it is bonded. Getting excited now!

stinger12
Well-known member
- Joined
- Mar 28, 2008
- Messages
- 832
- Reaction score
- 0
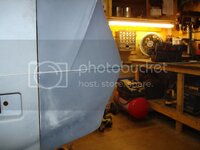
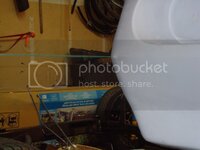
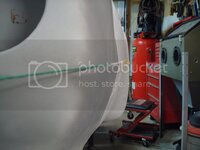
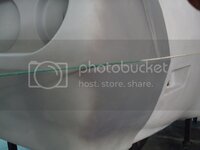
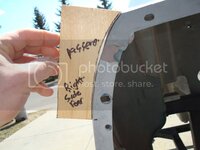
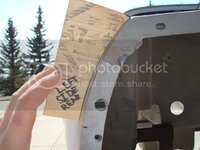
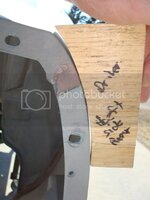
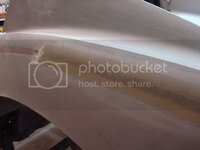
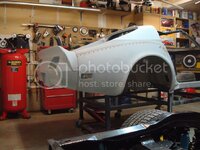
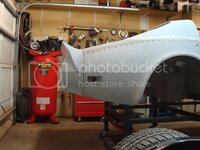
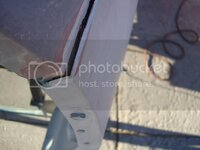
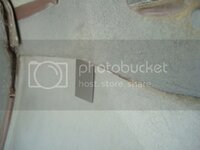
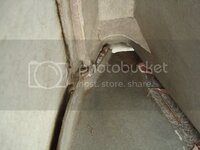
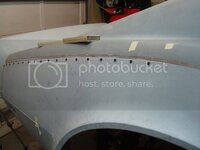
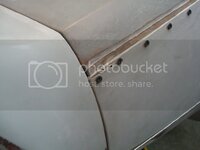
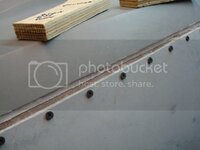
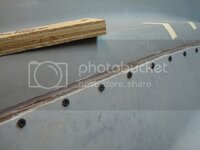
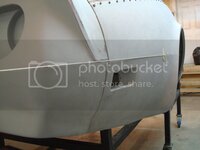
Pulled the fender down and lined up the beauty line at the bottom of the fender. Mike wants me to tweak the beauty line which is just above the side marker light, as it doesn't quite line up with the beauty line at the corner of the back of the rear bumper. Overall, it fits pretty good. That line on the side of quarter panel is going to take some careful sanding and time - it is about 1/8'' too high right now, but that can be fixed with elbow grease. It will look perfect after I am done with it. When you separate the bonding seam from the fender, you need to extremely careful. You want all the pink bonding adhesive to be left on the bonding strip, none on the back of the fender. This is absolutely essential. If you don't do it right, and then you pull it down and put in your screws, then the panel will be all wavy, and the only way to fix that is by sanding the original glass, which makes it thin. Mike doesn't sand on original glass, ever. He never removes material. He is a perfectionist and insanely good at bodywork - a man with golden hands. Whatever he sands off, he reinforces on the inside of the panel with more glass and resin. Those templates of the body which I made earlier are used to make sure your panel forms into the surround nice and flowing. Another tip from Mike. On the way to having a flat-as-glass body!
 [/QUOTE]


 [/QUOTE]
00fxd
Well-known member
Many experenced corvette body repair guys insist that if one uses screws instead of clamps, the holes will come back to haunt you down the road. I can't see it, not that I have tried it but I would. I think that if the products are allowed to cure and are mixed correctly it shouldn't be a problem. We'll have to watch your project down the road, I think you'll be ok 
Frank
Frank
mrvette
Phantom of the Opera
Many experenced corvette body repair guys insist that if one uses screws instead of clamps, the holes will come back to haunt you down the road. I can't see it, not that I have tried it but I would. I think that if the products are allowed to cure and are mixed correctly it shouldn't be a problem. We'll have to watch your project down the road, I think you'll be ok
Frank
two stainless screws in my hood for some 12 years now...not a issue....
:thumbs:
stinger12
Well-known member
- Joined
- Mar 28, 2008
- Messages
- 832
- Reaction score
- 0
Many experenced corvette body repair guys insist that if one uses screws instead of clamps, the holes will come back to haunt you down the road. I can't see it, not that I have tried it but I would. I think that if the products are allowed to cure and are mixed correctly it shouldn't be a problem. We'll have to watch your project down the road, I think you'll be ok
Frank
The screws will be used to bond the fender back in place. After that is glued, then I will treat each hole as a "crack". They will be ground out, then reglassed. No bubba here. I've seen guys go right over top of screw holes, and that is not the correct way to do it. That is why it haunts them in the end. There is no other way to clamp the fender in place other than screws along the length of the bonding strip.
stinger12
Well-known member
- Joined
- Mar 28, 2008
- Messages
- 832
- Reaction score
- 0
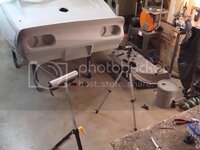
I was able to pull the fender down 1/8'' more. It fits pretty darn good. Once I finished fitting the rear bumper, I bonded the fender in place. Next I ground out the seams - everything from the top of the tire back. Once I glass those in, then I will bond the bumper in place. Once bonded, I will glass the bumper in, and finish the front of the bonding seams. The cross braces were designed by Mike - they are identical and square up the rear deck to the fenders. They are used whenever you are bonding or glassing in parts on the rear deck/fender (especially when I bond the splash shield on the fender back to the tub). Mike also taught me how to properly glass the seams! And yes, the resin I am using is formulated for SMC. I also got a new floor pan I need to weld in this week. Work work work!
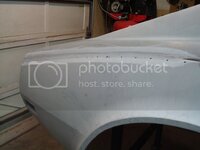
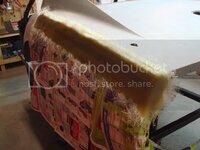
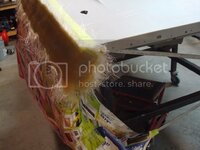

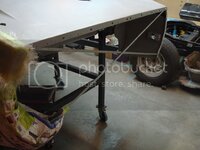
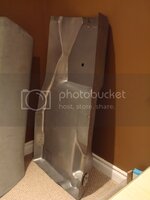
Oh yeah, I also forgot to mention - I removed the left pillar door jam which the previous owner hacked up. That was not the original plan, but it was too far gone to fix...I had no lip or dogleg on the fender to use as reference to glass. So, Mike is shipping more fiberglass parts. Should be an adventure!
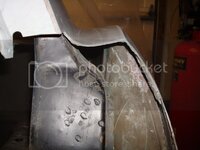


Oh yeah, I also forgot to mention - I removed the left pillar door jam which the previous owner hacked up. That was not the original plan, but it was too far gone to fix...I had no lip or dogleg on the fender to use as reference to glass. So, Mike is shipping more fiberglass parts. Should be an adventure!

Twin_Turbo
Der Maulwurf
- Joined
- Mar 5, 2008
- Messages
- 7,575
- Reaction score
- 6
Looking very good. What are you doing with that "puller" tool???
Latest posts
-
-
-
-
-
Was member years ago dropping by to say hello.
- Latest: crazyhorse
-
-
-
-
-

