Rookie's First Restoration Attempt...

i'm curious as to why you didn't redo the whole seam on the left rear 1/4
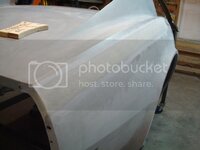
I need to replace the dog leg and a little bit of the fender as well. It will get glassed in after I bond those pieces in place. the same goes for the right side, only that side just needs the fender's dogleg to be rebounded. It will all eventually get glassed in.
 
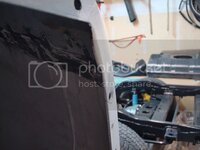
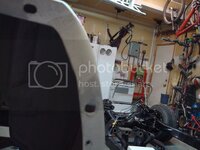
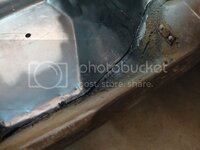
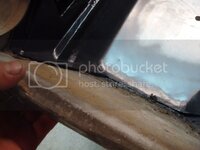
Unfortunately I had to redo the seams I worked so hard on - part of the resin didn't dry, must not have mixed it well enough. So, 15 hours of work later, I had finished the seams with some epoxy resin. Turned out better the second time around - now time to bond that damn bumper in place for good! I hate redoing work, but it needed to be done.

DSC04993.jpg

DSC04994.jpg

DSC04995.jpg

DSC04996.jpg

DSC04997.jpg
 
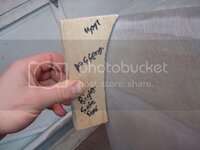
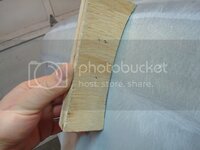
ahh.. makes sence. that plywood template is a good idea to get the shape without taking off too much
Once again, that was mike's technique. He never removes original glass, and when he does, he always adds glass on the inside of the body underneath where he sanded. I am doing the same.
 
It looks to me like your first attempt is going to be a good one!

By the power vested in me (not much) I dub you raised from Rookie to Journeyman.

:thumbs:
 
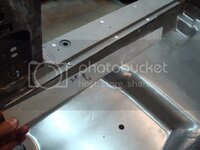
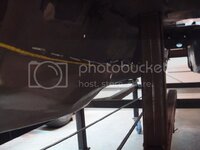
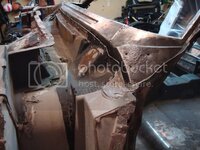
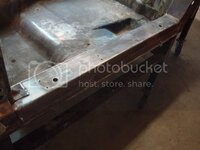
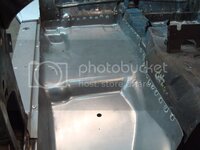
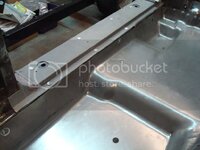
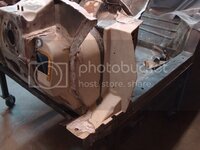
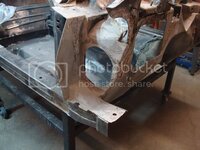
Floor pan is fitted to the tunnel, I just need to weld it. It took me 8 hours to fit this darn thing:willy: I had to cut off part of the rocker cover to gain access to the floor pan for welding. I will glass that piece I cut off after I weld the pan in for good.

DSC05000.jpg

DSC05001.jpg

DSC05002.jpg

DSC05003.jpg

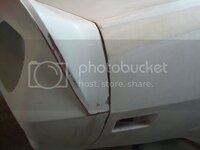
Here are some pics of the newly bonded bumper - it ain't coming off now.

DSC05004.jpg

DSC05005.jpg

DSC05006.jpg

Doesn't look like much progress, but I can assure you that those pictures show about 15 hours of elbow grease (not including how many hours it actually took to fit the bumper!)
 
Grandparents came into town earlier today, and they brought my rims with them. These things are just too cool! Still looking for a pair of US Indys for the front...I'll find them eventually. I'm just about done with the floorpan too.

DSC05025.jpg
 
Love these wheels but will these fill your L88 style flares ?

According to Mike - yes. I am going for the old style look. The backspace on them is 3.5''. I also talked to Stan (the guy who made the flares), and these are the same dimensions of rims he used on his red road-race vette. I can't stand the low profile look on 17's some guys are running...to each his own. If any of you guys have a lead on some US Indys, let me know - I need a pair for the front still.

I can't remember the tire size Mike told me to go with...I wrote it down somewhere. He just fit some flares on Snowman's car with Stan, down in Houston. He has a good idea of what kind of look I am going for, I am listening to whatever he tells me to go with.
 
Last edited:
Love these wheels

I agree :thumbs: How wide are they? I think you need around 12" to fill up those flares.
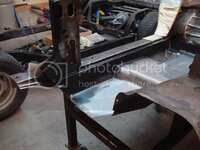
They are 10" with 3.5 inch backspacing. I am not going with low profile tires. There will be a lot of tire bulge for that old style gasser look. I have already done all the research on it, and these will give me the look I am going for. When Mike Dyer says they will look good, then you know they will look good - he has lots of experience when it comes to this kind of stuff. I'm still polishing them at the moment, once that is done, I have to finish the floor pan. These are Stan's flares, with the same rim size/backspacing that Stan used on that red vette of his - the one that looks like the owens corning car.
 
I just need to finish welding the front of the floor (it came up about 3/16'' too short near the center of the tunnel). This job just plain sucked. I burned myself several times, got grinding dust under my safety glasses, smacked my head several times...you get the idea. This dolly is awesome, only problem is a thing called gravity.

DSC05052.jpg
 
I finally finished the floor pan...that took way too long. I had to do a lot of fitting in the front so it would mate up the the firewall nice and tight. Lots of hammer and dolly work...but its done. NEVER AGAIN I keep telling myself:crazy:

DSC05082.jpg

DSC05083.jpg

DSC05084.jpg

I also pulled off the other rocker cover, as there was no door jam or dogleg on that side anyways. I need to sandblast everything now before I start doing more work on the underbody.

DSC05085.jpg
 
Been there done that, didn't care for it myself either. I had a crumpled up a pillar and floor on one side. What a pita. Looks like you did a great job on it.
 
Been there done that, didn't care for it myself either. I had a crumpled up a pillar and floor on one side. What a pita. Looks like you did a great job on it.

I fully agree! Words cannot describe how bad a job it is to install a floor pan correctly.
 
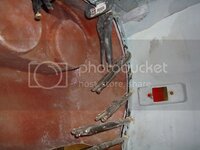
Next project is the firewall. I started that earlier today. I removed all the bonding strips after drilling some guide holes for realignment. The reason I am doing this is so I can make it look good (all that pink crap had to go). I have a little trick up my sleeve for the heater box or lack thereof - already talked to Mike about it...I will be eliminating the heater box, and making my own. The vents in the firewall are also going in the trash, and I will be glassing them in nice and strong. There will be one on button for the heat...that is it - on or off, no foot or selection controls. I am making it as simple as possible...no need for those over the top selections. If I need some air, I'll roll the windows down. If my feet are cold, hot air will blow everywhere in the car. this isn't going to be a comfortable ride; I'm building a vette not a luxury vehicle. Your ears are gonna hurt, your ass is gonna hurt, your vision is gonna suck...you get the idea. And, believe it or not, that is the way I want it to be - a ride from hell that you will never forget.

DSC05108.jpg

DSC05109.jpg
 
I closed up all those holes on my firewall too, heater box, vent door hole and all other holes except for fuse box & steering column. I simply laminated sheets on a pane of glass and bonded/glassed those in.
 

Latest posts

Back
Top