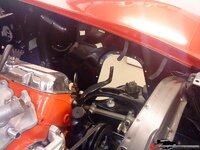
1969 427 restoration from Sweden

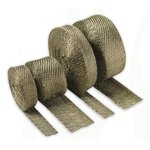
I used this stuff

e3185252-6b4e-4173-9387-ec72302f53bf-420.jpg

I think I got it off Amazon.com, but it's been awhile
But here it is elsewhere.
http://thmotorsports.com/i-248013.aspx
With that said, I bought this for a turbo install, and it was laying around when I needed something to wrap and quiet my exhaust.... so I'm sure there's cheaper/better ways of doing that

My headers/side pipes have ceramic coating that was just put on - it looks nice, but it's yet to be seen how well it handles wet.
What I did learn, was insist on the coater making the parts fit after the coating.... I was really lucky to remember to insist - when I got there the parts didn't fit, and required a tubing expander to get them to fit. To me that was impressive because the coating didn't crack or abraid when they expanded it one scotch (slightly less then a bit, slightly more than an umph)
 
Very interesting to see actual readings of temperature drop! Nice

I know through pain and screaming that my pipes are hot:banghead:
However, the insulation does a very good job of keeping it down. I have no measurements but I can almost put my hand on them for a half to one second and that normally means around 140-160°F.

The insulation is designed for tempering ovens that work in the 1700-1800°F area. So, I know it will do a good job on my inserts.
It is not fiberglass and not asbestos. Do not know what it is actually...

And again, thanks everyone for all nice comments!

Best regards, Daniel

I also, as a standby, have some wrap normally used to keep a grease fire inside a metal duct from burning anything with 1" of the duct. Problem is, I hate working with the stuff because it gives me zits for days (and we all know, that you can't drive a corvette with zits for days)
 
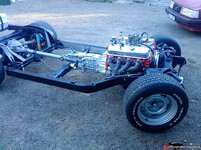
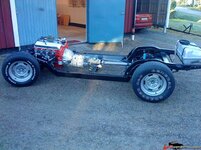
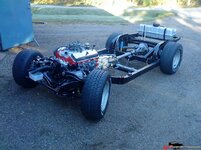
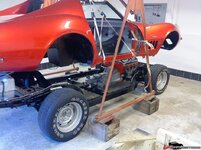
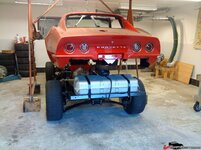
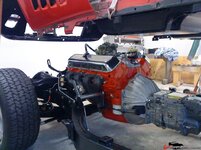
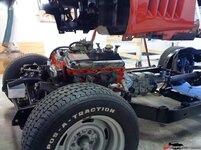
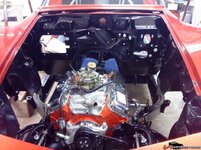
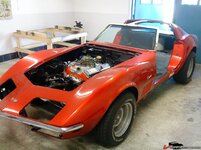
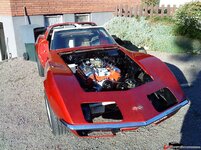
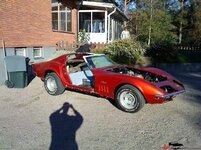
A few weeks ago I could finally assemble the Corvette body back on the totally restored chassie.

A few photos from this event. I started the work on this car 13:th of january 2011. I have now been working intensly on the car for 1 year and 8 months.
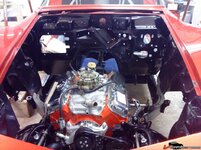
So far, the chassie is modified and restored, the complete driveline including engine rebuilt with new /modified parts and the body restored inside and under. Paint will be done later and also chrome and parts of the interior.

18775081c0dd7aee3.jpg

18775081c0dd26b52.jpg

18775081c0dcbddd1.jpg
 
Body fixed correctly above chassie.
Then it was a simple operation to lower the body on to the frame. Put all shims back in correct positions and used my alignment measures taken during disassembly to get everything in position.
Did not encounter any problems with this.

18775081c0ddd92c0.jpg

18775081c0de374ab.jpg

18775081c0de8bc23.jpg
 
Beautiful
looking at your picture
18775081c0dfba5ec.jpg

it looks like where I put the hydraulic master cylinder is where the rod went through for the clutch linkage. On my car, that hole was blocked.
 
awesome progress !!!!!

I bet you spent quiet some time out there staring at it and taking photos :thumbs:

Yeah, I did!
A few neighbours came over to have a look too. They are used to see different vehicles parked outside my house (boats, cars, motorcycles and snowmobiles:bounce:) most of them are interested and have a nice attitude about it.

It was actually kind of an anticlimax when the body went on back on the frame. All the nice, painted, detailed parts just disappeared under the body :confused2:
Maybee I should have assembled the complete frame on to my bedroom wall for me and my wife to enjoy:lol:

I've suggested things like that to my wife.... she's suggested things that, (I'm pretty sure) even with her Phd in Mechanical engineering, are completely impossible.

That said, she is the one that told me to put an engine block under the coffee table (ala Top Gear UK)

:thumbs::thumbs::thumbs:
 
Work on the old Vette is continuing. It´s a very slow process right now. Many, many parts to be fixed and assembled.

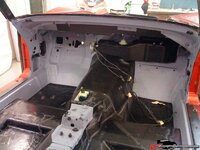
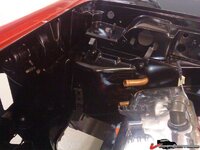
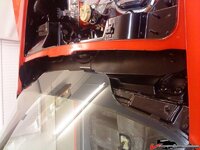
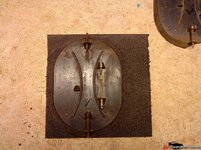
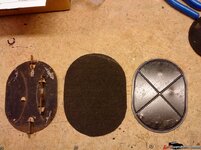
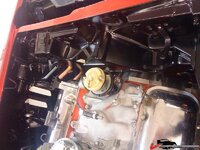
Put the fully restored heater/vent assembly back in the car. Took me more than one evening to do this simple job:banghead:
New heater element, all seals and so on.

1877509eb10fafde7.jpg

The outside:

1877509eb10f529cf.jpg
 
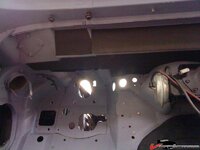
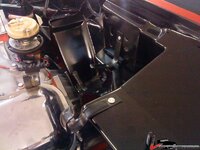
Added some dampening material to the top of the firewall. I also have a new firewall insulation carpet that will be assembled
This photo also shows all the holes in the firewall... They wil be filled with screws, cables and plugs.

1877509eb10fe16cf.jpg

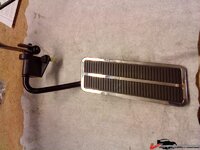
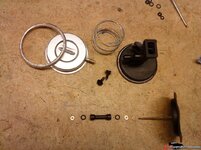
Restored the Fast Forward pedal.
New plastic and chrome and fixed a new spring by bending a piece of piano wire:thumbs:

1877509eb1101a344.jpg
 
Spent 3 evenings re-reviting all the cable holders. They were removed before I painted the "inside" of the car.
Just a few random photos.
Let me know if I should skip this type of photos, I do not know how interesting this really is:skeptic:

1877509eb10ee619a.jpg
1877509eb10f21c9d.jpg
1877509eb10eb6fbb.jpg
 

Latest posts

Back
Top