You are using an out of date browser. It may not display this or other websites correctly.
You should upgrade or use an alternative browser.
You should upgrade or use an alternative browser.
1969 427 restoration from Sweden
- Thread starter 427Swede
- Start date
427Swede
Well-known member
427Swede
Well-known member
427Swede
Well-known member
427Swede
Well-known member
427Swede
Well-known member
427Swede
Well-known member
427Swede
Well-known member
427Swede
Well-known member
Last edited:
mrvette
Phantom of the Opera
VERY NICE WORK MAN!!!!.....maybe you look into new chrome on the bumpers instead of buying new from here....my last bumper sux and it came from Ecklers.....down the road from me.....
I fought the headlight mechanical restore some 18 years ago, having sketchy luck with it at best....got it ALL together and working GREAT, then to hit a damn Florida deer here on night in '98....too out both the headlights.....
:hissyfit: I was ROCKET PISSED!!!!
but at least the deer heer are small, like a dawg.....so it did not come through the windshield and kill me and the chick.....
I went fixed lights after that, not enough money to fight the war over them again, much less time/effort/temperament......:hissyfit:
427Swede
Well-known member
Thanks Gene! I will for sure be rechroming the original parts. They actually have a very good fit on the car and I do not want to ruin that.
427Swede
Well-known member
427Swede
Well-known member
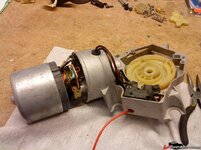
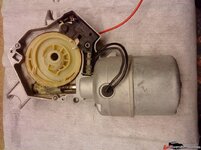
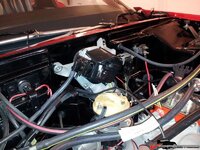
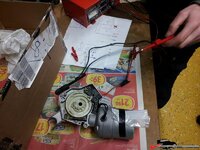
Had a friend who is an electrician make some test runs and check it for me. Everything worked out ok.
Well, he´s interested in old motorcycles and Swedish SAAB cars. Here is one motorcycle he has restored. Just have to show it:thumbs:
A 1973 Yamaha 125cc. Restored completely with NOS parts all thorugh. It has ben driven 1 mile after completion. Amazing...
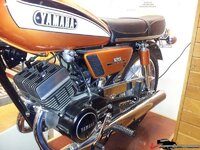
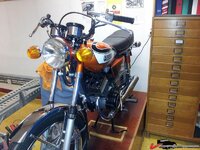
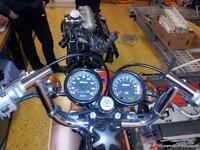

Well, he´s interested in old motorcycles and Swedish SAAB cars. Here is one motorcycle he has restored. Just have to show it:thumbs:
A 1973 Yamaha 125cc. Restored completely with NOS parts all thorugh. It has ben driven 1 mile after completion. Amazing...


427Swede
Well-known member
427Swede
Well-known member
427Swede
Well-known member
427Swede
Well-known member
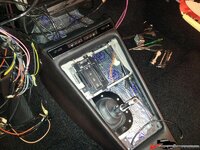
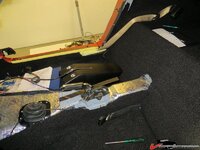
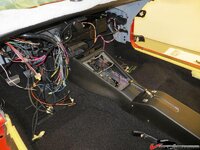
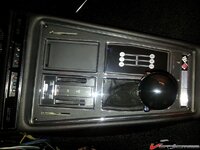
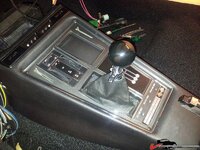
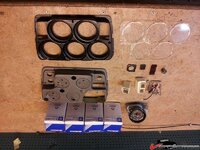
Had to restore all the gauges in the console. Chose to buy all new gauges. Did not buy a new clock. I hope to restore it next year.
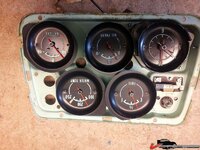
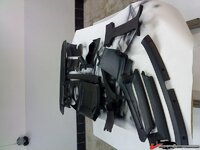
Everything ready for assembly.
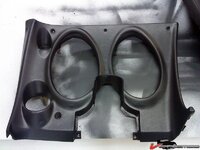
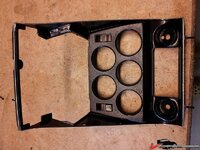
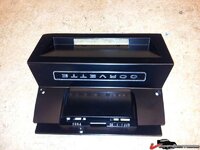
Repainted the upper part of the center console.
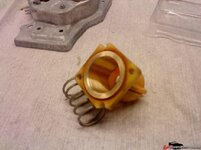
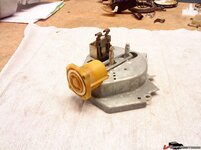
This is a bit strange, there is an armature for a lamp in this part. Including a plastic light spreader. But, the wiring harness is not equipped with a lamp???? And if you would try to assemble a lamp with socket it will interfere with the dash support. What was GM thinking? Anyone with any info on this?

Everything ready for assembly.

Repainted the upper part of the center console.
This is a bit strange, there is an armature for a lamp in this part. Including a plastic light spreader. But, the wiring harness is not equipped with a lamp???? And if you would try to assemble a lamp with socket it will interfere with the dash support. What was GM thinking? Anyone with any info on this?

Last edited:
GT6Steve
Well-known member
Is this thread from Swden or Australia?:hi:
427Swede
Well-known member
Is this thread from Swden or Australia?:hi:
Hi Steve,
Well, I´m from Sweden. Australia is on the other side of the world from here.
I´m curious, why do you wonder?

