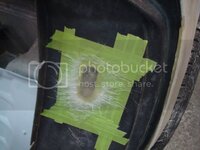
Rookie's First Restoration Attempt...

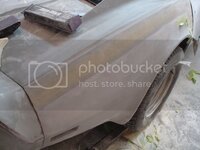
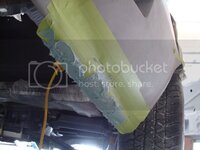
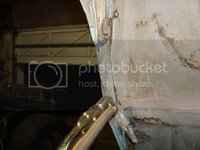
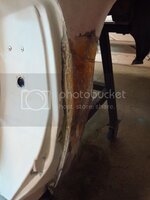
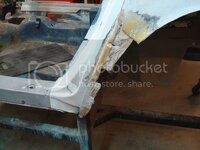
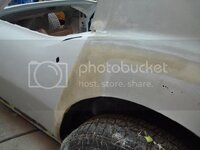
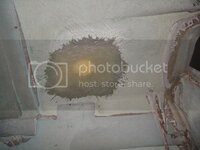
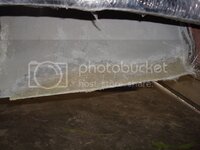
I was able to scrounge up enough marinetex to start the driver's side panels. I only had enough to bond the rocker cover on though, so I'll have to wait another week before I get to bond the lock pillar plate and dogleg on.

DSC06646.jpg
 
Looking good Jeremy ....

Thanks Terry. One of these days I gotta get you over here to give me a hand with this goddamn thing...the amount of work involved in this is driving me insane :hissyfit:

I'm waiting on parts and supplies from Mike right now. My front rims, new rear tires, right and left inner fender, inner fender support and a bunch of odds and ends I need to finish fitting the rest of the car together. I also have a bunch of bonding adhesive, resin, body filler, dynaglass and fiberglass matt coming from him as well.

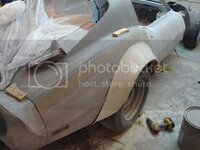
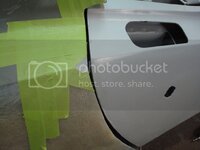
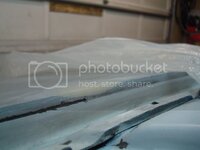
The right bonding seam was bugging me. There were a few air bubbles in it from the last time I did it. I ground the seam down, and added a few layers of glass. I also ground out Bubba's repair, and glassed that in too. I had to grind the holes from the screws until they were way below the panel - this way, they will have no effect on the outer surface. Enjoy the pics - I have a sh*t load of blocking to do tomorrow...and I'm not looking forward to it. I can't stand laying glass...it takes forever.

DSC06647.jpg

DSC06648.jpg
 
You hate laying fiberglass!!! Does that mean you are not gonna show me how to build a bad ass hood ..... haha
 
You hate laying fiberglass!!! Does that mean you are not gonna show me how to build a bad ass hood ..... haha

Its not that I hate laying glass...its that it takes forever to do correctly! I will show you how to build your hood Terry:friends:

Next time you are over here, I'll teach you how to glass a part without sanding on original glass.
 
Last edited:
i might take you up on that ... i am still up in the air about what i want to do with my hood .... got any ideas ... i need a fresh perspective
 
i might take you up on that ... i am still up in the air about what i want to do with my hood .... got any ideas ... i need a fresh perspective

Terry, I have learned a ton from fitting the front end and hood on my car, and I have come to this conclusion. If you want it to look right, you need to fit the hood to your car before you do anything. Once it fits the car, then you can mess around with the hood scoop. There is no other way around it buddy...
 
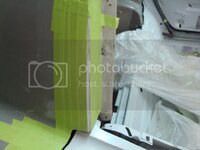
Here are some pics of the right bonding strip...I'm almost done blocking it.

DSC06655.jpg

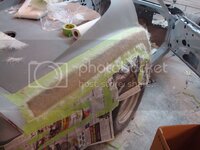
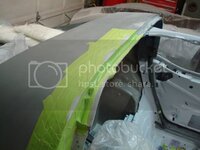
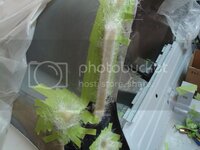
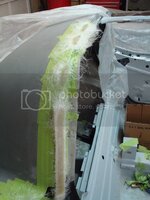
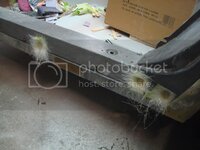
I also started prepping some odds and ends on the body for fiberglass. I'm getting rid of the antenna hole. First I need to put a few layers of glass underneath the hole, then I will grind the outside and glass the hole shut. I also started to repair the bottom of the quarter, where GM broke some fiberglass so it would clear the stock exhaust. Every repair needs to be done with fiberglass matte.

DSC06661.jpg

DSC06662.jpg

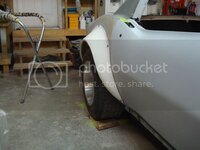
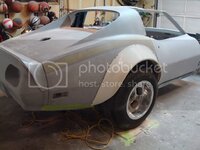
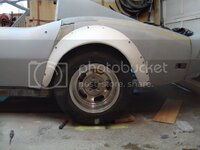
And, I finally cut the mudflap off the right side so I could test fit the flare. I can't go any further with the flares until I get my rear tires from Mike and have them mounted on my rims. The flare is at the exact same height as the original fender edge on the quarter panel.

DSC06660.jpg
 
I finished blocking the front of the right quarter. This stuff is like sanding steel...what a pain.

DSC06663.jpg
 
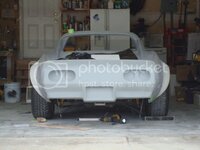
Okay...Okay...I've gotta cool down right now...way too excited!!!! I can't sit still!!!! Mike told me to mount my old tires on the new rims so I could start mocking the flares up (still waiting on the new ones to come in the mail). I've been waiting for this day for a long time, and its finally here!!!!!!! I get to see it all come together with my slot mags on rubber!!!! I'll get some better shots of it outside tomorrow:D:D:D:D:D:D

DSC06668.jpg

DSC06667.jpg

I have a ton of fitting to do on the flares now...time to get started.
 
This is a long explanation on how to fit the flares, so bare with me. Read it top to bottom and you'll understand why it is so important to do this correctly. A big thanks to Mike for helping me with this. Most of this information is coming straight from him, I'm just typing it out for you guys. There isn't much info in books or on the internet explaining how to install these correctly, which is why I am going through the effort of posting all this. I had to research this issue with the flares (and how to center them) several times, and asked lots of questions along the way.

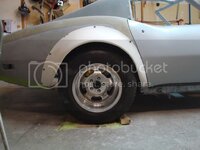
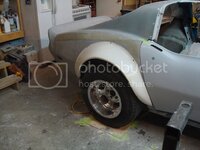
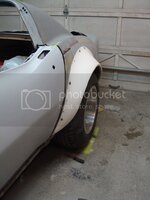
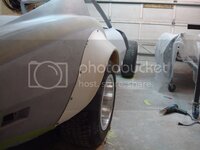
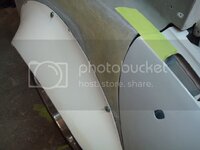
I finished fitting one of the flares today. It took a lot of tweeking, but I think I have it where I want it. I need my new tires to verify that it is perfect, so I'll have to wait until they arrive. Here are some pics.
DSC06682.jpg

DSC06686.jpg

DSC06687.jpg

DSC06688.jpg

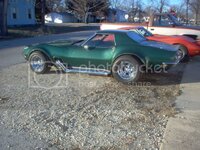
Now, I know what you are thinking right now. "The gap at the front of the tire is too small in comparison to the rear of the flare". I am aware of this. When it comes to fitting the flares properly, you need to take several things into consideration. The first is you want the radius of the flare to be as round as possible. But here is the catch - the factory built these cars with a larger gap behind the tire, and a smaller gap in front. Now, it is minimal, but when you install flares, it is really exaggerated because they "hug the tire" unlike the original fenders. But, while keeping the radius round, you need to make sure you close the gap up behind the tire, so it doesn't end up looking like this...
68green008.jpg

Now, remember when you levelled your frame, and set the ride height using all thread up front and in the rear? You did this because you needed to fit the flares to the car correctly. The half-shafts MUST be level when you are doing the setup on the rear - that is your ride height, and it is the point the tire is going to ride at when you are driving the car. It is also the farthest point that the rear tire moves backwards. Any arcing of the wheel upwards from this point will also move the tire forward. Remember, the trailing arm moves in an arc, like a compass, pivoting on a central point.

So, how am I going to open the gap up at the front of the tire you ask? Easy. Its so minimal (because of the fitting I did on it) that I will grind on the edge of the flare and clearance it. But before I do that, I will add lots of glass on the inside of the lip of the flare, so that the lip doesn't disappear. Once the clearancing is done, I will add glass to the outside of the flare and resahpe the fender lip until it is a nice round arc from front to back. And, The fender lip will still be a consistent thickness all the way around the flare. Now I will have a perfectly centered wheel in an L-88 Flare. I can also do vise vesa, and bring the lip closer to the tire if I need to in some areas (which I'll probably end up doing in a few spots to make it more round). Stan's flares close up the gap at the rear of the car nicely. I will just have to do some extra work at the front of them. I will also have to extend the flare on the bottoms using glass and lots of shaping once they are bonded in place.

Some of you may have noticed that I haven't finished my door gap at the rear of the doors. And you are right in thinking that it affects the placement of the flare on the dogleg, because the edge of the dogleg is essentially where the flare begins, and that edge also needs to be perfect for your door gap. And here is why none of this matters right now. The following picture is of Zwede's car, the one Mike totally rebuilt. Notice how he glassed the lock pillar plate in so that the edge of the dogleg is one with the lock pillar plate. It makes it stronger, and sexier!
IMG_0665.jpg

I will be glassing in my lock pillar plates as well. The flare will be glassed in at the front of the dogleg. Everything will become one piece in the end, with one common edge, which is essentially going to be the door gap edge. This edge will get shaped and sanded until the door gap it absolutely perfect. the flare will get glassed, sanded, glassed, sanded until it is perfect with the door edge.

This is why installing flares takes a ton of time. I've seen several pictures of cars where the flares just don't sit right and it isn't pleasing to the eye. In my mind, a flare should look good no matter what angle you look at it from. Take the time to do it right...its worth every bit of aggravation in the end.

I also finished bonding the left dog-leg. Once that cures over the next day, I will begin fitting the left fender flare. I've also figured out that I really enjoy doing this type of work, and I'm pretty darn good at it (thanks to my buddy Mike!!!!!!!!!!!!!!!!):D
 
Last edited:
There isn't much info in books or on the internet explaining how to install these correctly

Hope you are considering making a build book for your project.
you cover pretty much everything, have tons of good pics and explanations and your attention for details is impressive.

Finish the car, make a ruff draft of it with pics, explain everything like you do here and take the draft to an editor. See then what happens.
Theres a lot of books out there and this would become a good reference.
+ if you consider beeing in this business, this book would be a great business card for you.

As a car maniac, that would be a book I would buy.
Keep it up Jeremy, great inspiring work.
You impress me every time.
 
I did a little more sanding on the right side repair. Its finished now...

DSC06704.jpg

Then I started fitting the left flare.

DSC06692.jpg

DSC06693.jpg

I finally got to see the wide ass stance for the first time!!!!!!!!!

DSC06689.jpg

I pulled it off, and started the glass work, just like I did on the right side. Only this time, I had to join the old quarter to the new dogleg, and I had to add to the outside of the dogleg so that I can block it to match the door perfectly.

DSC06700.jpg

Can't wait till my new tires show up, so I can get the full effect of the wide stance.
 
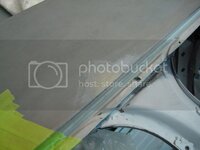
I have been glassing for the past 3 goddam days. Glassing old screw holes shut, finishing the left dogleg, finishing the left bonding strip, finishing the antennae hole (FINALLY), and starting the repair on the quarter panel. Some of the repairs on the halo you can't see cuz tape is covering them. I will post those pics later. I am so flippen tired and itchy right now.

Some shots of the left quarter finished, and repaired the CORRECT way. This whole project started when I found Bubba's repair and hack work on the dogleg and lock pillar. Finally, I am back to square one.

Before...

DSC04626.jpg

DSC04618.jpg

DSC04642.jpg

After...

DSC06707.jpg

Finished antennae hole (won't be able to hear a radio in this thing anyways, sidepipes are gonna blow eardrums!)...

DSC06712.jpg

DSC06705.jpg

Glassed in screw holes...

DSC06708.jpg

DSC06710.jpg

DSC06718.jpg

Inside of bottom of right quarter (Still need to finish outside repair and sand the edge down)...

DSC06713.jpg

More prep work...

DSC06715.jpg

DSC06716.jpg

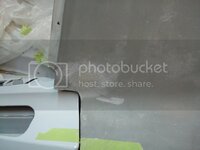
Didn't put enough glass in these holes, and came up short when blocking....will finish glassing these ones today...

DSC06717.jpg
 
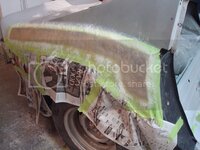
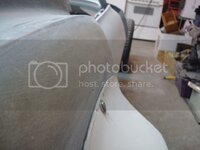
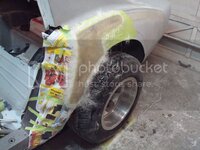
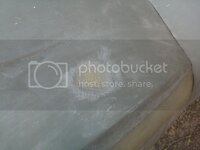
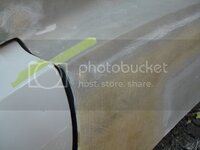
Here is a closeup picture of one of the holes I glassed in. I ground the panel down till it was paper thin, then masked it off, and laid the glass in the void. Next I blocked it until the tape disappeared. Once that was done, I carefully blocked the edge down so it was perfect. The corner is razor-sharp, and needs to be knocked down to match the rest of the halo edge. This is how you make holes disappear, so that they don't come back to haunt you in the future. Its a b%tch to glass holes shut, but I feel its the only way to make sure you are safe. I've put too much time into this body to take shortcuts now! Mike said the same thing about glassing holes shut...that its the best way to do it, hands down.

DSC06727.jpg

And some more glass work...

DSC06721.jpg

DSC06726.jpg

DSC06719.jpg

DSC06720.jpg
 
Last edited:
Hey Jeremy, nice job! Can you tell me your technique that you use for fiberglassing? Do you block the fiberglass with the tape still on? What material are you using?

Thanks,
Danny
 
Hey Jeremy, nice job! Can you tell me your technique that you use for fiberglassing? Do you block the fiberglass with the tape still on? What material are you using?

Thanks,
Danny

You pretty much block over top of the tape, until the tape starts to roll on itself (you'll see what I mean when you do it). Once the tape is gone around the repair, pull the rest off and you are finished.

I am using west system epoxy for original panels, and dynatron polyester resin for aftermarket panels. I am using fiberglass matt for every repair.
 
More blocking. The original panel is just scratched up from when
the tape disappeared...no material was really removed.

DSC06734.jpg

DSC06735.jpg

DSC06736.jpg

DSC06738.jpg

DSC06739.jpg

DSC06740.jpg

DSC06741.jpg
 
Jeremy, what is the cat number for the west epoxy you are using? I have a supplier close by and I want to pick some up.


Thanks,
Danny
 

Latest posts

Back
Top