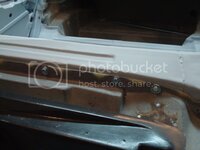
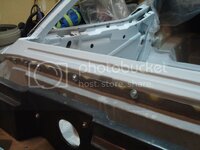
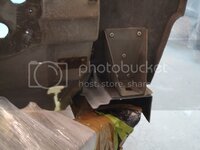
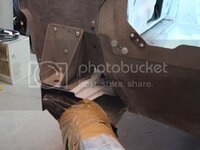
Rookie's First Restoration Attempt...

Stinger is way too slow :D:D:D

You are correct - I am way too slow. But that's what it takes to get the quality I am going for.

You realize I was joking, right ??

Oh, I know you were joking. But seriously, I am too slow. I wish I could work faster...three years and still no car (okay...maybe half of one):huh:

I wouldn't worry about it...being that meticulous, and working alone, thats still very good progress (esp; considering that it isn't your full time gig). I have seen many pro built cars in progress that didnt have the attention to detail that this project does.
 
I have seen many pro built cars in progress that didnt have the attention to detail that this project does.

That makes me feel a lot better! Its taken a lot of pain to get to this point, and it is starting to pay off for me.

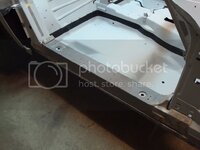
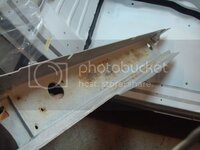
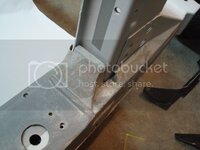
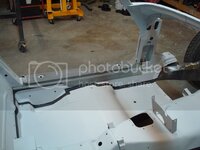
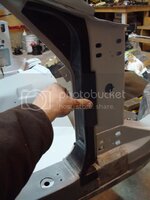
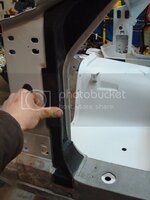
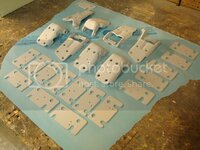
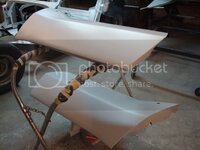
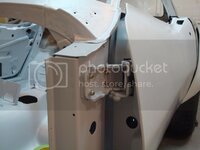
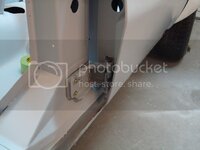
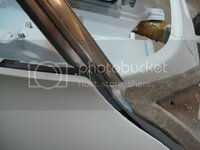
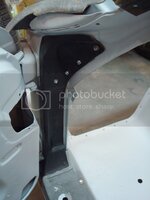
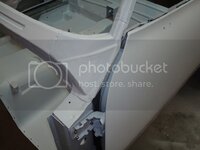
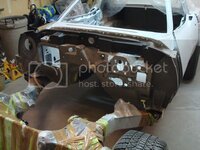
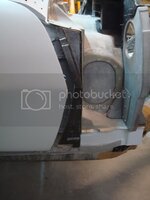
Today I stripped the right rocker cover Mike sent to me. Then I placed both of them on the car, and test fitted my new a-pillar covers. They look and fit pretty good.

DSC06120.jpg

DSC06121.jpg

DSC06122.jpg

DSC06123.jpg

DSC06124.jpg

DSC06125.jpg

DSC06126.jpg
 
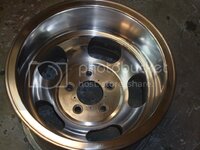
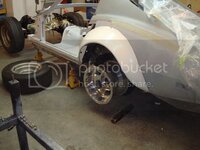
I started prepping my rims for the new tires (hopefully I will have them on by the end of the month). I still need to order them. Here is one rim polished and ready to go. I wet-sanded, and buffed it. Took about 4 hours.

DSC06128.jpg

There were a few scratches and marks which I couldn't sand out, but I am happy with the results. I also have to take into consideration that these are 30 year old wheels, and they ain't gonna be perfect.
 
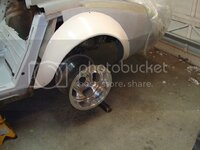
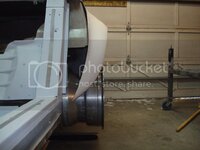
I haven't got much done lately other than polishing one rim, and mocking it up on the car. I sent these pictures and a bunch of measurements to Mike earlier today. He picked out my rear tires and will be ordering them today. The front ones will be ordered once I get the front end on, and have a general idea of what size tire I need. Enjoy.

DSC06132.jpg

DSC06133.jpg

DSC06131.jpg
 
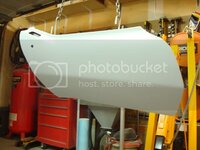
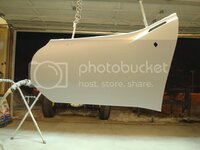
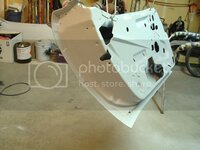
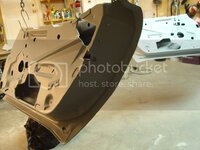
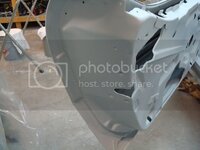
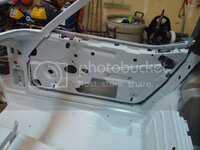
Mike told me to get the doors and hinges primed before I do any fitting. I painted them once, and messed up. I had to strip them down and primer them again...took a ton of elbow grease and determination to get it right. Once again, Mike walked me through my errors before I painted them again, and well, here are the results. There were a few runs here and there, but Mike always said that a run is always better than a dry spot. Runs can be sanded out.

The reason we painted the doors now was for protection. I took pics of all the damage on the fiberglass before I painted them. I will have to do a ton of fitting with the doors - I needed to protect the fiberglass from any contamination during fitting. The beauty line also is exaggerated when the doors are primed, which will allow me to properly line it up with the dogleg's beauty line and the front end's beauty line. Mike told me all this, I am just reiterating his words:lol:

Thanks a bunch buddy!!!!!

DSC06189.jpg

DSC06179.jpg

DSC06181.jpg

DSC06183.jpg

DSC06184.jpg

DSC06185.jpg

DSC06187.jpg

DSC06192.jpg

I brought this thing home the other day...

DSC06193.jpg

Stay tuned. The doors get hung tomorrow for a test fit.
 
Last edited:
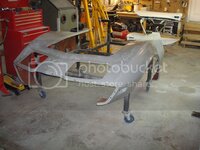
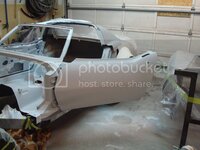
I became so much better at painting that I decided to repaint the birdcage and floor-pans. This time it came out almost perfect. Lots of masking and prepping.

Mike, do you remember what this thing used to look like when it was at your place???? I've come along ways since my visit with you last year. Here are the doors mounted.

DSC06198.jpg

DSC06208.jpg

DSC06199.jpg

DSC06200.jpg

DSC06201.jpg

DSC06202.jpg

DSC06204.jpg

DSC06205.jpg

DSC06206.jpg

DSC06207.jpg

DSC06211.jpg

I also think I'm getting Mike to paint the color on the car for me...I trust his hand more than anyone's, mine included. I'll have to figure out how we are gonna do it, cuz he's all the way in Dallas, and I'm all the way in Canada. Just the color...I'll be doing all the blocking/priming by myself. We'll see when the time comes, but I think I have made up my mind already - I want Mike to paint it. I'll have to save up my money first though:thumbs:
 
I also think I'm getting Mike to paint the color on the car for me...I trust his hand more than anyone's, mine included. I'll have to figure out how we are gonna do it, cuz he's all the way in Dallas, and I'm all the way in Canada. Just the color...I'll be doing all the blocking/priming by myself. We'll see when the time comes, but I think I have made up my mind already - I want Mike to paint it. I'll have to save up my money first though:thumbs:

Looking Great :thumbs:

Don't sell yourself short NOW........ you've been doing an excellent job this far,
I think you are perfectly capable of painting the car as well. You've spent this
much time baking the cake and your gonna let someone else put the iceing on
and take all the glory ..... :suicide:

Nothing against Mike ... I think he knows were I'm coming from and would agree.

JMHO others may vary.

I agree.....:withstupid:

Oh, I know I'm capable of painting the vette. But I also know that Mike is much better than me, and I want him to do it. I am including him in this project as much as I am including myself. If anyone deserves to paint the car, it is Mike. I wouldn't have a vette if it weren't for him and his help. I would be in the shitter without his guidance. Of course I'll have to pay him to paint the car, but it will be worth every damn penny. It aint for another year or two, so I don't have to make the final decision right now. We will see in the future.
 
I finished centering the doors on the birdcage yesterday with Mike's help (walked me through the whole process). It took a LONG friggen time. You need to center the inner door frame between the birdcage, or else you weather stripping will not fit. In regards to the door gaps, those will be fixed later with fiberglass and sanding. You might have to make a compromise in centering the doors so you can get the top of the doors level with the rear deck. This is extremely important, as you don't want to add or remove glass in these areas (because of all the beauty lines and how they flow into the rear deck and then into the door). This edge needs to be very strong, as it is a really sharp corner. You also might have to mess with the shims on the #3/#4 mounts to line up the deck to the top of the door. I had to add a shim on one side. the other thing which is extremely important are these two pieces of trim...

DSC06230.jpg

DSC06228-1.jpg

You see the arrow in the above picture? That is where your door gap is. Use it as a guide. The doors front edge must be behind this line. Once again, this is a very important step. If your door is in front of this point, it might bind on the weatherstripping, and it will be very hard to shut the door...or it might not shut at all. Remember, this is just a starting point for your doors...you need to start somewhere before you fit other pieces. You will be mickey mousing with the doors throughout the entire build.

I also finished fitting these two covers. They are screwed in at the moment. Not bonding gets done until everything fits together...you gotta put the car together with screws first, then take it all apart again.

DSC06216.jpg

Thanks Mike, you're one hell of a teacher!
 
This piece had quite a bit of pitting on it, and it was really bugging me. I decided to fix it today.

DSC06264.jpg

DSC06267.jpg

DSC06271.jpg

DSC06284.jpg

Now I can start test fitting the firewall. Once I get that in place, then I will start mocking up the front end, which will tell me where the bonding strips need to go, and whether the doors need more adjusting.

Apparently my rear tires were delivered to Mike yesterday. He said they were friggen huge!
 
Last edited:
Well, ONE thing for sure, you going to have the newest old car on any VETTE forum, when you git 'er dun.....:cool:
 
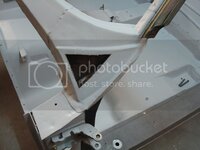
I had to see what this thing was gonna look like when done. Here is a pic with the front end just sitting on the firewall. Imagine what its gonna look like once I get all the flares mounted!

DSC06291.jpg
 
Firewall and bonding strips are temporarily in place with screws. Next is test fitting the front end. I need to settle the suspension down with all-thread both front in rear. I'll have to give Mike a call and get some measurements for fitting the front end.

DSC06295.jpg

DSC06296.jpg

DSC06297.jpg

DSC06298.jpg

DSC06300.jpg

DSC06302.jpg

DSC06303.jpg

DSC06304.jpg

DSC06305.jpg

DSC06306.jpg

DSC06307.jpg
 
Last edited:
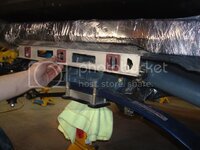
Today I set the ride height on the car. Mike walked me through the entire process. Remove the front shocks, and get yourself some heavy 1/2'' all-thread. Jack the car up onto three jackstands, not four. One under the diff, and two just behind the frame horns. Level out the back of your frame using this crossmember. Shim the two front jack stands until the frame is level side to side.
DSC06058-1.jpg

DSC06317.jpg

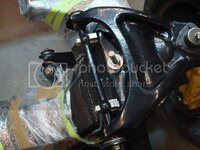
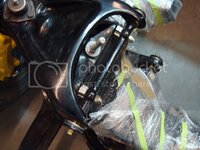
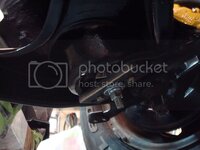
Take your all thread and cut it into two 18'' pieces. You will need to make a plate which bolts to the bottom of the lower a-arm with a hole large enough to fit the 1/2'' all-thread through. This centers the all-thread in the a-arm and also acts as a "giant washer".
DSC06337.jpg

Alright, here's the next step. Get out the AIM and find the page with the ride height specs. Here is one for the 76...
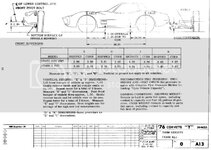
76heights.jpg

See the "Z" value in the top left corner of the pic? Well, that is the value you are shooting for. You want the curb height, which is the height when the car is on the street. The value for the '76 vette is 3.06 inches. You need to get two measurements to calculate this value. However, you need to ballpark the tightening of the all-thread before you take any measurements. Tighten it downuntil there is about 2'' between the lower a-arm rubber bumper and the bottom of the frame. This is a guess. Now, get yourself a level and level it on the floor, just below the lower a-arm bushing and the bottom of the front spindle.
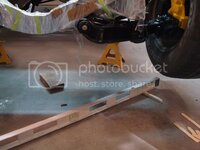
DSC06310.jpg

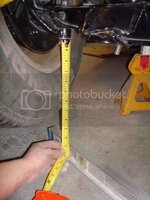
The reason for the level is because an unlevel surface will mess around with your measurements, and that will do you no good. The first measurement you need is from the center of the lower a-arm bolt, to to top of the level.
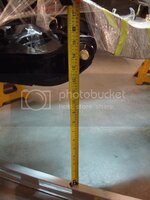
DSC06312.jpg

The second measurement you need is from the bottom of the spindle, to the top of the level.
DSC06316.jpg

Take those two values, and subtract them from each other. For the '76, the value should be 3.06, which is about 3 & 1/16''. Make sure you do this for both sides, and get them exactly the same. You probably will not get it the first try, but just loosen or tighten the nuts until you reach the value in your assembly manual.

For the rear of the car, you will need to get rid of your spring bolts. Cut two pieces of all-thread about 4'' longer than your bolts (I think). Put them through your t-arm and then through the spring.
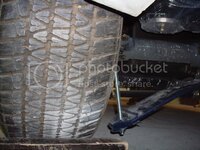
DSC06341.jpg

Drop the car back on the ground, and loosen them until the half-shafts are just "under level"

DSC06331.jpg

Make sure they are identical side to side. Use the crossmember (the one you put the level on before) as a reference point when adjusting each side. They should look identical. Roll the body back and forth until it settles the rear of the car. If your half-shafts are near level, and symmetrical to the crossmember, then you are good. Because I was using my old worn tires for this setup, I had to make sure they were all identical in "wear". Take measurements from the edge of the rim to the floor on every tire. Use air to raise the rim or remove air to lower the rim (this is another tip from Mike's amazing brain). Make sure all four wheels are identical. Stand back and smile with joy - you are ready to start putting sh*t together:thumbs:
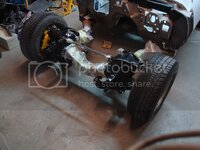
DSC06338.jpg

DSC06334.jpg

Once again, a big thanks to Mike Dyer for all the help on this. He told me how to do everything. I just listened and moved my hands. This took me the entire day. This job is very tedious, but is necessary before you fit the front end and your flares.
 
Nice work :thumbs:

What coil springs are you going to use? That "Z" dimension is going to change with different springs won't it ???
With the stock (not sagging) '76 springs the Z height is 3.06" - with 460lbs VBP springs it'll be more than 3.06" and with 550lbs coild it'll be less than 3.06".

I assume you're trying to set the front to it's original height but wouldn't it be more accurate to simply measure "Z" with the suspension completely assembled and the engine's weight simulated (f.e. a few bags of sand) ??? Then you could fit the fender height to the wheel....

Or drop the engine in? Maybe it's not ready yet.
 
I talked to Mike about the springs today. He said that you should never play around with the geometry of the car (IE Lowering your car or raising it past the GM specs). So, once I get everything together, and the engine is in, I will have to remeasure everything, and cut the springs accordingly until I get that 3.06'' measurement again up front. So, even if I use aftermarket springs (which I am doing), I will need to cut them until the ride height is exactly the same as stock ones.
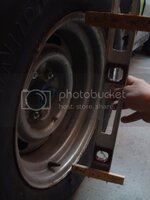
Today I dropped the car back on the ground, and did a camber adjustment (remember the frame is level now, and the suspension is at ride height). This is just so you can get it close for bodywork...you will have to do it all again once the car is finished. Thanks for the help Mike.

DSC06349.jpg

DSC06351.jpg

DSC06352.jpg

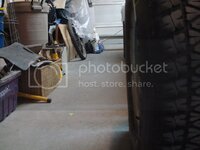
Here are pics of the tires, both front and rear, in unison, showing how close the camber really is at this point. More than good enough to start doing some panel fitting.

DSC06353.jpg

DSC06356.jpg

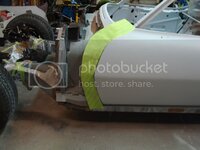
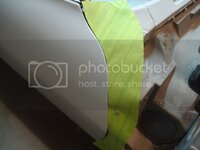
I also decided to make a template of the door edge, so I can trace the pattern onto the inside of the front clip (which tells me exactly where I need to cut it, instead of guessing). I screwed it to the bonding strip on the firewall. Once I get the front end where it needs to be, I will push the template which is flimsy at the top, up against the inside of the fender, trace it with a sharpie, and cut it to size. This way I won't have to have the doors in place before I cut. Its a catch 22 - you need to trim the fenders before you can actually do any fitting to the door edge (this is because The aftermarket clips are made extra long)...its very tough. Hopefully more tomorrow night after work. This all took me 7 hours believe it or not...so many adjustments. One adjustment messes with another, which affects another...then you gotta start over...such a pain!
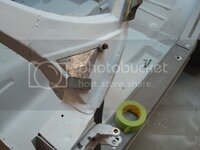
DSC06344.jpg

DSC06345.jpg
 
I talked to Mike about the springs today. He said that you should never play around with the geometry of the car (IE Lowering your car or raising it past the GM specs). So, once I get everything together, and the engine is in, I will have to remeasure everything, and cut the springs accordingly until I get that 3.06'' measurement again up front. So, even if I use aftermarket springs (which I am doing), I will need to cut them until the ride height is exactly the same as stock ones.
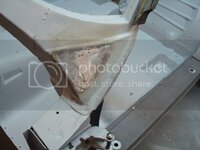
And here's your problem: You're using aftermarket springs and you don't know what the Z-height is going to be with the springs installed and the car with all the weight on the ground. Keep in mind the new springs will settle a bit over the first few miles and weeks.
Spring rate is another issue. You cannot simply cut the spring until your ride height is where you want it and then use the same shock that was designed to be used with a softer spring - cutting coils off the spring makes it stiffer.
I would rather start with the 550lbs coils and use these poly spacers to raise it to where you want it to be - with the 550lbs coils the car will sit slightly low. Raising it with these poly cushions will not change the spring and the 550s work well with Bilstein shocks. I think these spacers/cushions are 1" thick, you can cut it to make smaller adjustments.
 

Latest posts

Back
Top