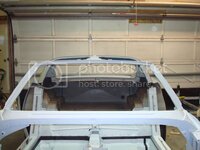
I still cant believe you manage to keep up the enthusiasm and high level of work when you havent had the chance to drive her yet....
Mike's helped me A LOT with that. Seriously, mentally I couldn't cope with it...then he told me how he deals with it on projects of this magnitude, and well, it just works. FORGET THE ENTIRE PICTURE, AND FOCUS ON ONE PROJECT AT A TIME...eventually it comes together. Once you start a project, finish the project before moving onto something else, no matter how agonizing the job is.
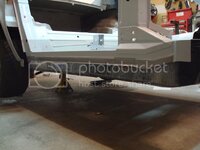
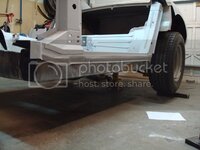
Mike also helped me shim my body over the phone. Here is what he told me to do. First, put the frame up on three jack stands. This is important...only 3. One underneath the diff, and two up front on the frame rails. Their locations are important the one underneath the diff supports the load in the back of the frame so it doesn't flex when you are doing the shimming.
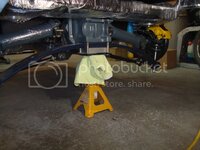
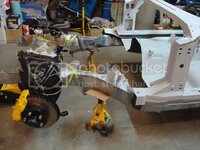
Next, level the frame by shimming the two jackstands at the front of the car. Use the bottom of this crossmember when levelling the frame...
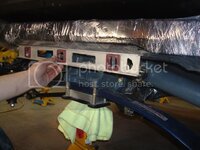
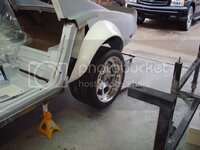
Once you get the frame levelled, you need to shim the body. You want to use as little shims as possible for this process. Once you shim the body getting even load on each body mount, you need to make sure that the body is indeed level with the frame, you don't want the body to lean to the left, or lean to the right. You want it level. I made this tool to help me with the shimming (it raises the rocker channels high enough for me to gain access to the shims). A little overkill, but I had some scrap steel from back when I was welding...
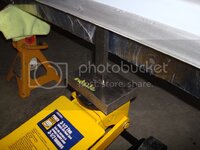
Once you shim the body, you need to center the body on the frame. You need to take TONS of measurements for reference...it takes a long time. Use you frame rails and rocker channels as reference points. For the rear of the body, use the tub just behind the storage compartments (in conjunction with the frame rails which are beside the tub). Once you get the frame where you think it should be, tighten all of the bolts down. The next step is genius.
You want to make sure the birdcage is pointing straightforward, centered between the frame. This messes with your front end mounting/fitment, as well as your hood fitment. Tape a piece of string just below the GM Jig slots on the inside of the B-Pillars. Do this on both sides. Now, tie both pieces of string to something heavy and adjustable. The objects should be in front of the frame horns, level with the shock mount hole.
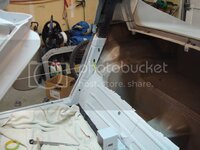

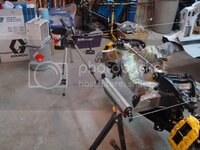
Now slowly move the objects outward until it just kisses the inside of the A-Pillar. Once it hits it, stop. If it only hits one of the edges, that is okay. You want it to be a straight piece of string, not a kinked one. You are mimicking the front end using this technique.

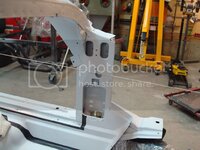
Now, measure from the center of the shock mount hole, to the string, keeping your ruler as perpendicular to the string as possible. Measure both sides. If they are identical, you are centered, and ready to start mocking stuff up. Mine was dead on. This body shimming/levelling took me about 10 hours. In the following picture, it looks like the end of the ruler is not in the center of the hole. But, it really is (just a bad picture).

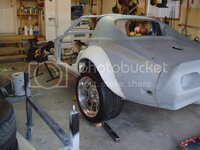
You need to make sure the body is levelled on the frame before you drop it back on its tires. Here are the results...

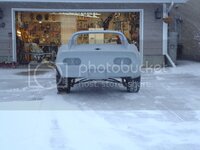
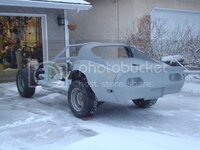
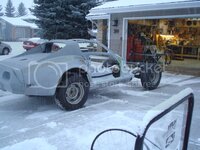
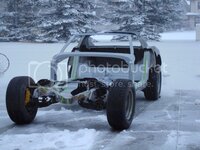
Keep in mind that these pictures are with the car on its tires. It makes a big difference. It almost looks like it is slightly leaning to the left, however, this is because the suspension has not settled yet. The body is dead level with the frame when the frame is levelled and up on jack stands. I'll get some more pics for you guys with it levelled on jack stand to show you what I mean. It looks pretty damn good if you ask me! I finally get to start fitting panels!!!
This gives you a very good starting point before you begin fitting panels. However, this is just a setup. Throughout the build you will have to play around with the shim numbers to adjust door gaps and such. THANK YOU MIKE!

