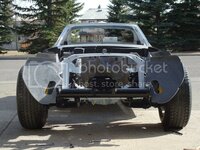
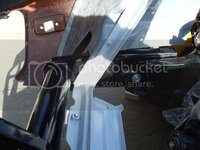
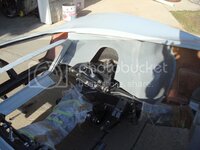
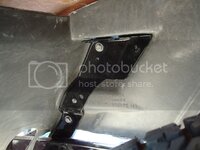
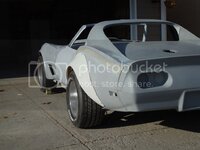
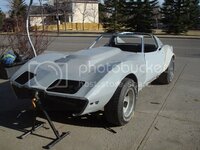
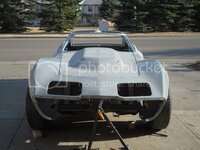
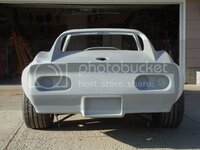
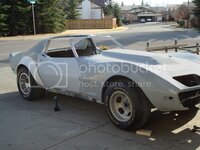
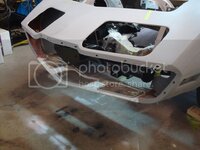
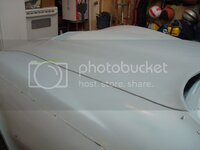
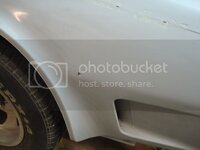
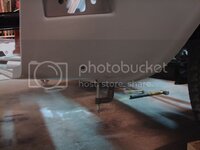
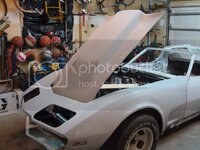
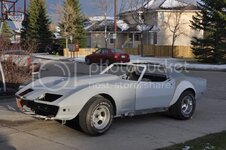
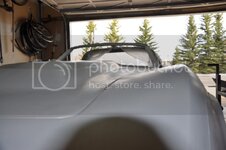
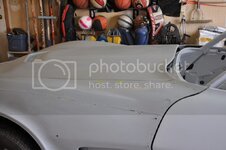
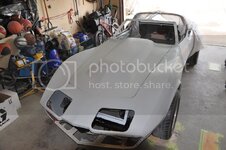
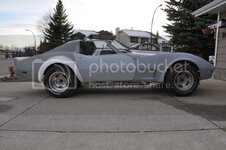
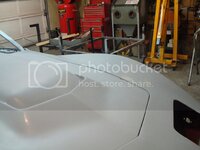
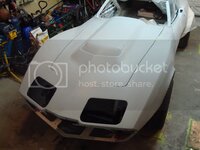
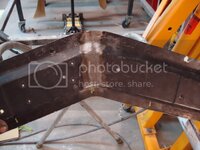
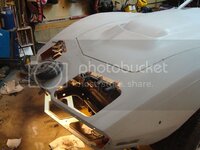
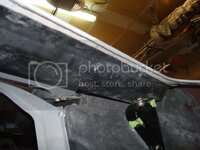
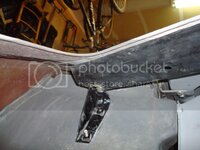
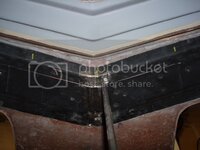
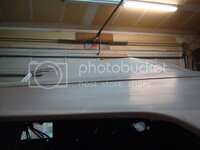
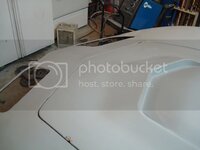
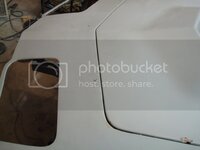
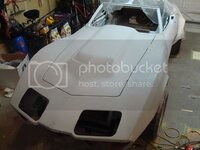
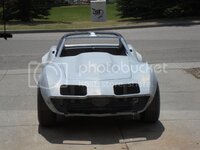
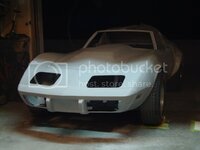
When I put the body on the frame, the first thing I did was level the ground. I marked 4 spots on the floor, where each tire would sit. I used a line level and string to make each point level. You may have noticed that the left side of the car has a board underneath the front and back tires. I made sure the rim/tire height to ground was the same on my old tires at the time. I set the car back on these 4 points with all thread front and rear in the suspension, with the car at ride height. The frame was level to the new four points on the ground.
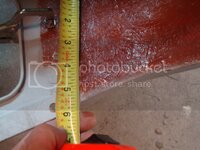
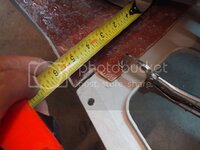
The reason this all matters is because I am now able to use a "levelled" 4 foot level on the ground to measure various points on the car. Granted this is not a 100% perfect system, its pretty damn close. Throughout the entire rebuild I have been taking measurements to either a levelled level, or to the 4 points the tires are sitting on, and it has been working awesome. Here is an example. I needed to get the fender lip on the flares exactly the same distance to the ground on both sides. So I measured to the newly shimmed points the tires were sitting on, and they are both dead on, both in looks, and on the measuring tape.
I scrubbed all the panels with scotchbrite/thinner, then with soap/water, before I started any of this. My god did that take a LONG ASS time. I was beat by the end of the day from that "little" project. This removes all the mold release from the gelcoat.
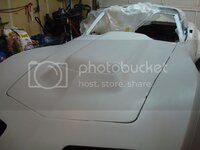
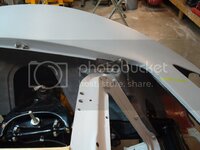
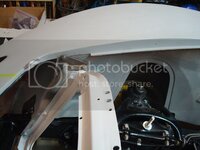
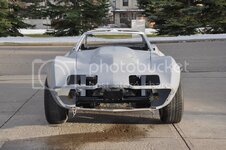
Anyways, I "levelled" a level and measured from the hood reinforcements to the top of the level. I made adjustments to the rad support until they were equal side to side - this way the front end and hood will sit dead level. Mike said to take lots of measurements.
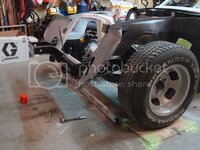
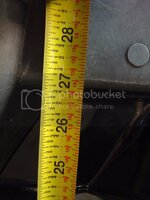
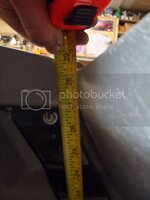
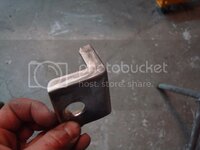
I lost one of the rad support brackets, so I had to fab one up...
Hood hinges mounted. I sandblasted and painted these a while back.
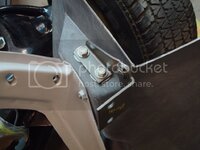
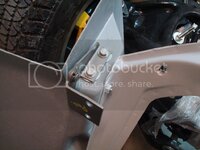
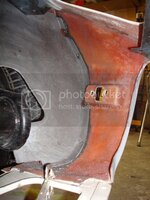
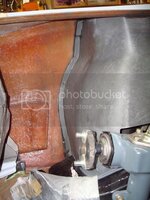
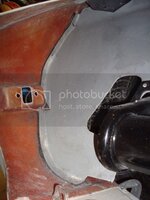
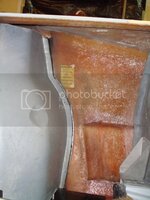
Inner fender reinforcements riveted back into place. I powder coated these a while ago. Man am I anal:crazy:
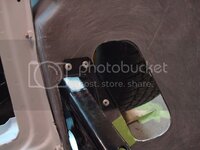
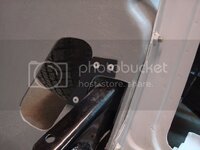
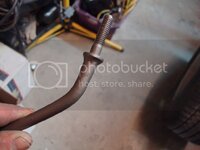
Then I had to repair the rad support to header bar rod. The stud busted off the end of the rod, and I had to weld a new stud to the end, and reshape it. I sandblasted it and painted it with cast blast. Anything to save me money!
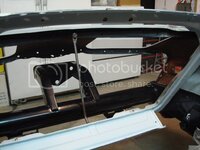
Test fitting the inner fender splash shields. These were also sandblasted and powdercoated a while back.
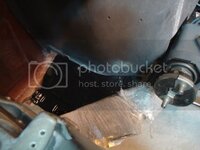
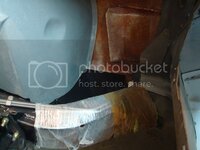
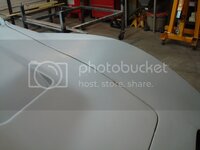
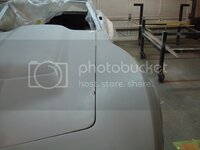
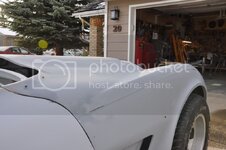
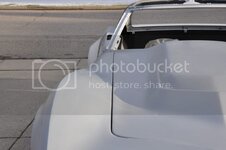
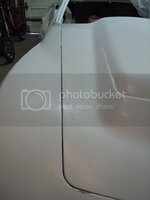
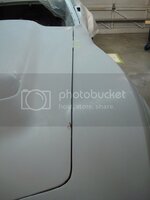
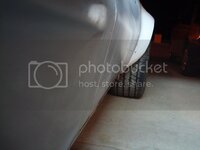
And, this is the most satisfying part of all of this work. Look how nice the fender matches the door contour now! The back of the door matches the doglegs perfect too. Remember how Mike told me to twist the doors? Well, the images speak for themselves...
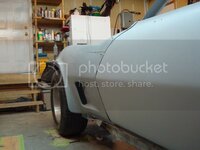
I still have a ton of fitting to do, but at least I am getting somewhere.

