Amazing XKE Restomod- Air Dam 10/23/24

Stainless Steel Trim

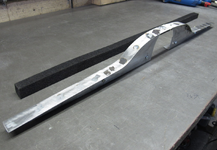
Jaguar had metal trim on the door panels and what could be called luggage runners in the boot. I received none of these when I got this car. I’ll have to make my own.

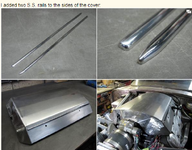
I choose 3/8” dia., 0.049 wall, 304 stainless tubing. With a zip saw, I cut it in half, then welded a trimmed 6/32 nut to the inside for mounting purposes. The upper pieces on the door panel had to be mitered to create an angle. Other pieces required a slight bend to follow the panel shape.

To split the tube, I clamped one end in a table vise and secured the other end to the table. Following the marked masking tape, the saw cut went quickly.

Cut setup:
View attachment 57038

View attachment 57039
View attachment 57040

View attachment 57041

The whole job was quite time consuming. The zip cut and welding would distort the thin wall tube and the tack would create a raised section. All that would require a file for leveling and various grades of sandpaper and buffing to gain the look of chrome. A job I wouldn’t want to do full time…

when i grow up i want to be this guy!!
 
Third Brake Light

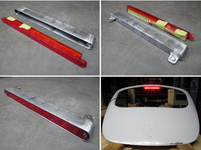
A third brake light is always a good idea. I acquired one that doubled with directional lights.

The first job was to fabricate a housing to put it in and add tabs for mounting. The rear hatch door sits at 23 degrees off level in the car, so I set it up on the bench at that angle, then leveled the housing for the light.

Lamp, housing and mounted:

1725194742421.png

Engine Intake Cover

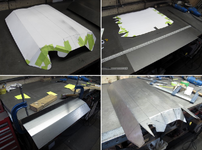
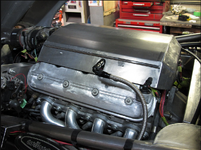
My original plan was to fabricate a cover to hide the injectors and fuel rail of the engine. Next I would prep and paint the intake manifold. After going through a couple of designs, I decided to go the whole hog and cover it all. I considered using 1/16” aluminum but with all the welds, I decided 20 ga. steel would be within my capabilities. The weight difference calculated to be 1.8 lbs.
Clearance from the top right corner of the cover to the underside of the bonnet turned out to be 3/8”. Tight fit.

Started with a CAD design, then transferred to the metal:

1725194830929.png
1725194893078.png
1725194944601.png
 
Bonnet to Radiator Seal

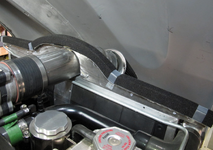
The space between the top of the radiator and the bottom side of the bonnet is not overly large, but I thought I should at least make an effort into sealing it off. The sheet metal section splits between left and right and are adjustable up and down.
1729700034775.png

I’ll attach the closed cell foam to the brackets after they’re painted.
1729700082979.png

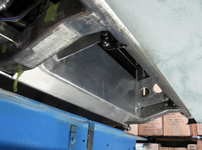
Air Dam

I wanted an air dam since the opening at the front of the Jaguar Series I is on the small size. Any extra air diverted to the radiator would be good as well as providing an element of front end down force.

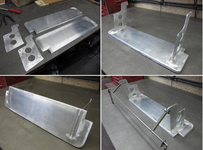
I designed it in such a way that it would swing back and up, moving it out of harm’s way. It’s also adjustable in height.

Aluminum pieces cut, bent and welded:
1729700170405.png

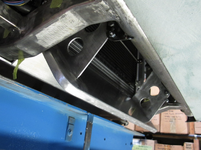
Air dam in down position:
1729700270931.png

Up position:
1729700320640.png
 

Latest posts

Back
Top